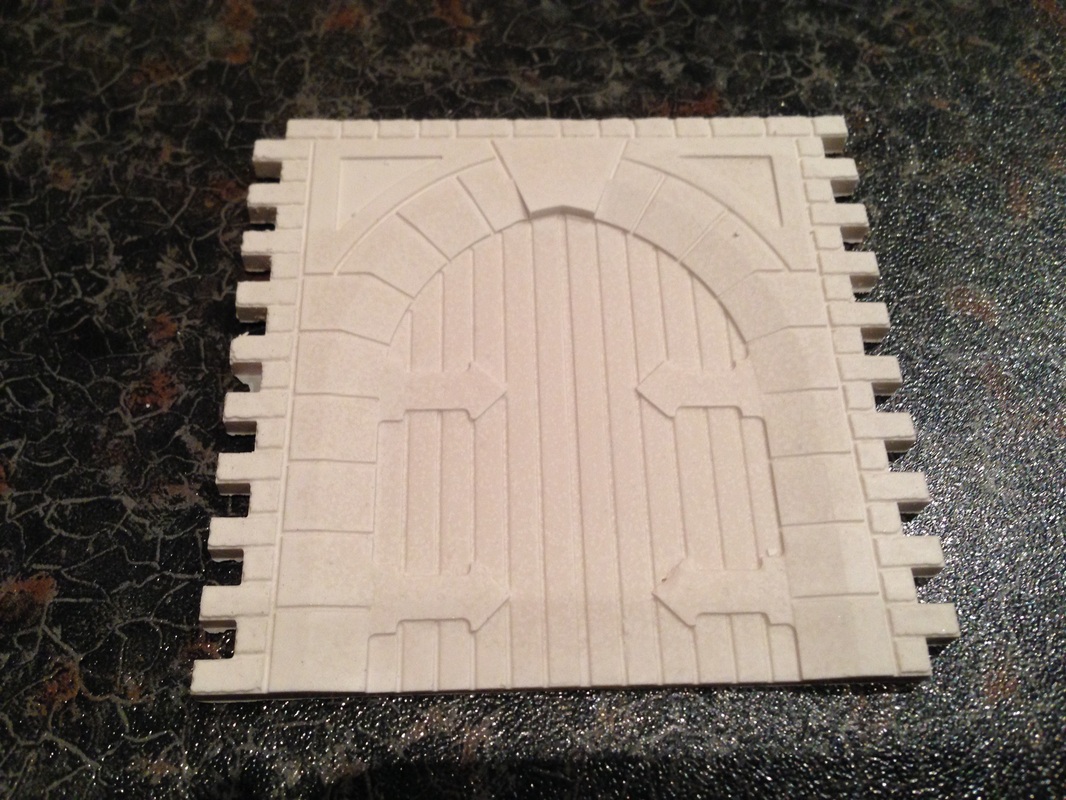
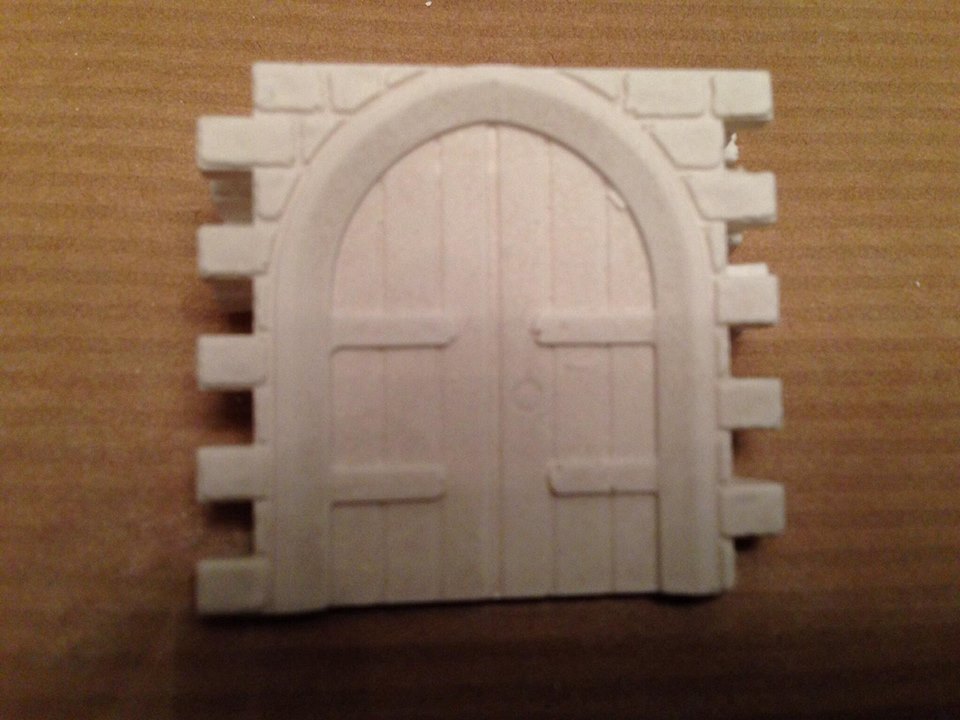
 Linka Castle door
Creating you Linka pieces will be where you need to start
it will take some practice to get the best results, from what powder you should use, to the consistency of mixing and ensuring you don't get air bubbles in the results, it all takes a little bit of preparation and practice, but don't be put off, once you master each area, it will come as second nature
it will take some practice to get the best results, from what powder you should use, to the consistency of mixing and ensuring you don't get air bubbles in the results, it all takes a little bit of preparation and practice, but don't be put off, once you master each area, it will come as second nature
|
Download the new casting perfect casts article released in May 2016
|
| ||
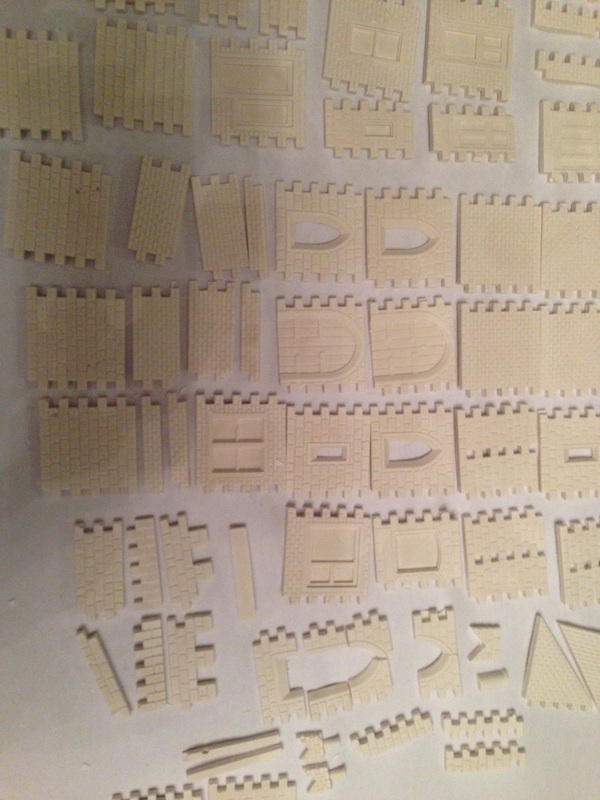 Selection of Linka casts Selection of Linka casts
You will need to create a collection of the pieces in readiness to start putting your models together, the image here shows all the pieces created from a single session all laid out drying.
I used a plaster named Herculite 2 to fill the Linka Moulds, and could remove the pieces from the molds after only 30-40 minutes. I find it better to remove them well before they are dry as its much easier to ease them out whilst they are still very damp. Herculite is fairly strong, easy to mix and gives you enough time to pour it before it begins to set, so you will have about 30 minutes from mixing to get it into your moulds and level it off. Don't use Plaster of paris, its just too brittle and will leave you very frustrated |
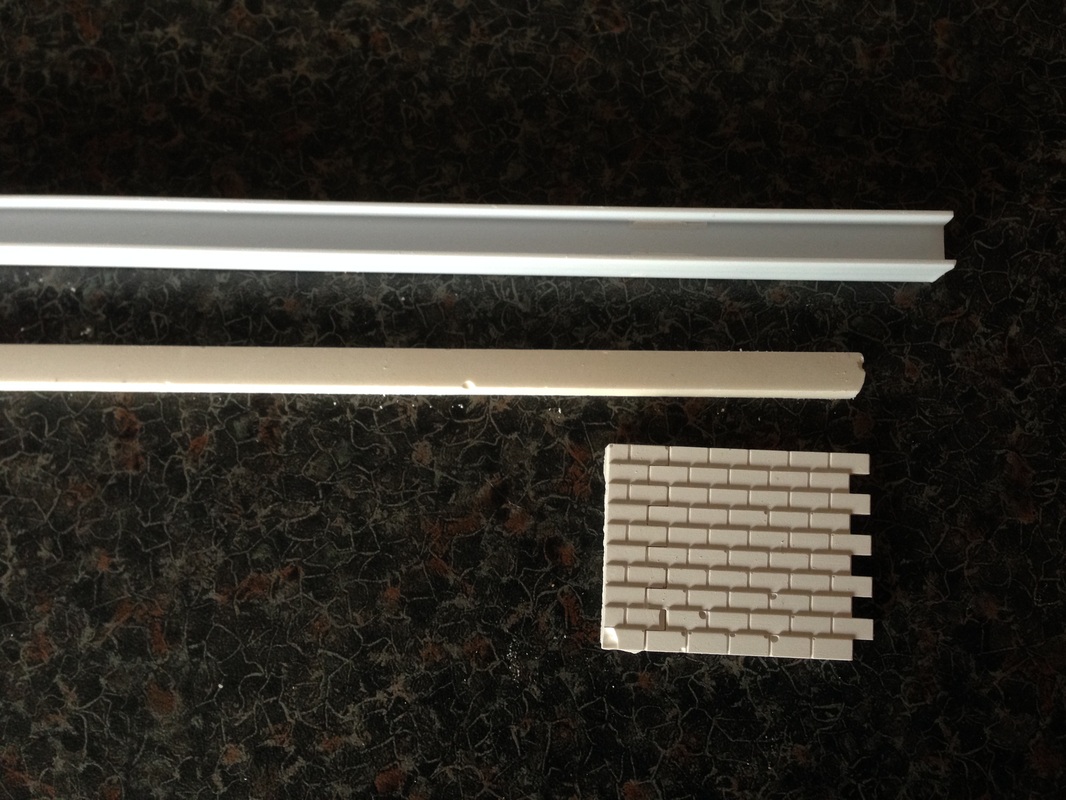
Making Beams
Here I have used a plastic RSJ or I beam which I got form a local hobby shop, then filled it with Dental SP mix, the reason is that Dental SP plaster is strong but also it does not expand very mush at all, so after a lot of experimenting I found this works best and is fairly easy to extract from the plastic, Great for roof capping or whatever else you may want to use it for |
Here I have mixed 2 parts Herculite 2 and 1 part water, Alway pour the powder into the water to ensure its completly wet, mix for about 30 seconds and pour into the moulds, Scrape off any excess after about 2 minutes.
|
Tip
I use plastic throw away drinks cups and have a marker on one with the level of the water, a marker on the second cup with the amount of Plaster and mix it in a third cup, that way the measures are always the same, so the strength of the mix is always consistent, when I have finished I just discard the cup I mixed in so there is no mess to clean up. |
After about 40 minutes, carefully remove your pieces from the moulds and place them on some paper to dry, I leave mine overnight before storing them until they are needed, its alway a good idea to make lots of pieces before you start to build.
|
Now carefully clean up your pieces, just use some fine grade sandpaper or a small nail file and clean off any rough bits from the pieces your about to connect together
|

Using a small paint brush works fine for me, I just day a tiny amount of woodwork adhesive in between each small joint and then insert the next piece, I then remove any excess with my finger and place the piece down on a flat surface to dry. I use grease proof paper on the surface to stop the pieces gluing to the worksurface
|

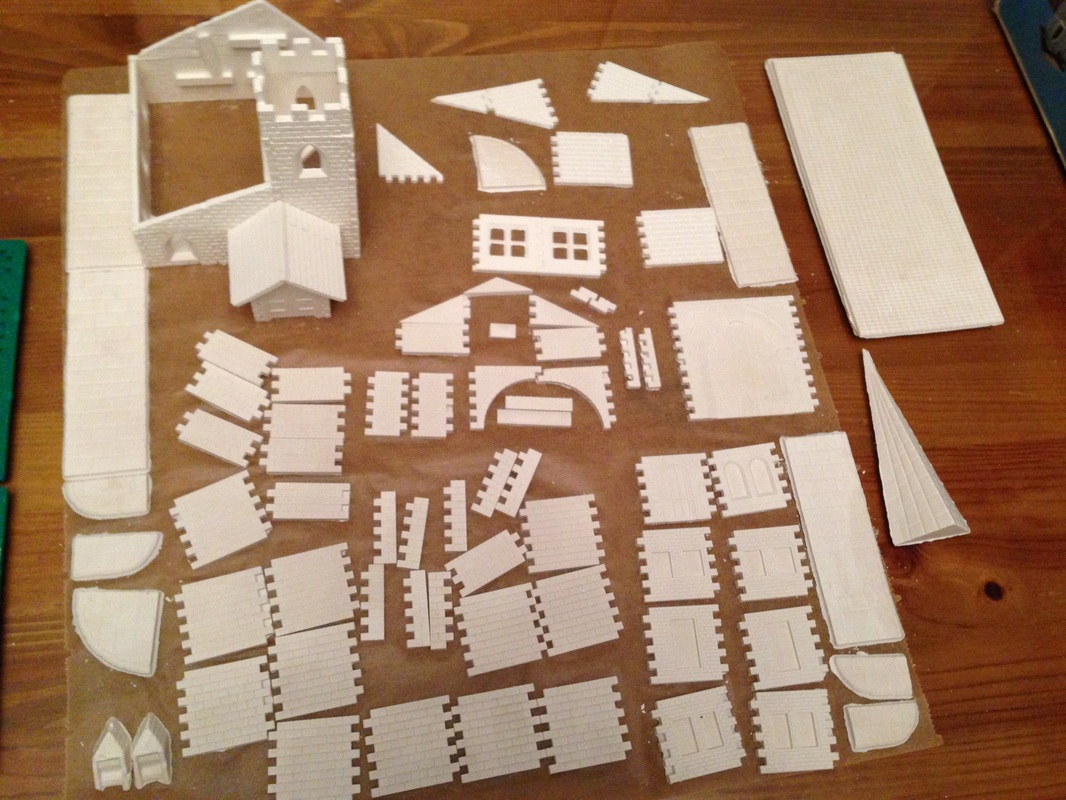
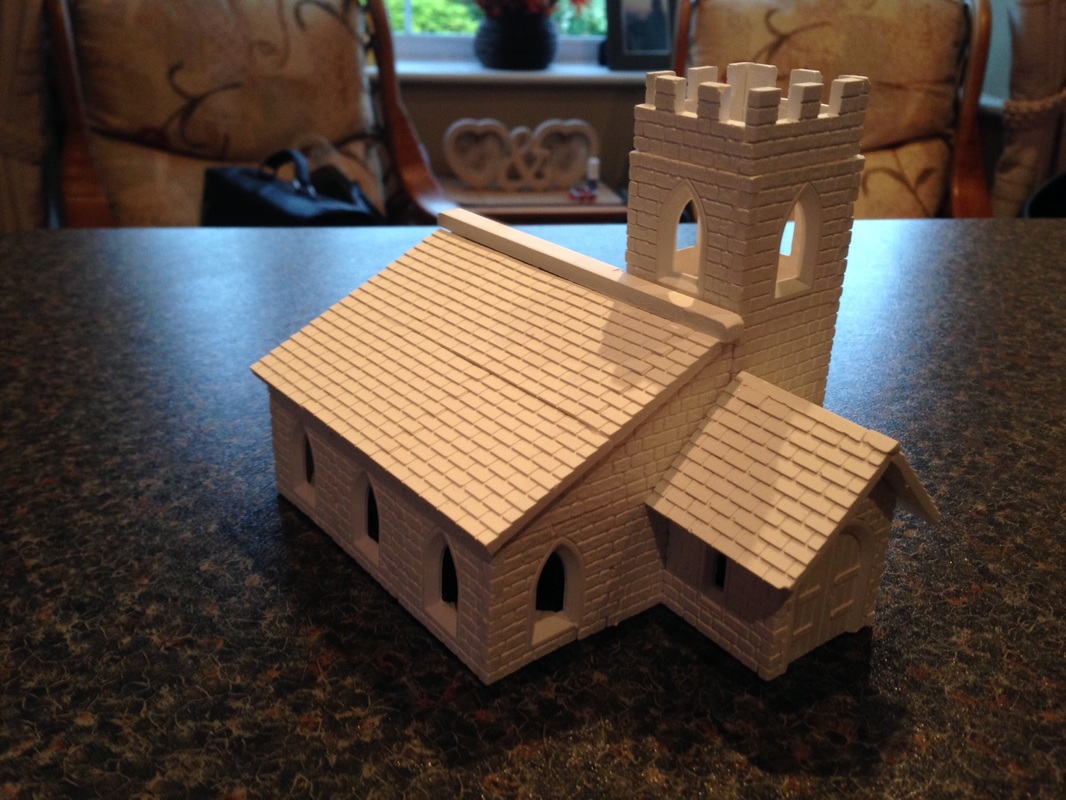
Production Line of Linka casts
|
Lots of Pieces
While I am waiting for my models glue to dry I just keep a good production line of pieces going, Its better to let them fully dry before you try to store them On the Right here you can see I have assembled half of the roof, I created a beam to go right across the top of the building as I thought it would look good and add strength. I went into a hobby shop and found some plastic extrude, like a plastic I frame, filled it with Herculite 2 plaster, it took a bit of getting out but I managed it, although I am keeping my eyes open for something easier to use. |
|
|
|
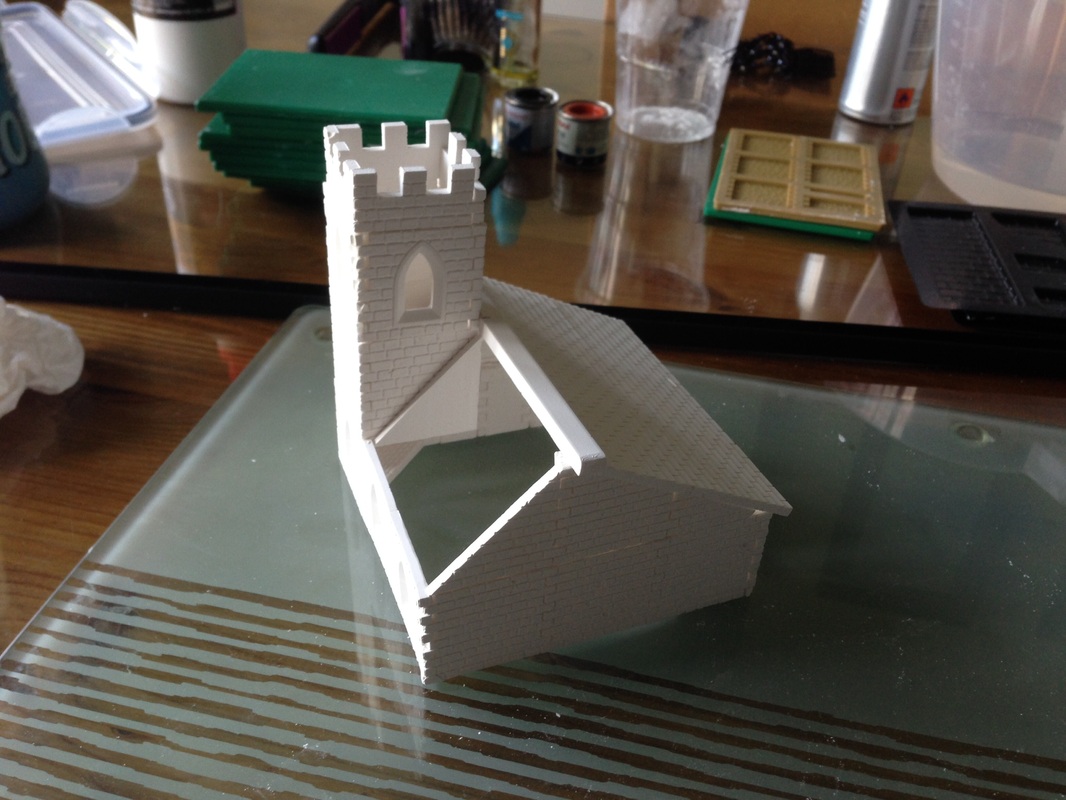
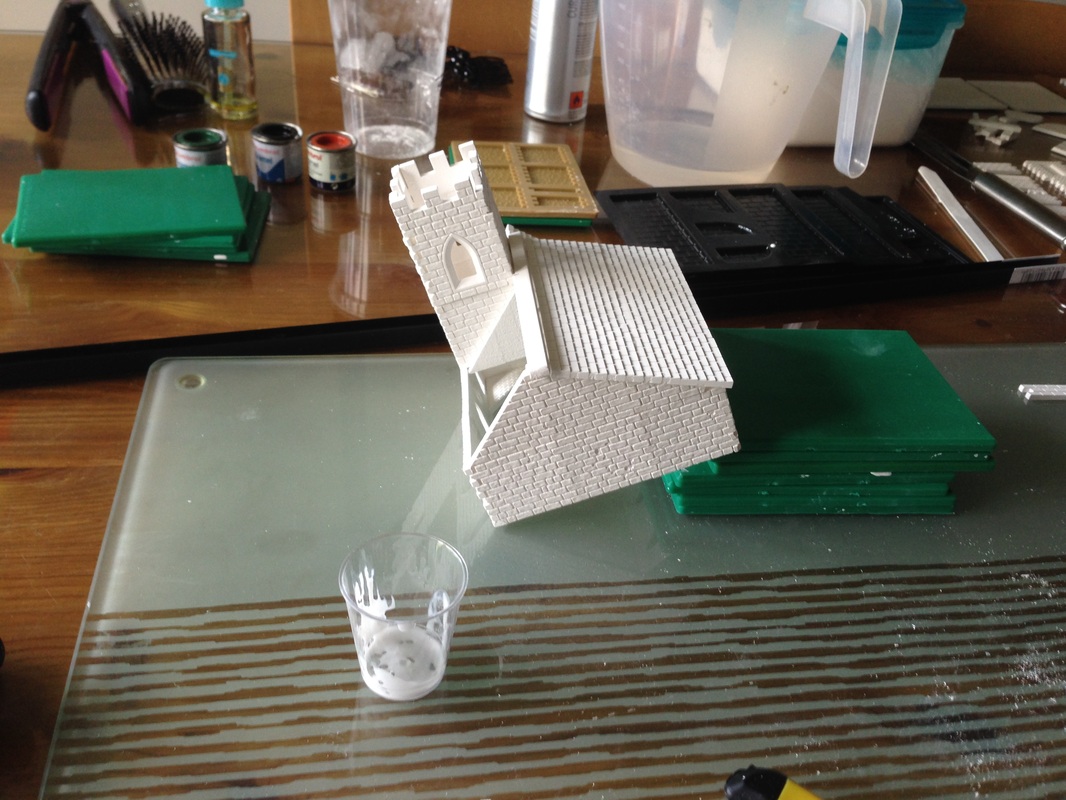
Far Left
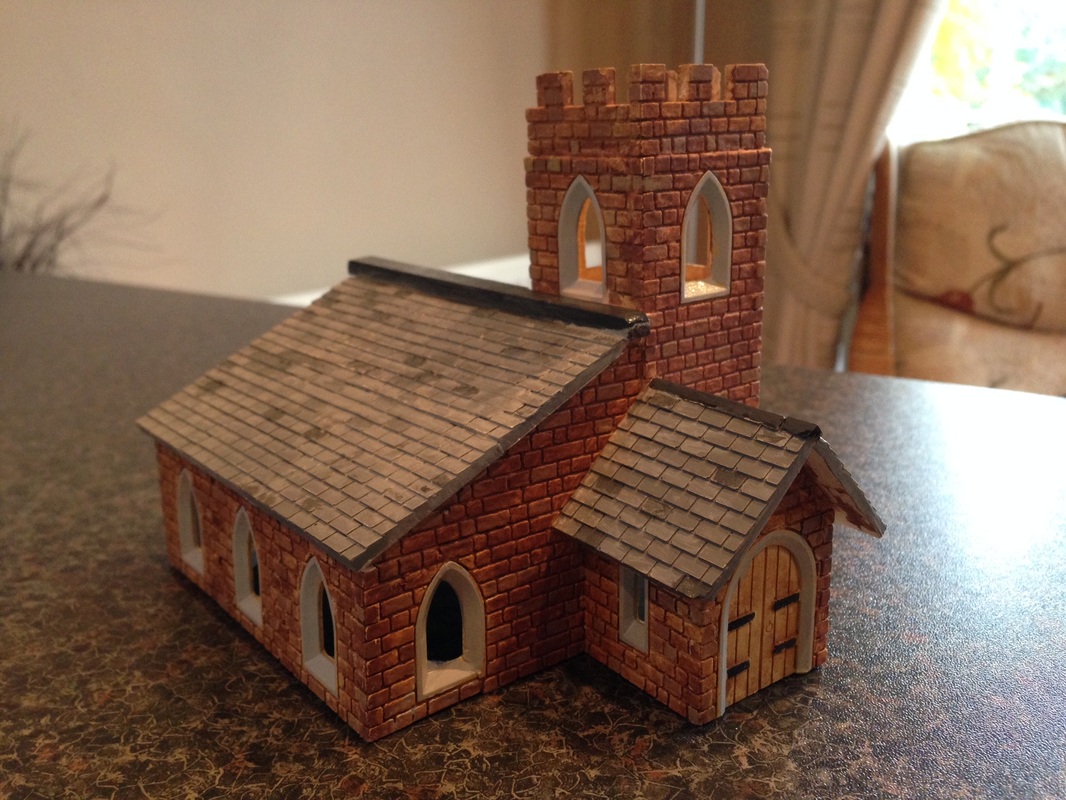
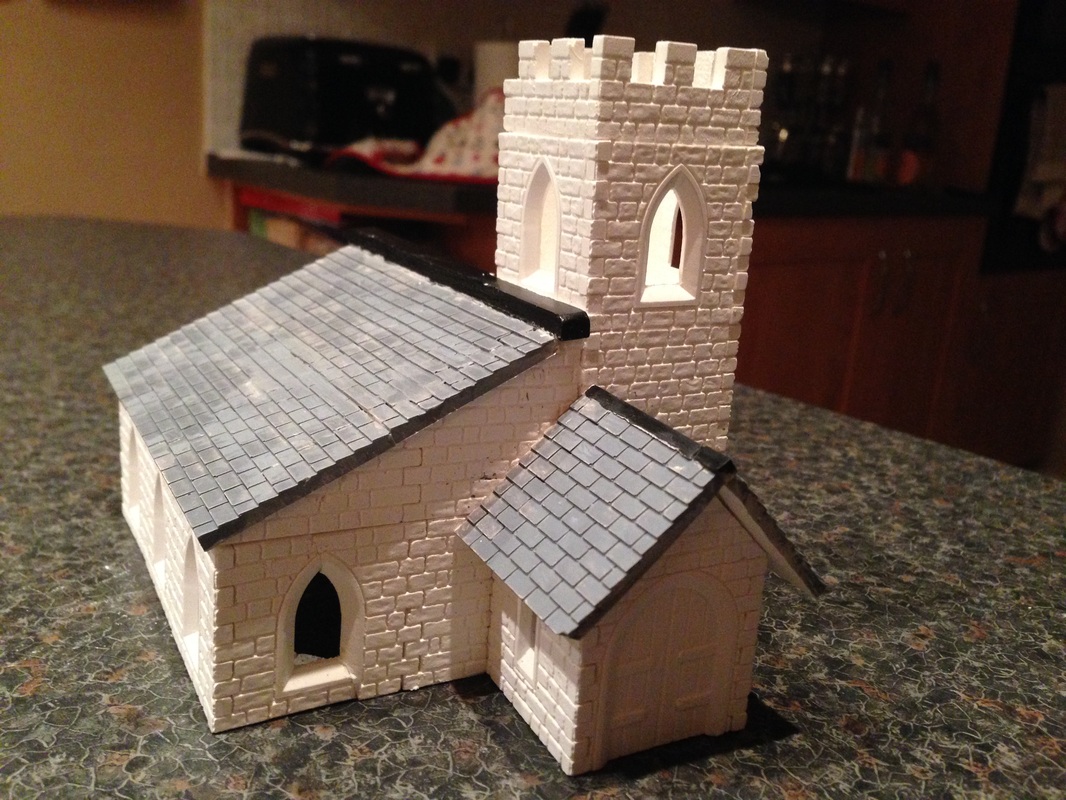
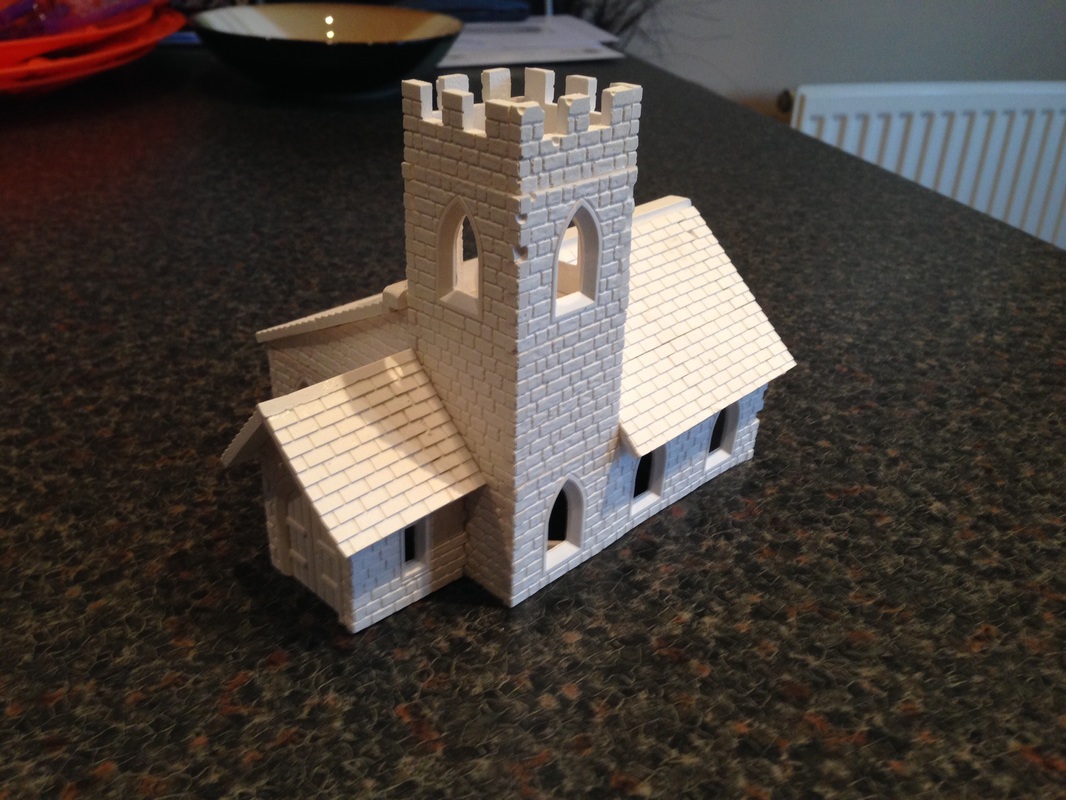
I just tilt the building so when I glue on the roof it does not slide off Left The building now with the roof completely attached, there are a few little faults as you may see on the tower corners but that will jist add to the character when the model is painted |
|
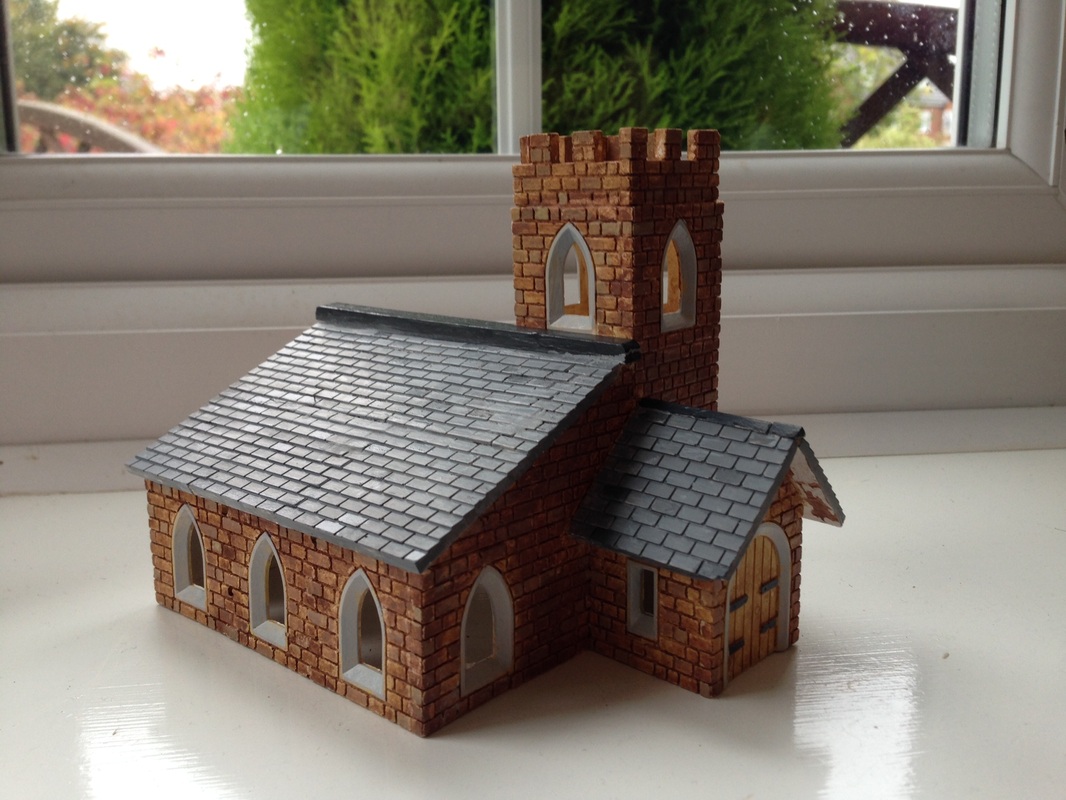
The Painting
I am writing this on the 22 October 2013, a marker in the sand as this is the first attempt I have made at painting one of these models, I painted the roof with a wash of water colour, the problem was though is that the water colour paints would not cover the glued seems, so I switched to acrylic, I am no expert in paint and have virtually no experience at all, so I just mixed very tiny amounts of paint to get the shades I needed and practiced on a lot of broken pieces that I had accumulated, I soon found it would be better to thin the paint and just keep building up very thin layers. When I had everything covered it all looked a bit too plain, so I just mixed a brush full of brown, mixed it in and painted odd bricks all over the building, I kept doing this and to be honest it started to look much better. The key here is trial and error, I am sure it will take me a long time to learn the different techniques, and I will keep sharing ideas with you over the course of time. I f you have lots of ideas and they work, let me know and I will be glad to share them on the site. |