
Double Sided Stonework Walls With Window openings
In this How-To I will discuss converting single sided, single thickness stonework walls with windows, into double sided, single thickness stonework walls with windows. I needed to do this on an engine shed I am building so as I can see all the way inside the building I want to see the brick face inside as well as outside.

A word on Tools
Image below: shows the ground up tool I use for carving the mortar courses I have 2 different thickness of tool one which is 0.6mm ( 0.023 inches ) for stonework and one 0.23mm ( 0.011 inches ) for the brickwork. The top tool is for pushing and the bottom is for pulling using a steel rule as a guide. Both a ground from Exacto style blades some could be Chinese as they are thicker than genuine blades 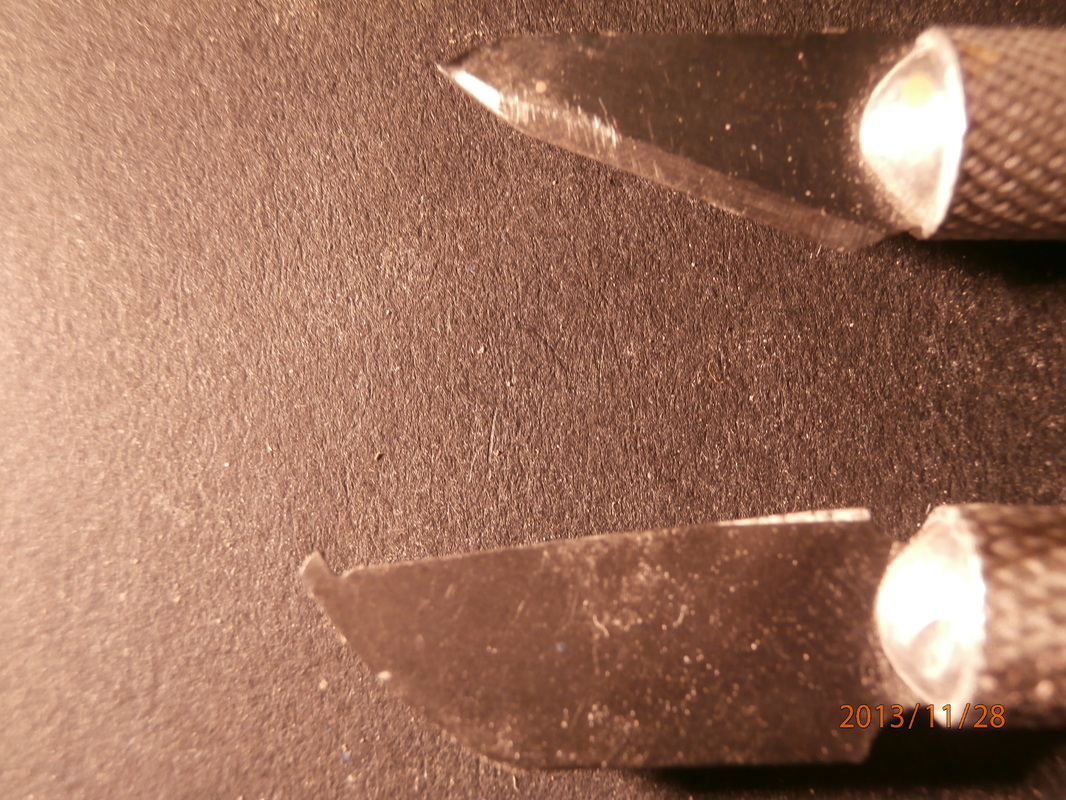
|
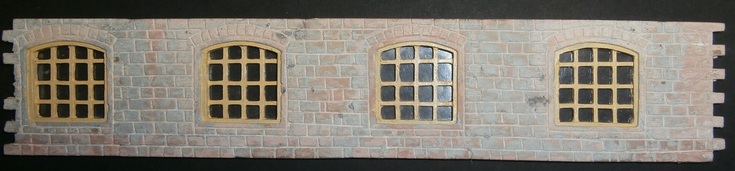
Above: Showing the outside of the wall I shall be working on, if you have looked at the Custom LINKA compatible Tile Mould Making you will notice that these are the window inserts that were discussed in that article, which have been fitted to the wall painted and glazed
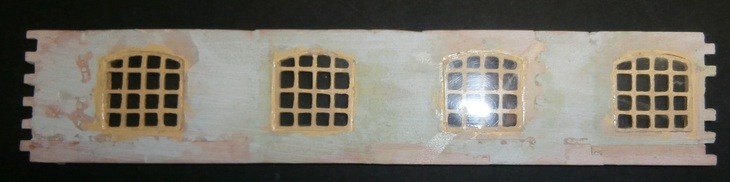
Above: Is the inside of the wall. It does not look that pretty at all. The walls in the main section of the engine shed are made from double rows of tiles back to back so we have texture both sides. The workshop walls are only single thickness so we have to carve the inside of the wall.
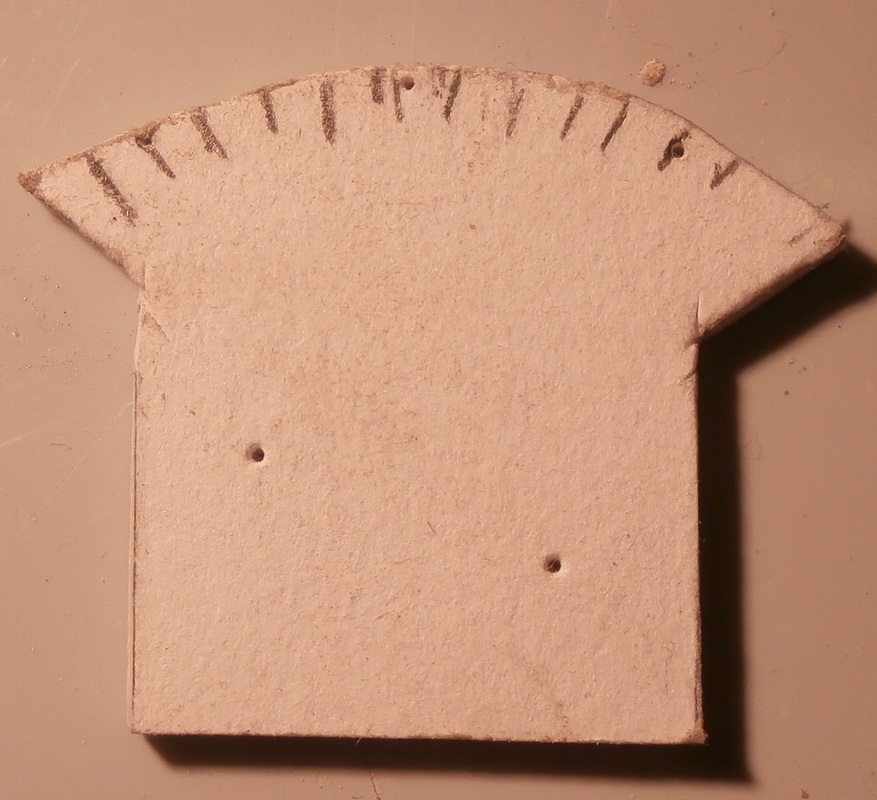
Left: shows the marking out of the back of the wall, Including the window arches I made templates to transfer the lines from front to back.
Just use some stiff card to create you template Note: You can click any image if you want a closer look |

Left: Here is the back all marked up from the cardboard template so we know where all the score lines will be placed

The Final look Shows the completely carved wall, the textures are slightly different but you can't see both sides at the same time. Used a steel rule and a specially ground up tool to cut the mortar courses.