
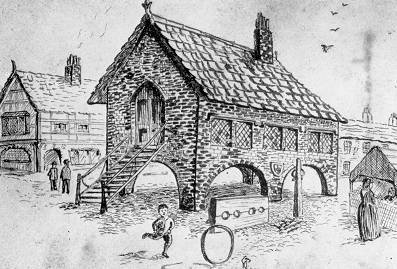
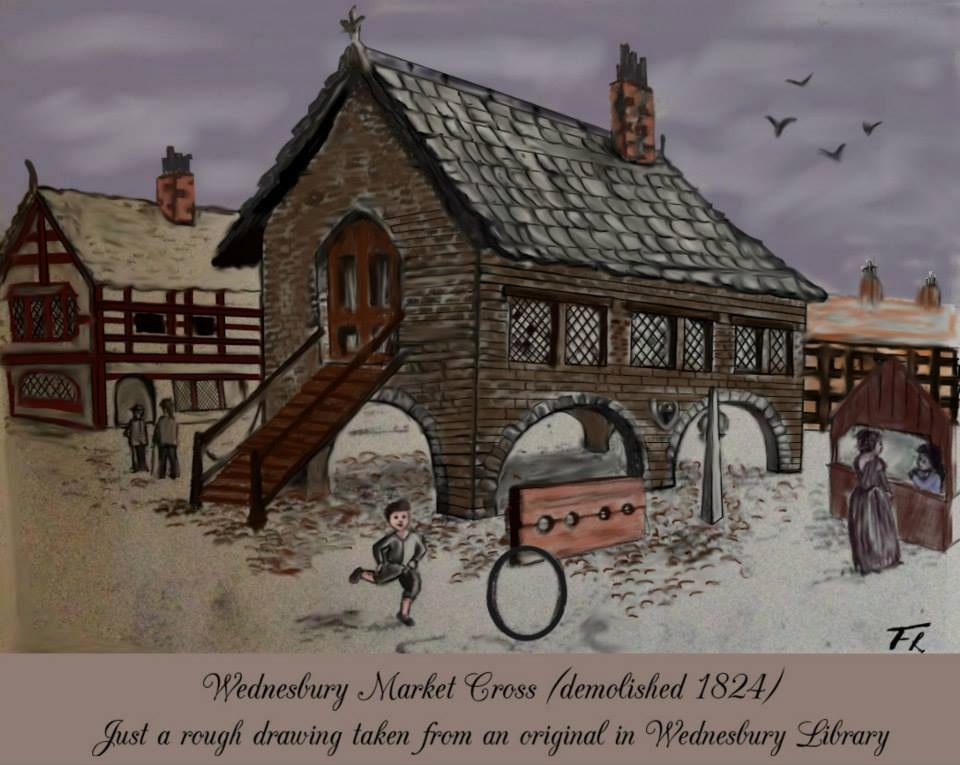
Project 09 - The Old Market PlaceWhen Ria said she needed to do a project for school and it needed to be something related to where she lives, we found this lovely old Market place that stood in the town in the early 1900s, so we set about building it from Linka.
In this build you will see how Ria and I worked together to produce as close as we could the model. |
|
|
|
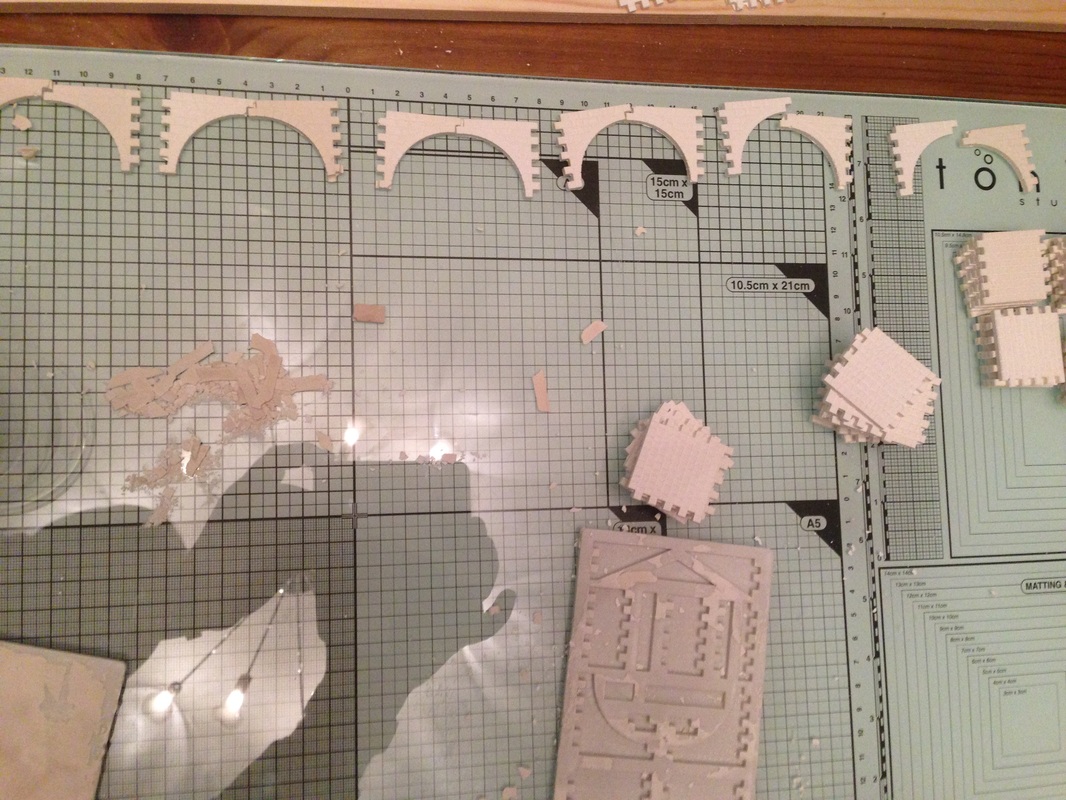
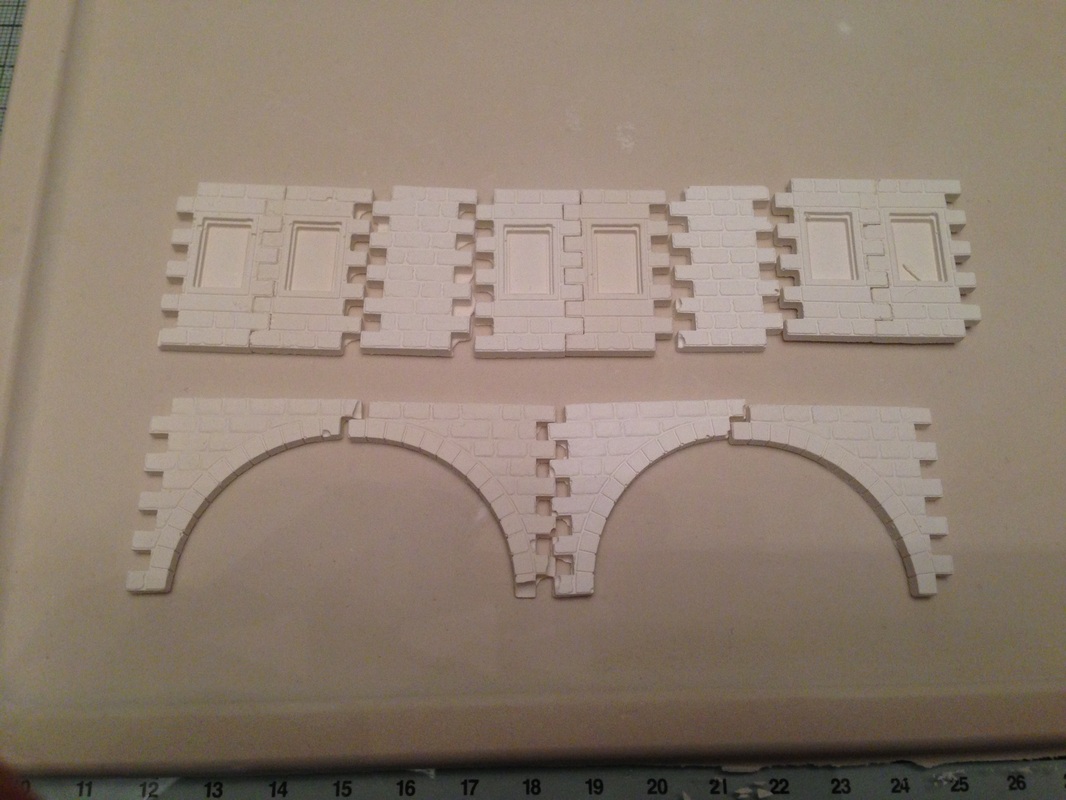
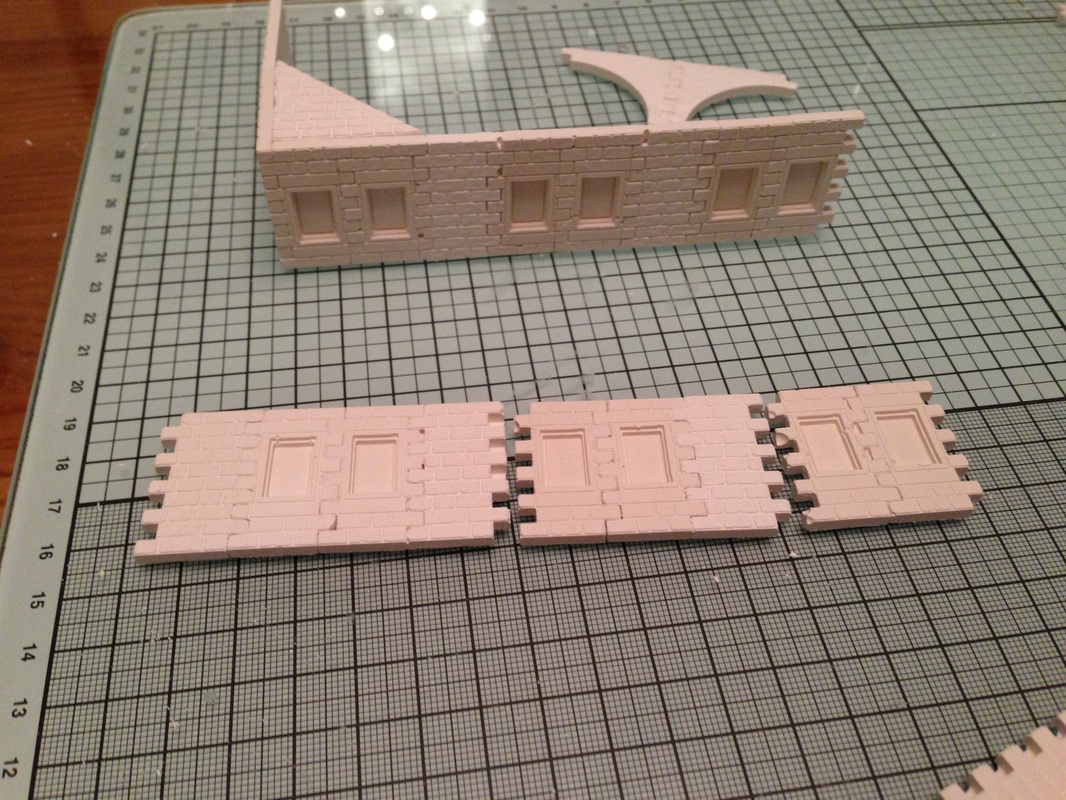
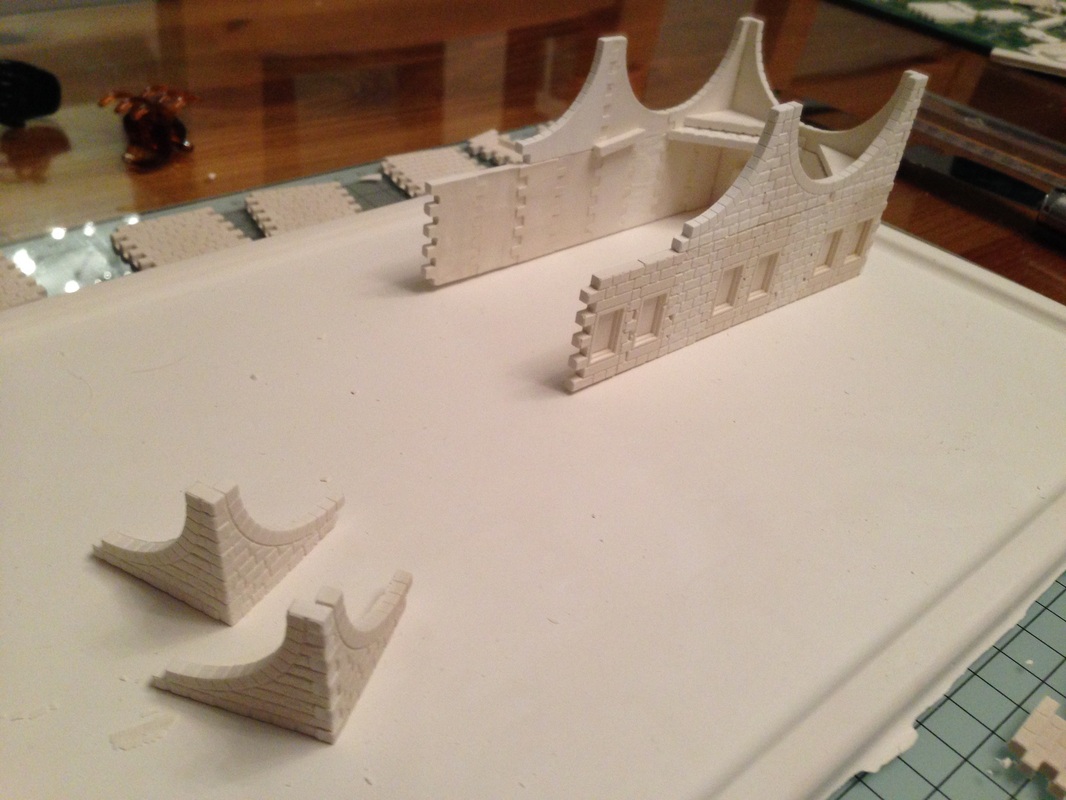
The very first job on this project was to decide what pieces would work, it is not always easy to work out what can go where and in fact we can make a building without having to improvise. but that's really what its all about.
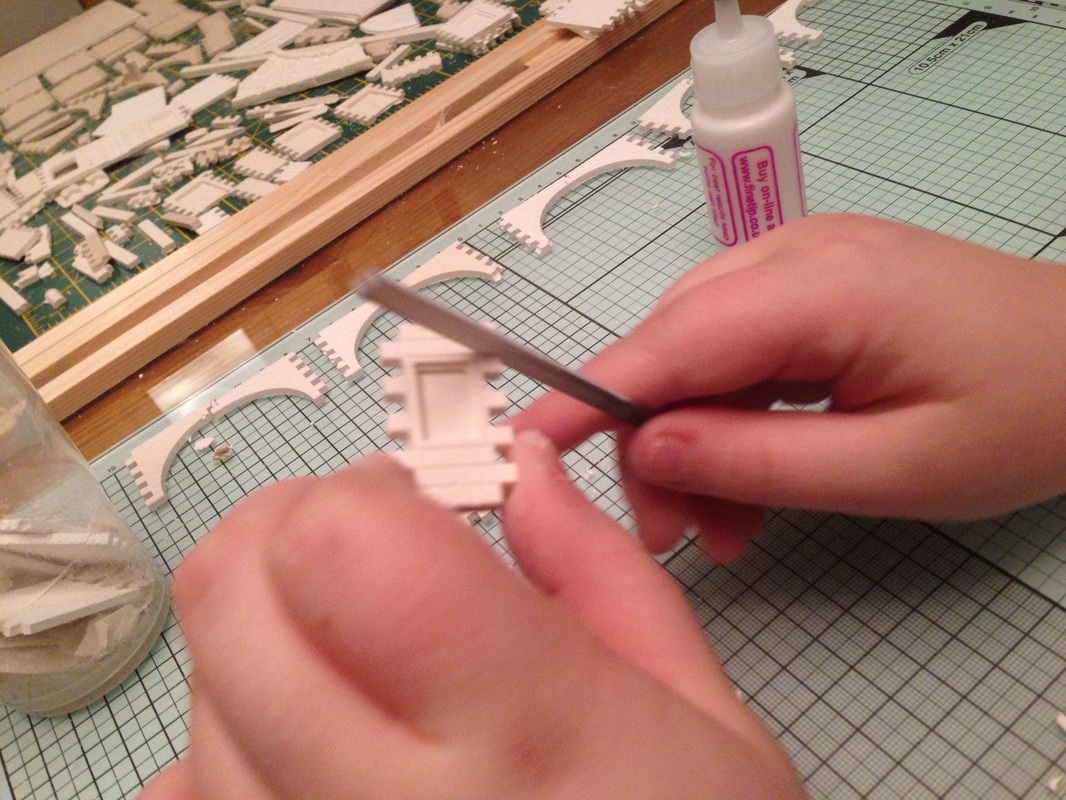
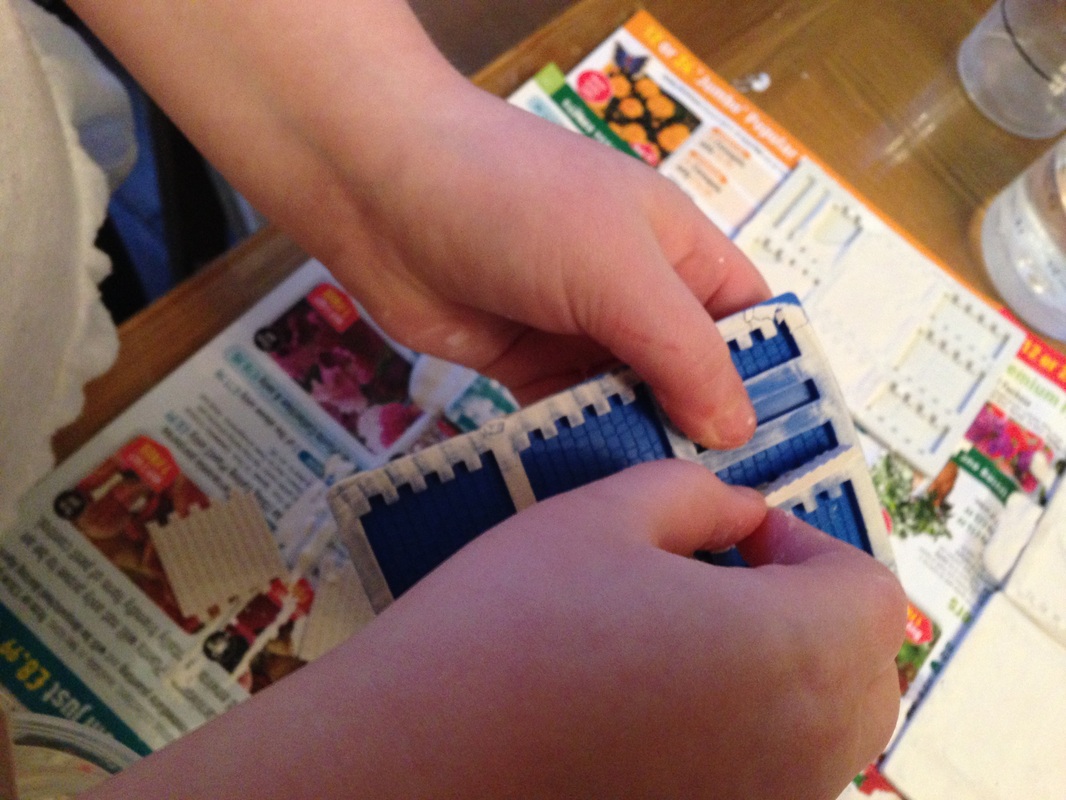
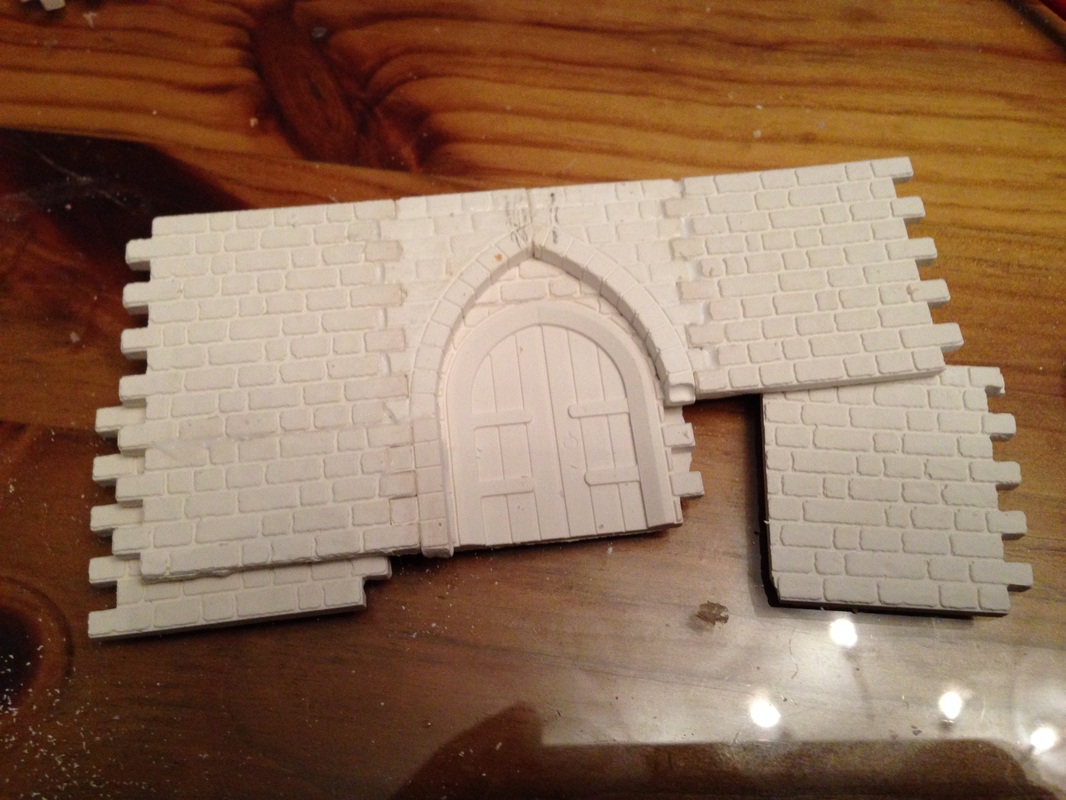
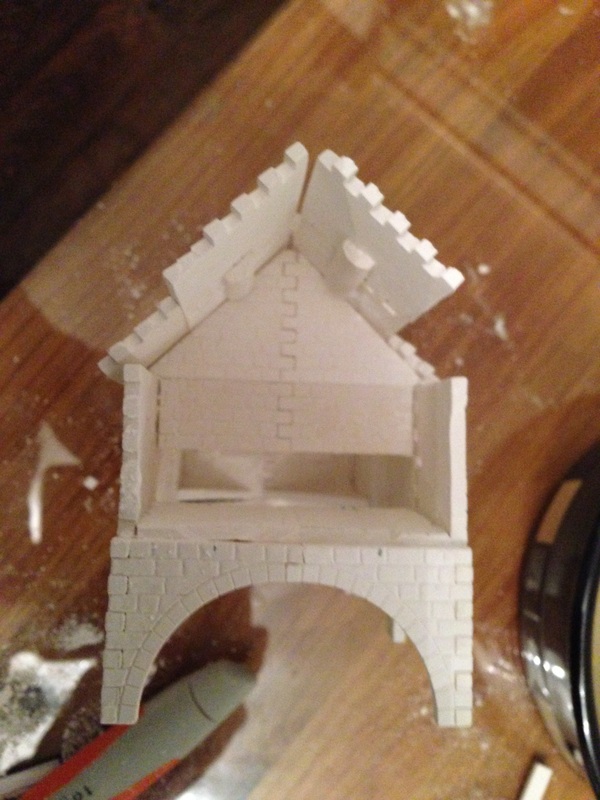
We started with the arched stone casts as this made the most sense, then worked out the best windows and casts we could use to look like one side of the Market place. This was the first time Ria had ever used Linka and she soon picked up the idea, layout the pieces, clean ell the casts, make sure they go together ok then glue them together in pairs face down on the glass so they stay flat until dry. |

|
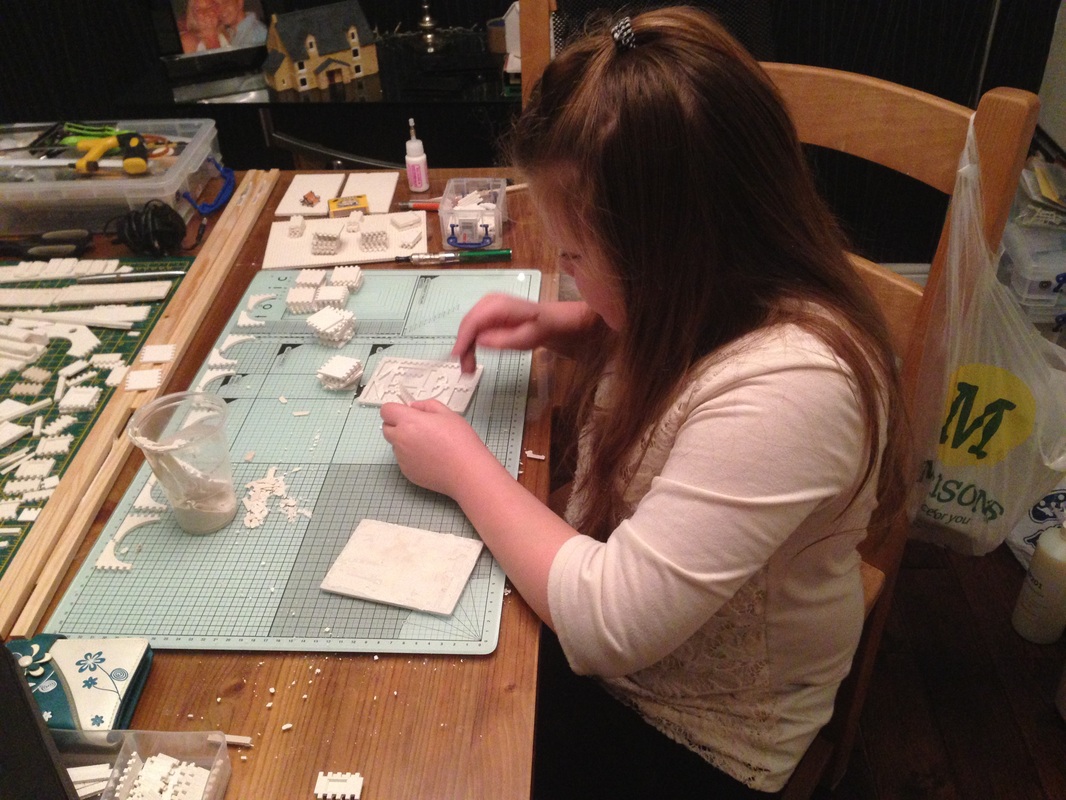
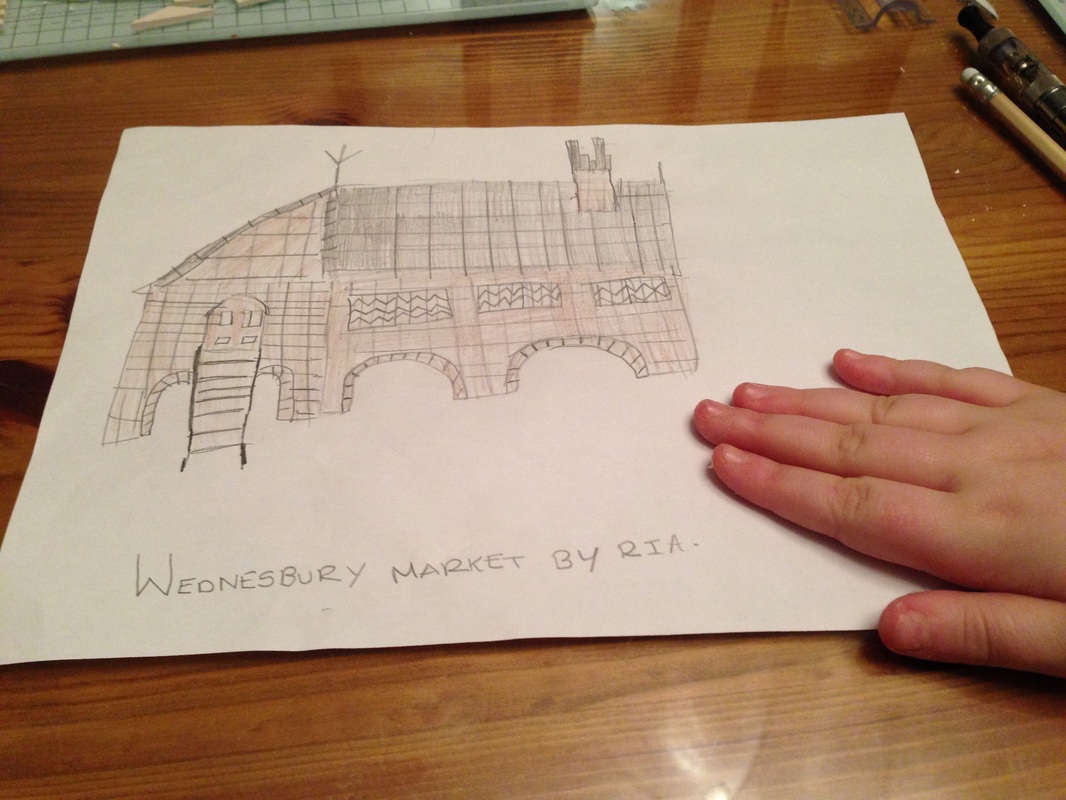
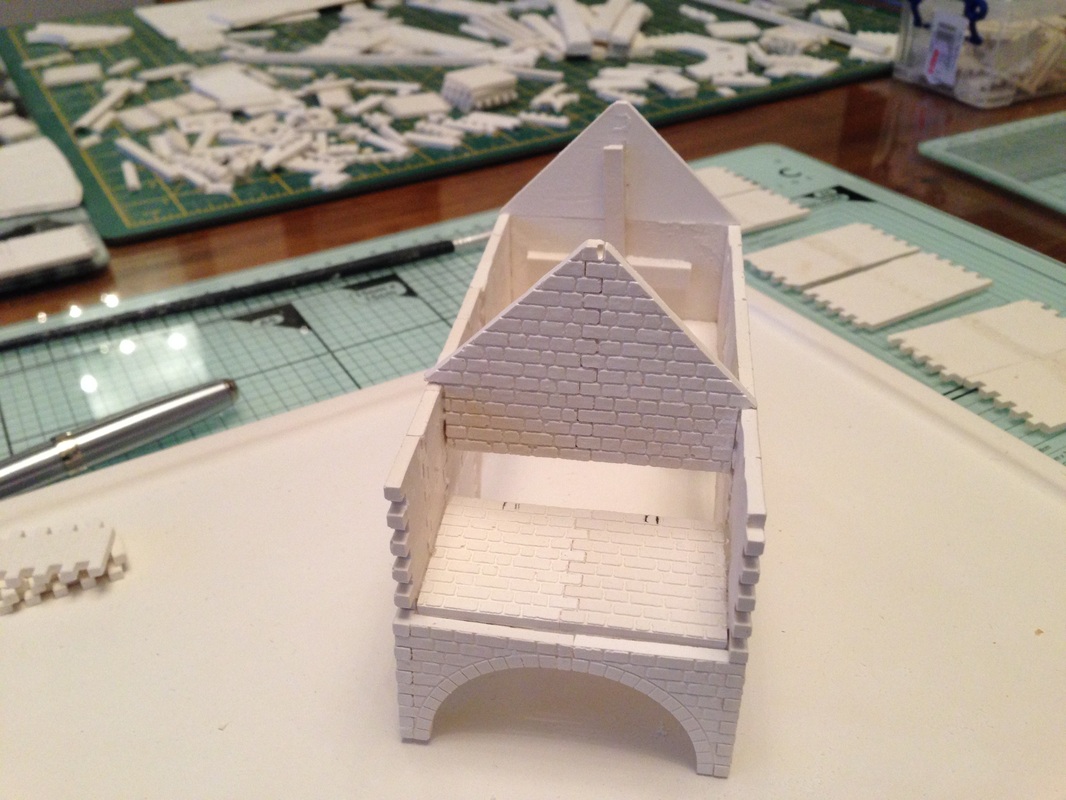
Ria is doing this for a school project she has drawn her own plan from the original photo.
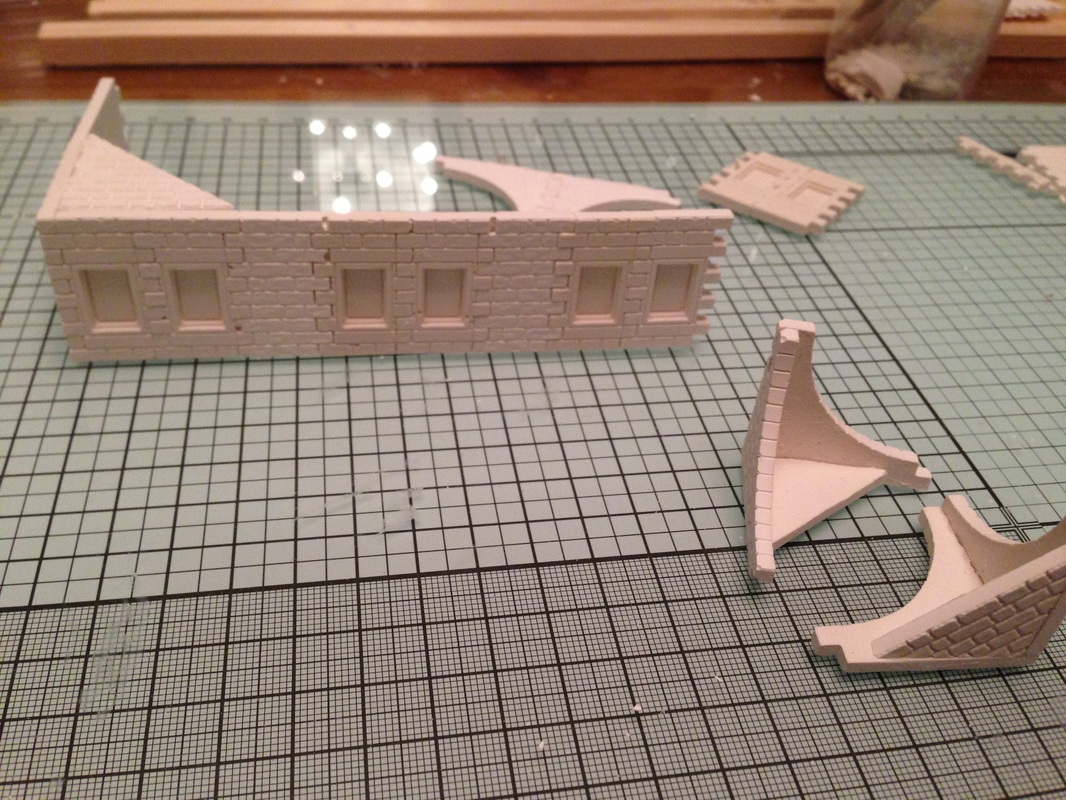
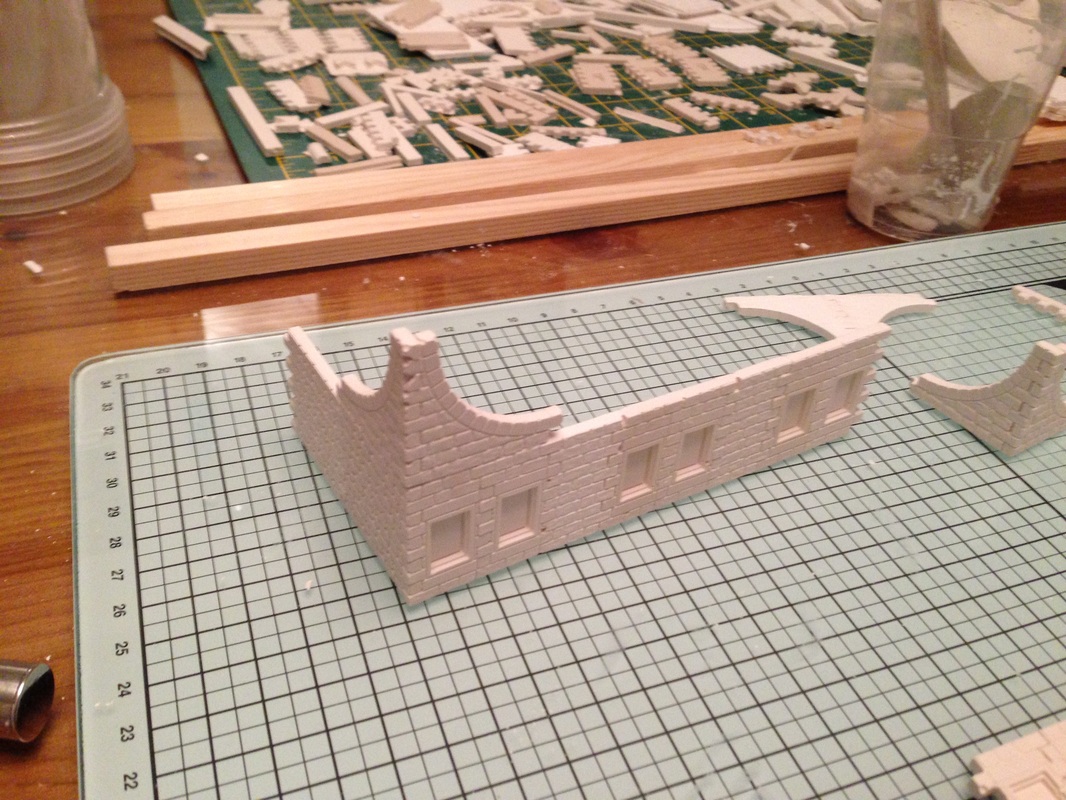
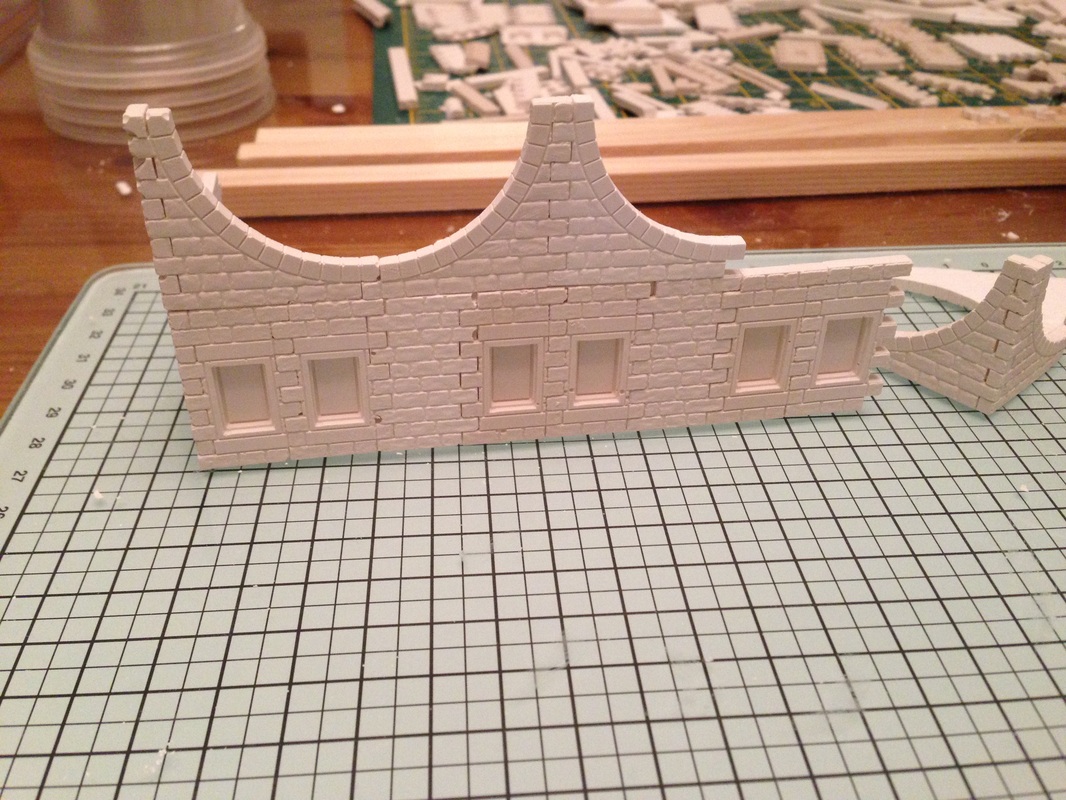
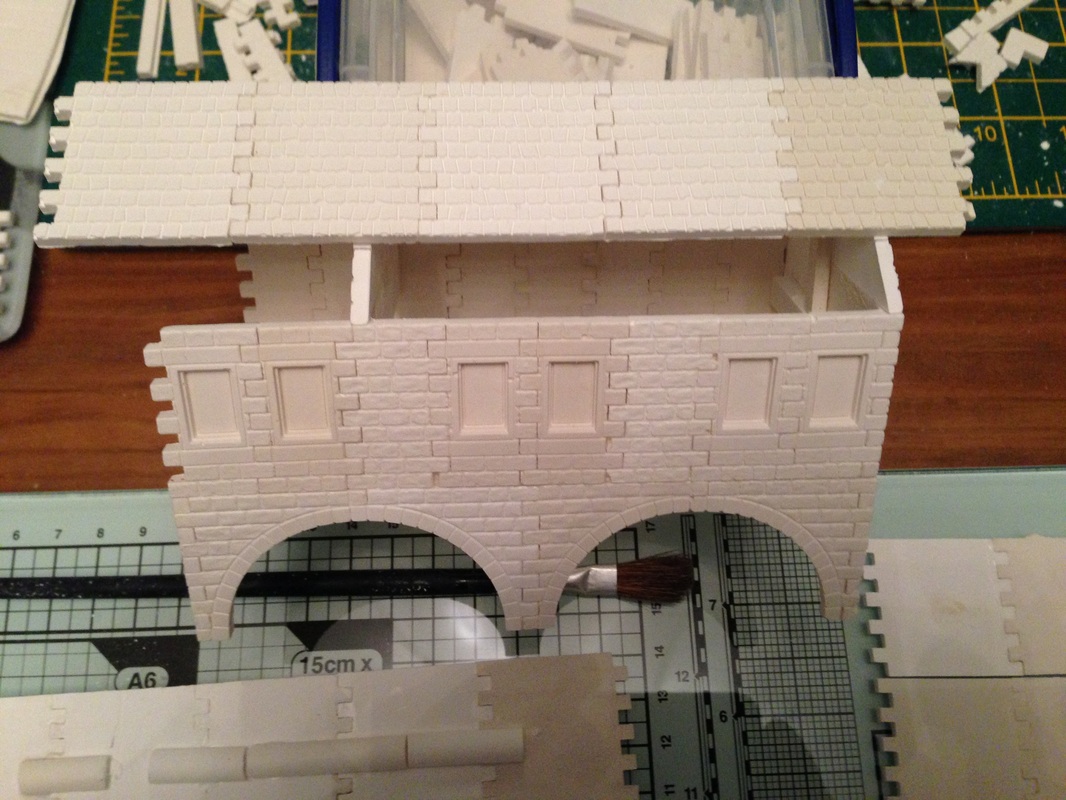
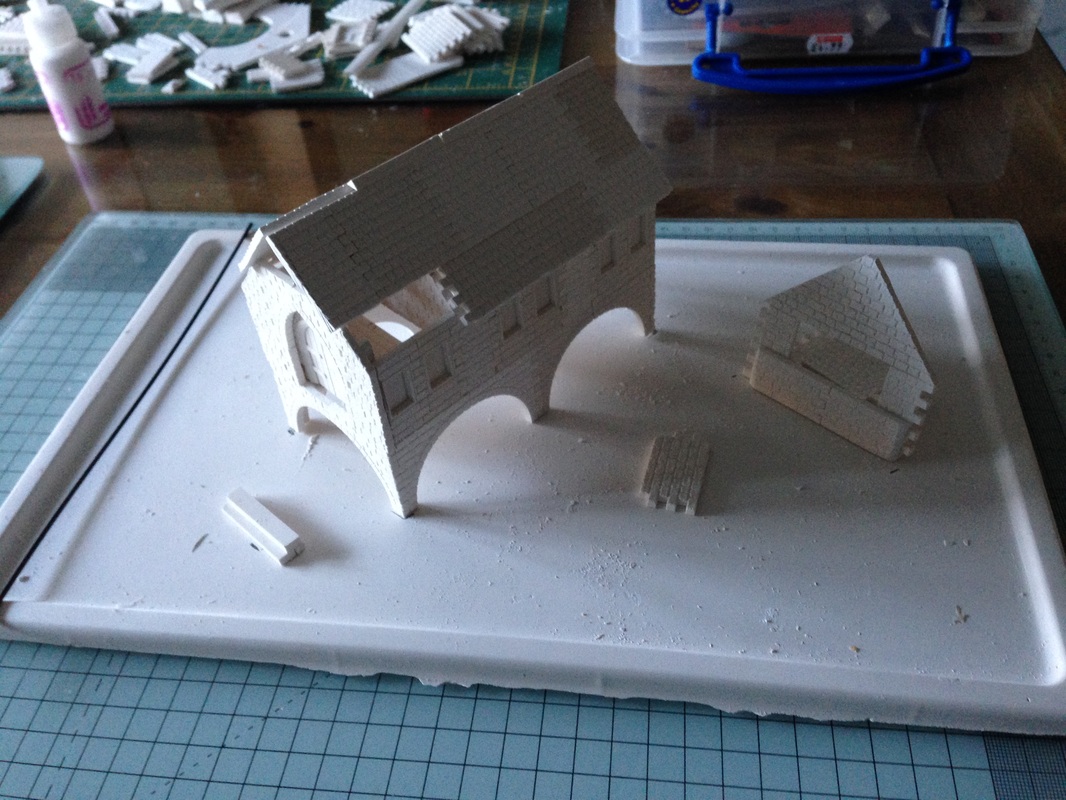
She glued all the sides together then added two plain stone back walls and added a corner piece to keep everything square. while the model was drying she started making the other side. You will notice we are building this upside down as the arches are fairly delicate so it makes sense to do it like this. then we just worked around the building in stages adding the corner arch casts, the second side was added and again the arches added on to. In the final picture here you can see we have made a base for the model by pouring casting mix into the top of a large Very useful Box lid, which makes a perfect base. so this was the end of this 3 hour session. 25th Feb 2014 |
|
|
|
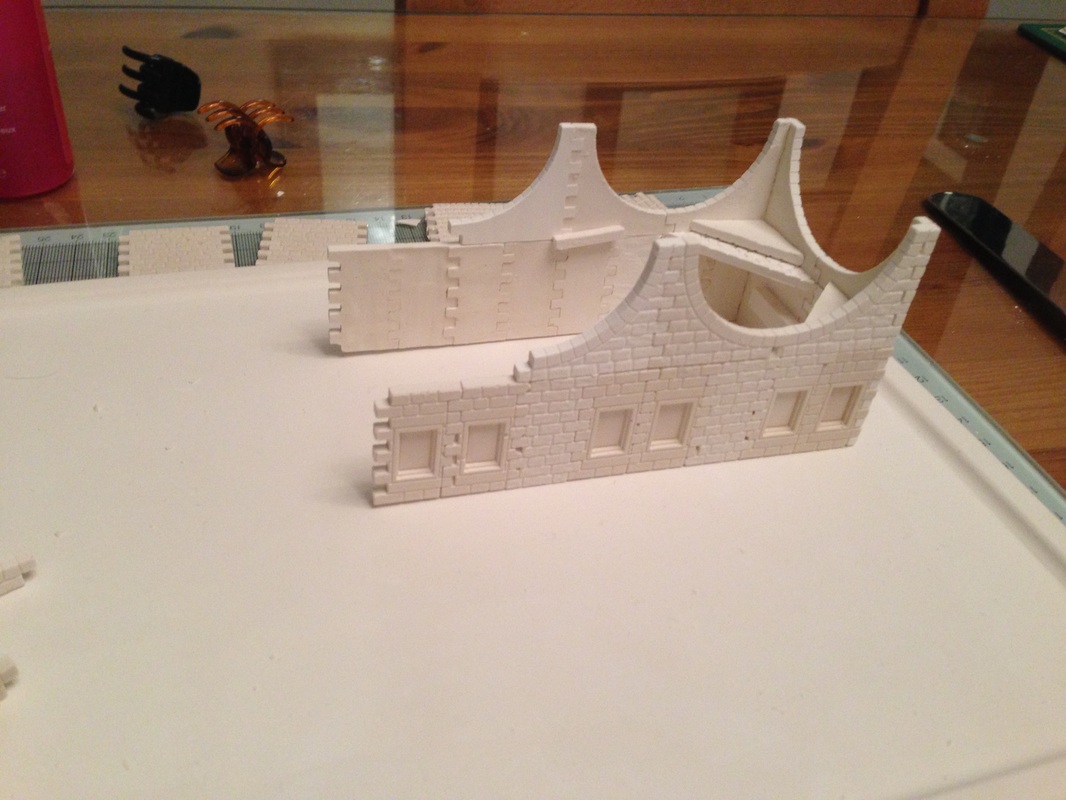
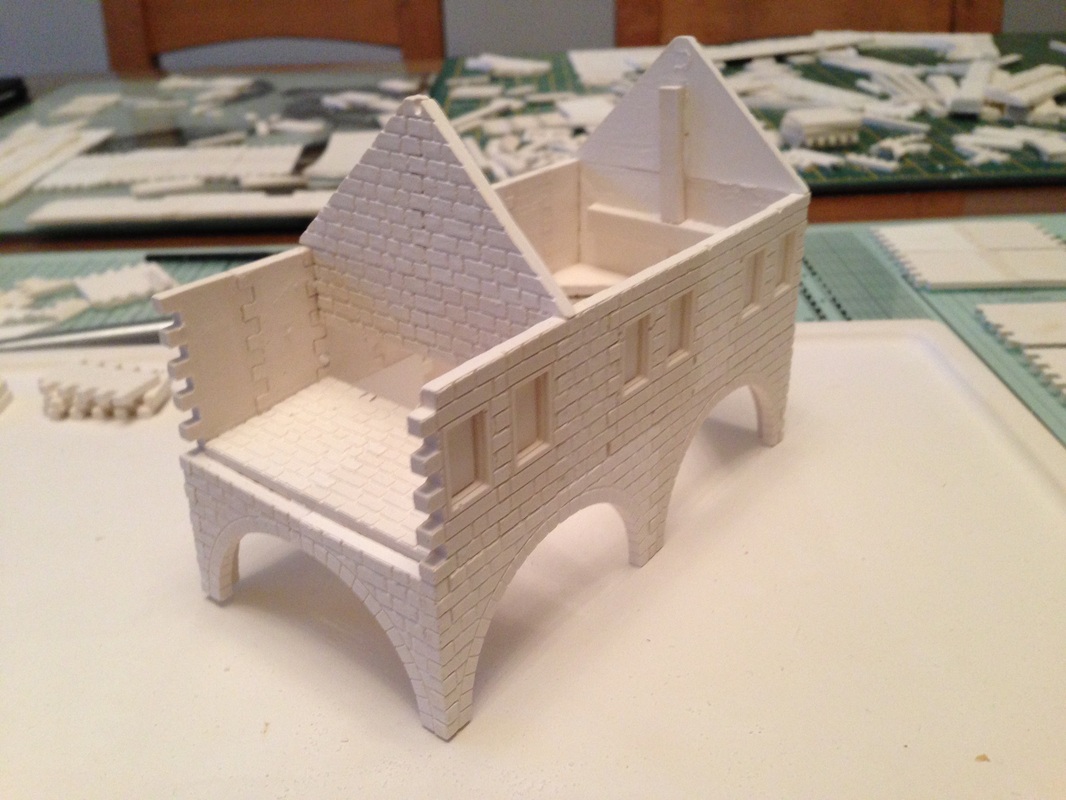
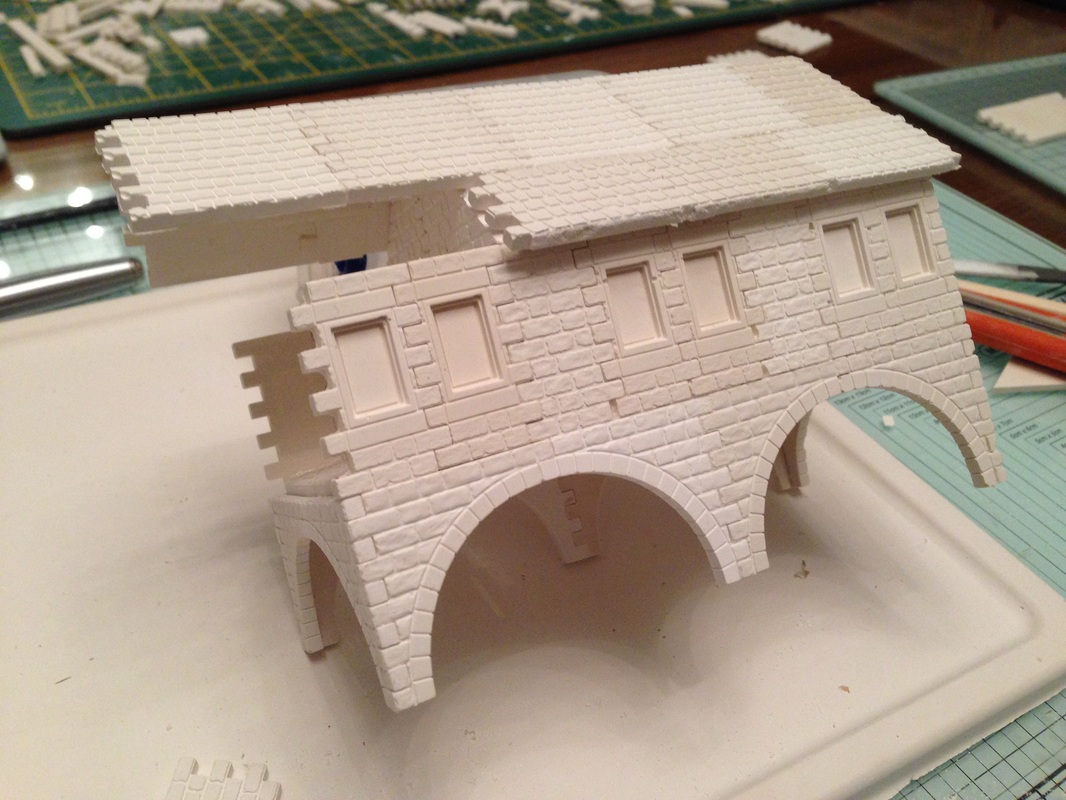
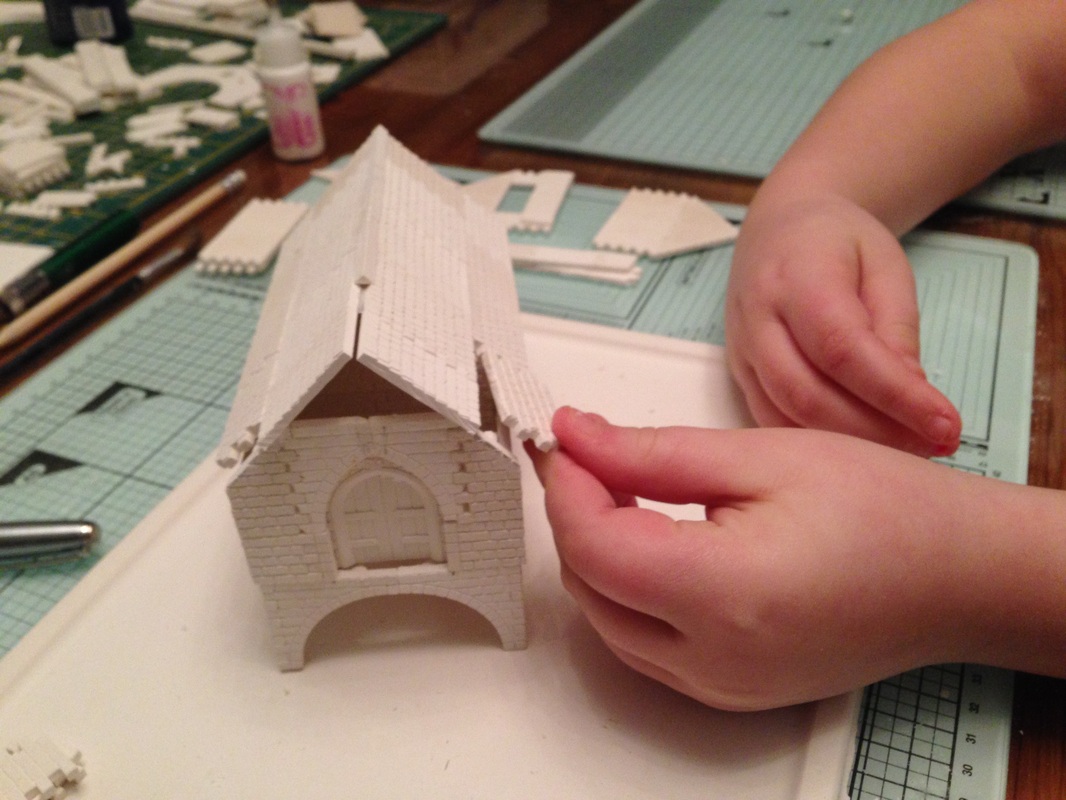
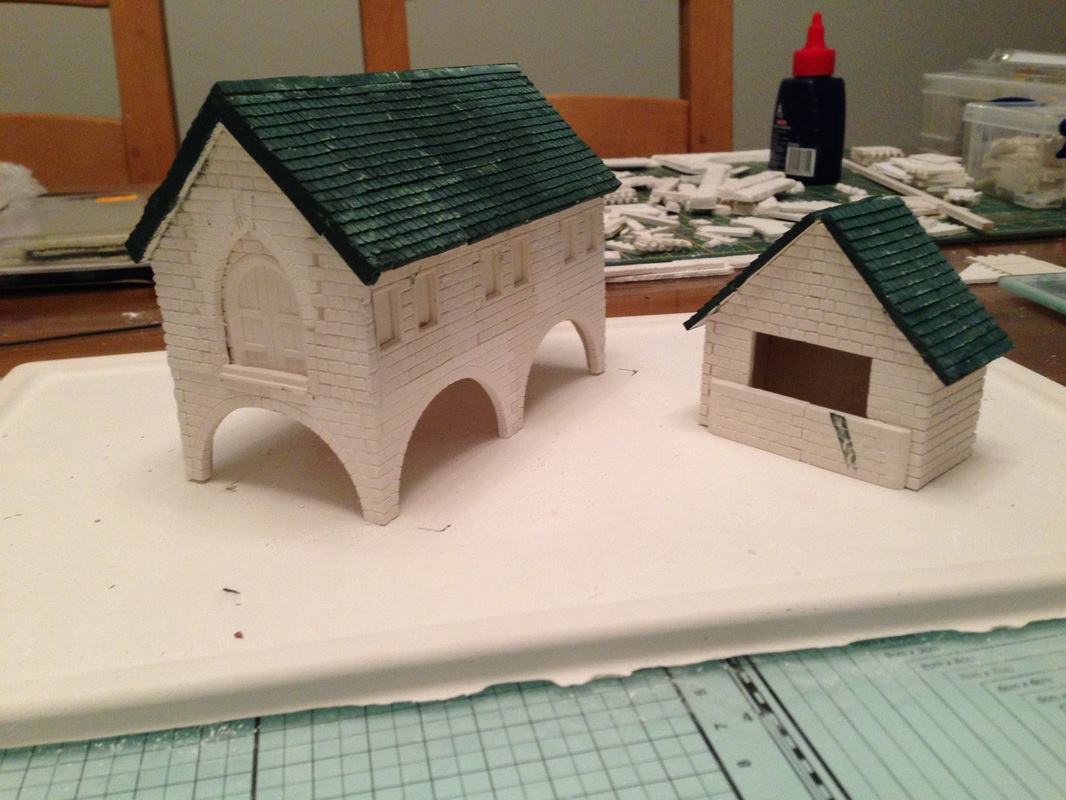
Here we start our next session, about 5 hours - Ria is making more R2 Roof casts ready to add to the model, we also add the roof apex to the back of the building and create one further down the building for added support.
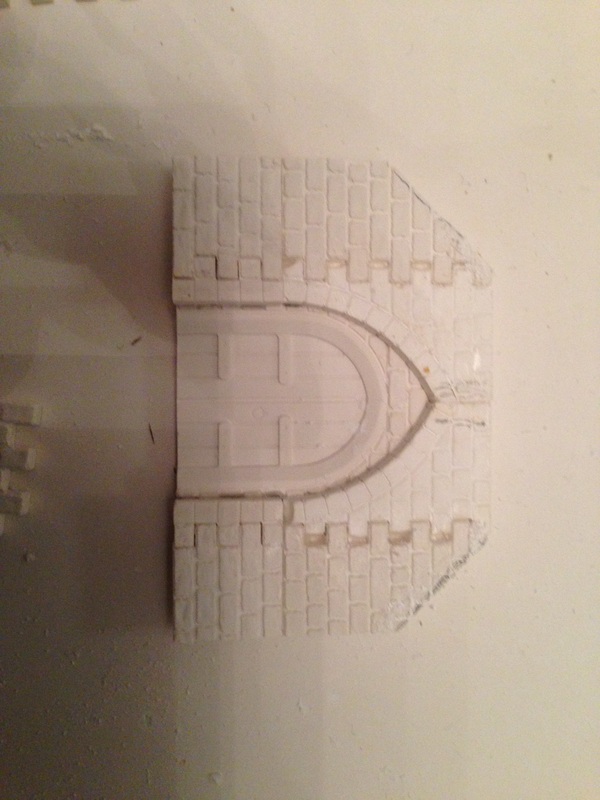
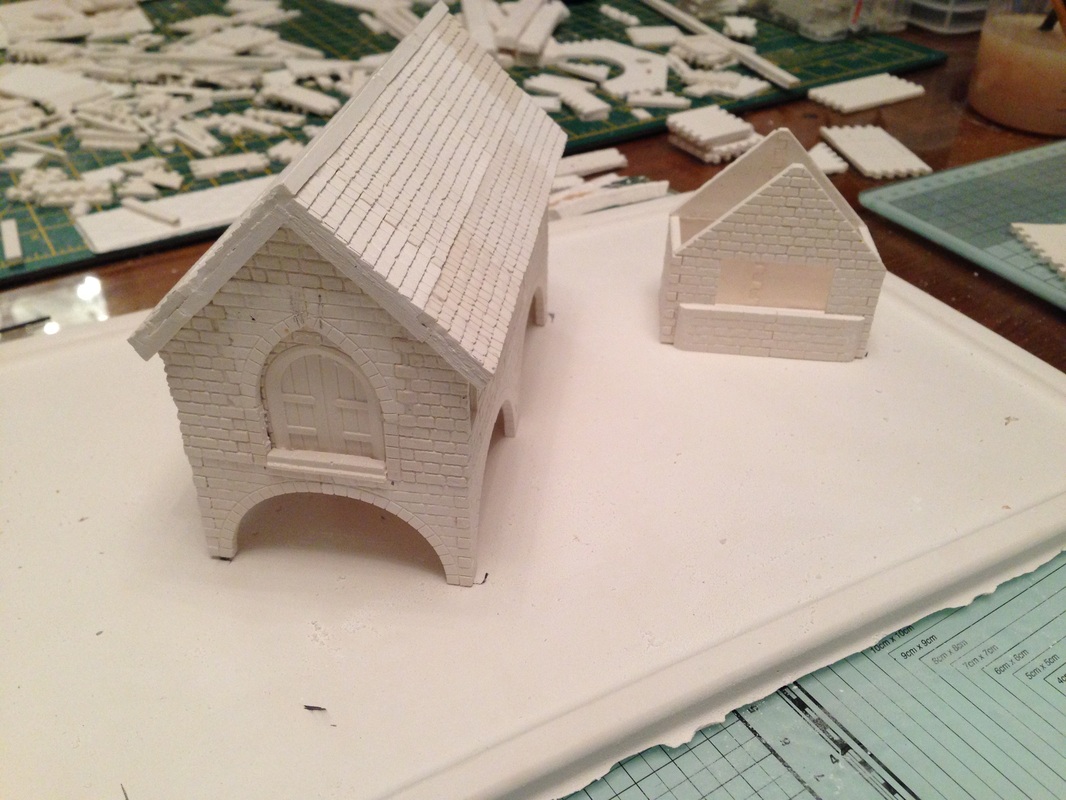
Tip. Be careful to add the centre roof apex where no windows are We decided we would have to make a door as best we could so used the castle door and cut some arch pieces to glue over the top to get as close to the original as we could. At the same time we started adding the roof casts, making a strip of roof on the table first then adding it in one long strip to the model. We then cut the outer edge of the made up door so that we could insert it into the front. You will also see that we started adding the roof caps from the back of the building. In the last image in this session you can see how far we got, its a good idea to let everything dry now so we will be completing the model in our next session and begin the preparation for painting. Last updated 03 March 2014 |
|
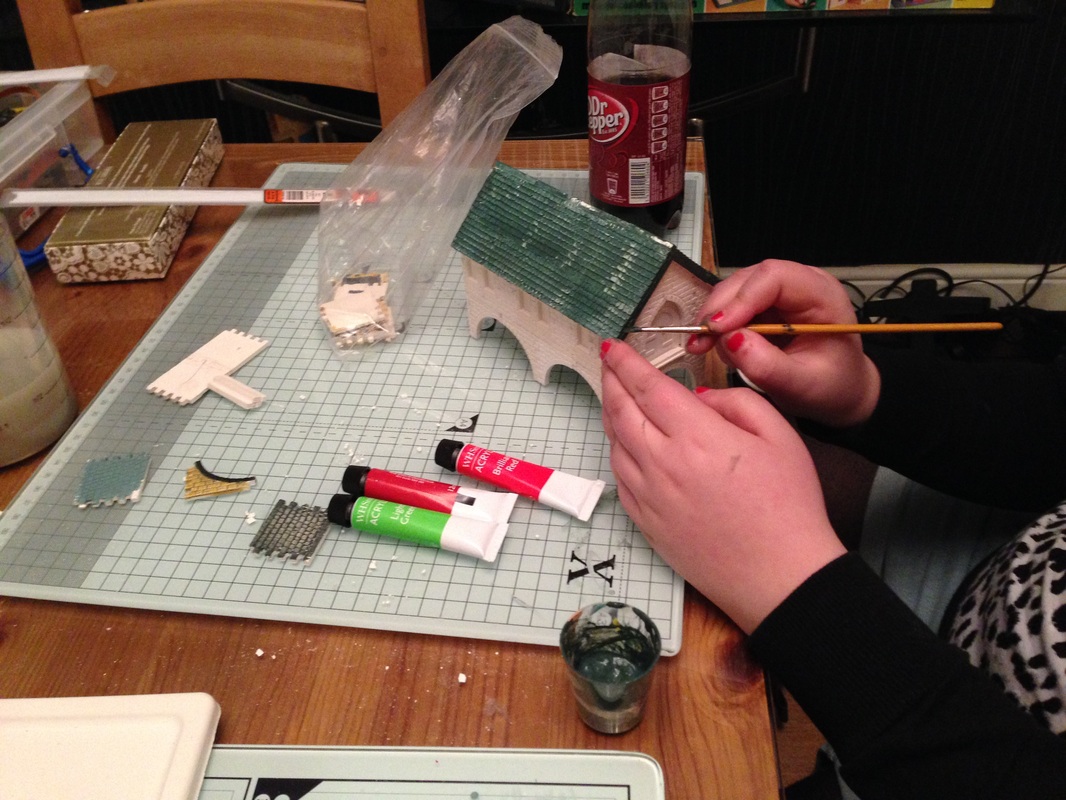
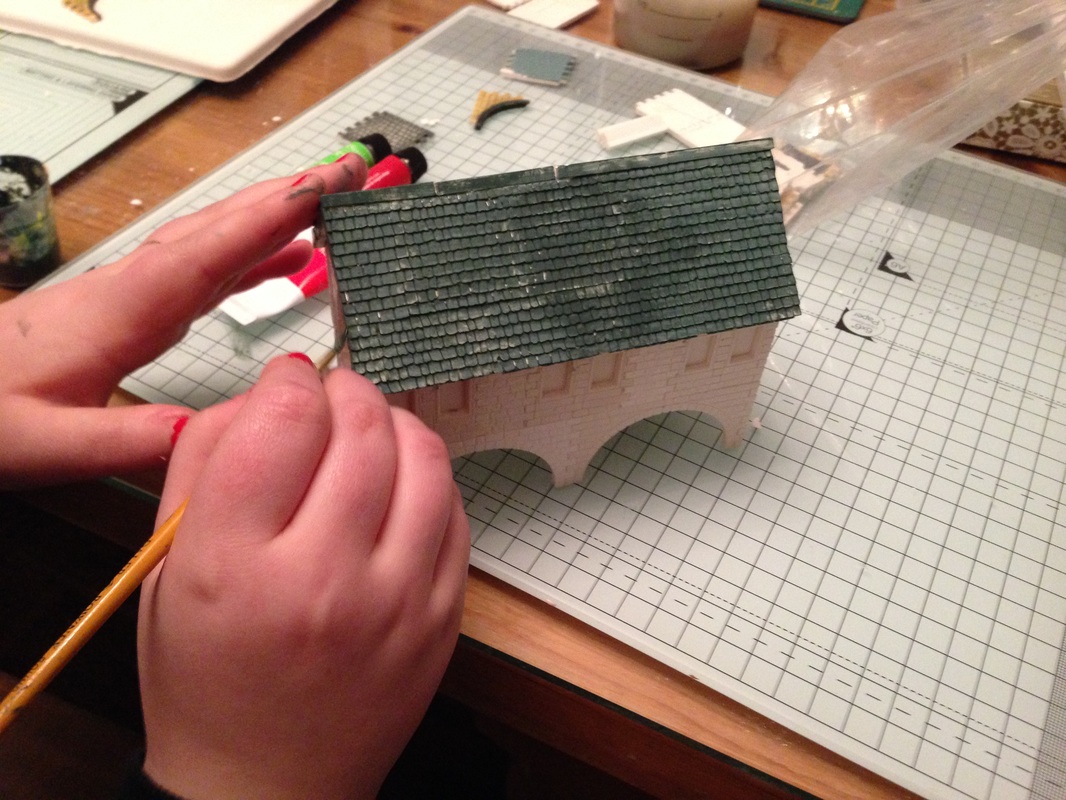
Here we are finishing off the final casts, then filling in any small gaps with PVA as well as sanding any rough parts.
Then painting the whole roof in a green colour as a base coat, this shows up any minor defects we have missed so they can be fixed and painted over |
|

Please come and visit this project again soon as we will be adding more over the next few weeks