Project 06 - The CottagesLast Update 28-Jan-2014
|
Overview
Based on the original Linka Plans this is a set of stone built cottages with my own added twist, you will be able to see how I have extended from the plans to put my own imagination into this build |
|
|
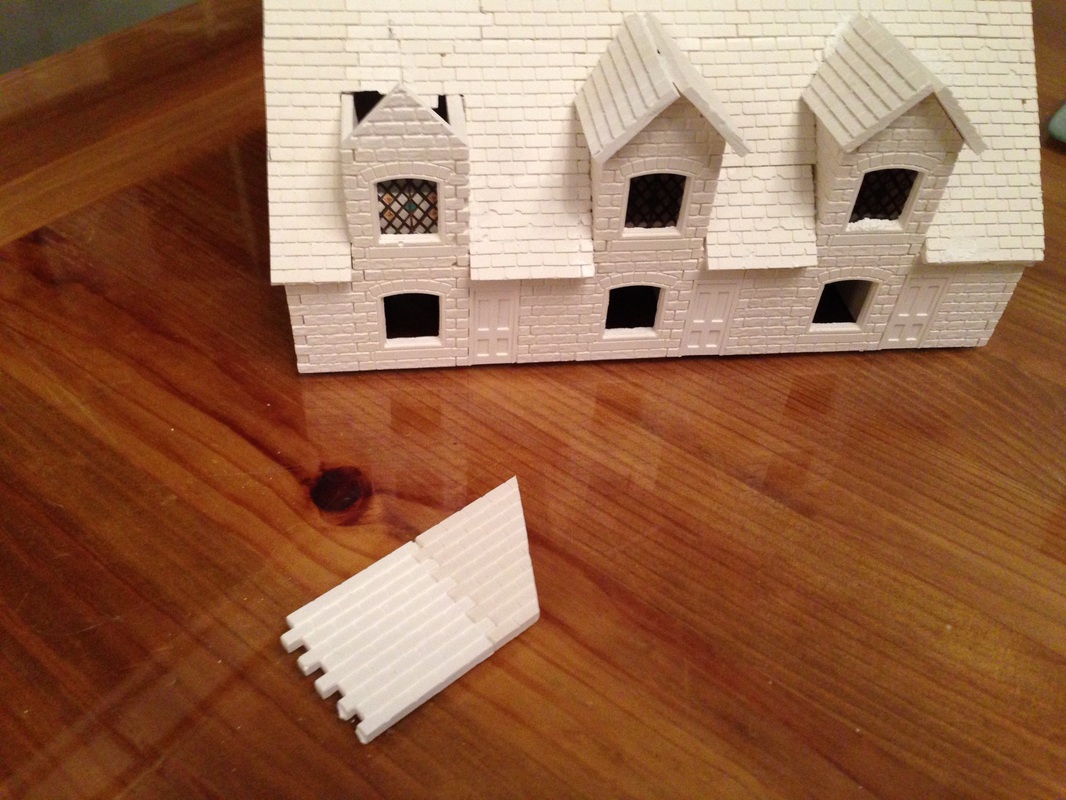
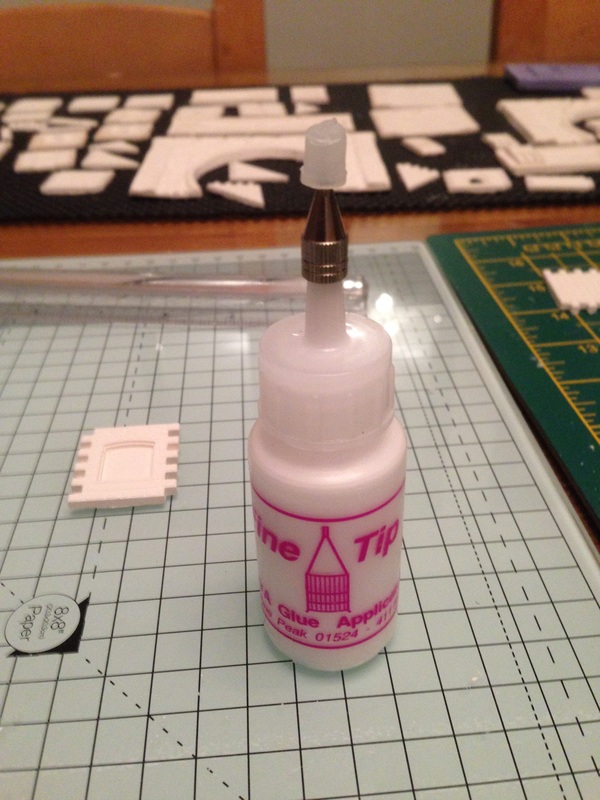
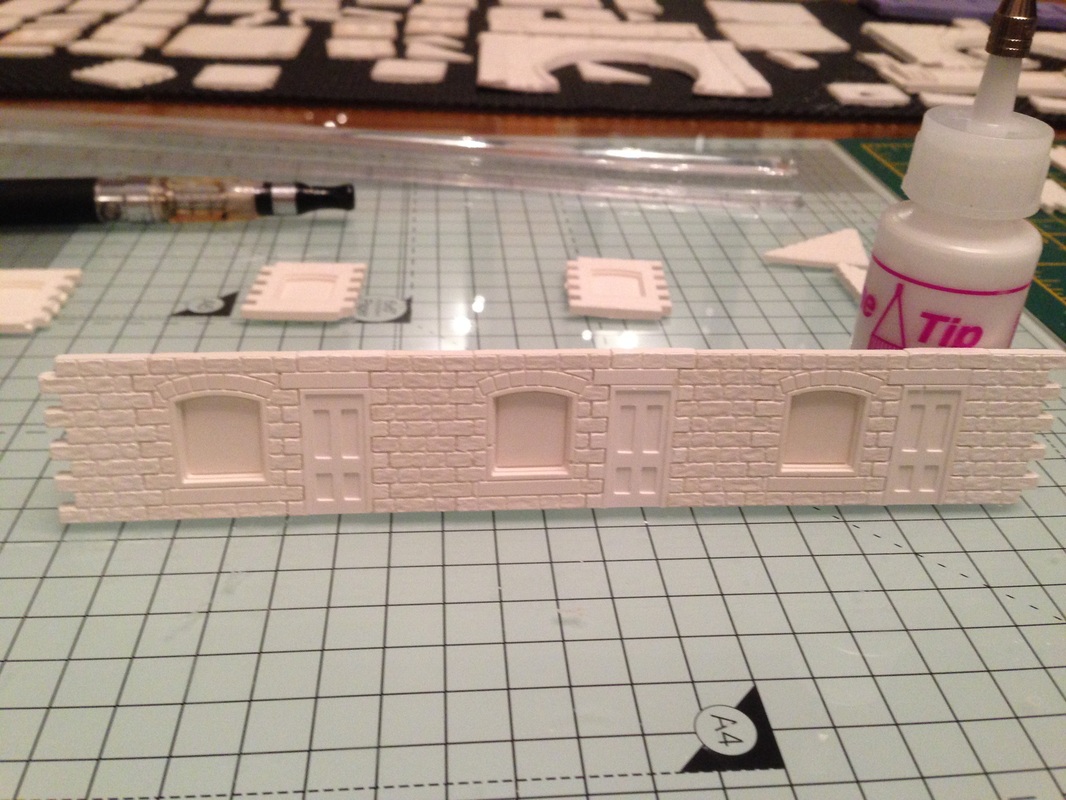
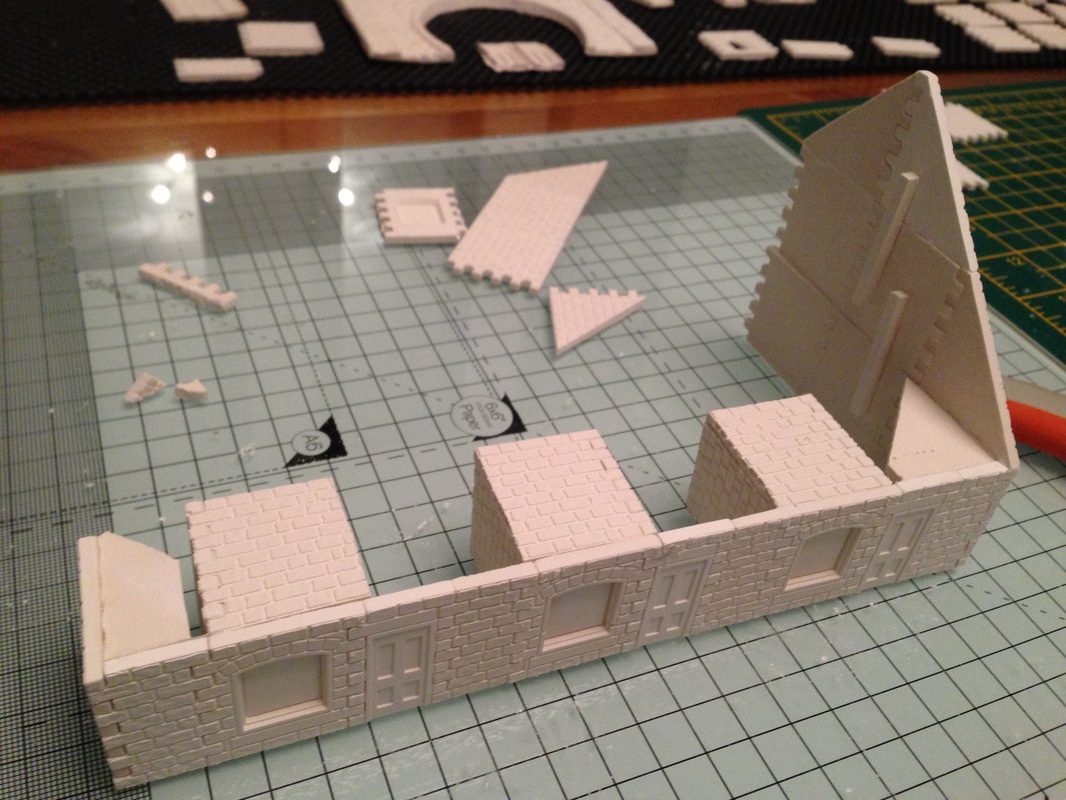
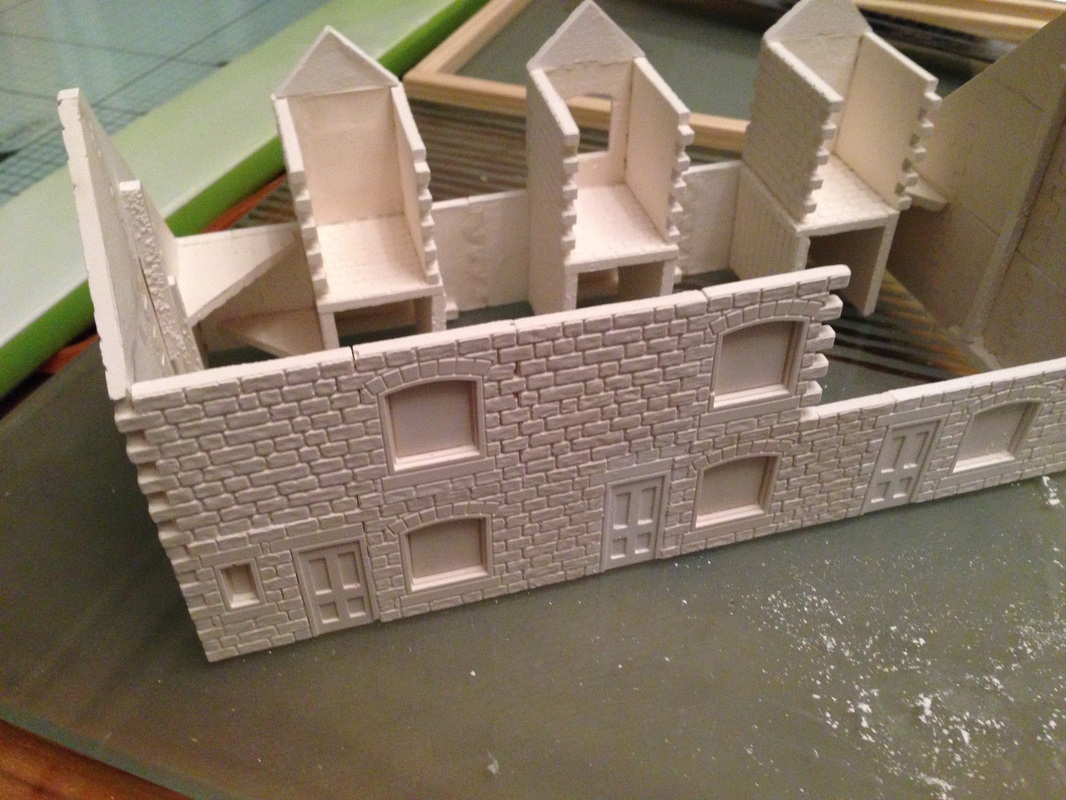
From left to right you can see here I am using a Fine Tip Glue applicator filled with Evo Stick wood working PVA, if you want to get hold of one there is a link to it on the links page. Then layout the casts for the front of the building, glue them together as in the 3rd image and lay them face down on the glass so they all keep flat until dry.
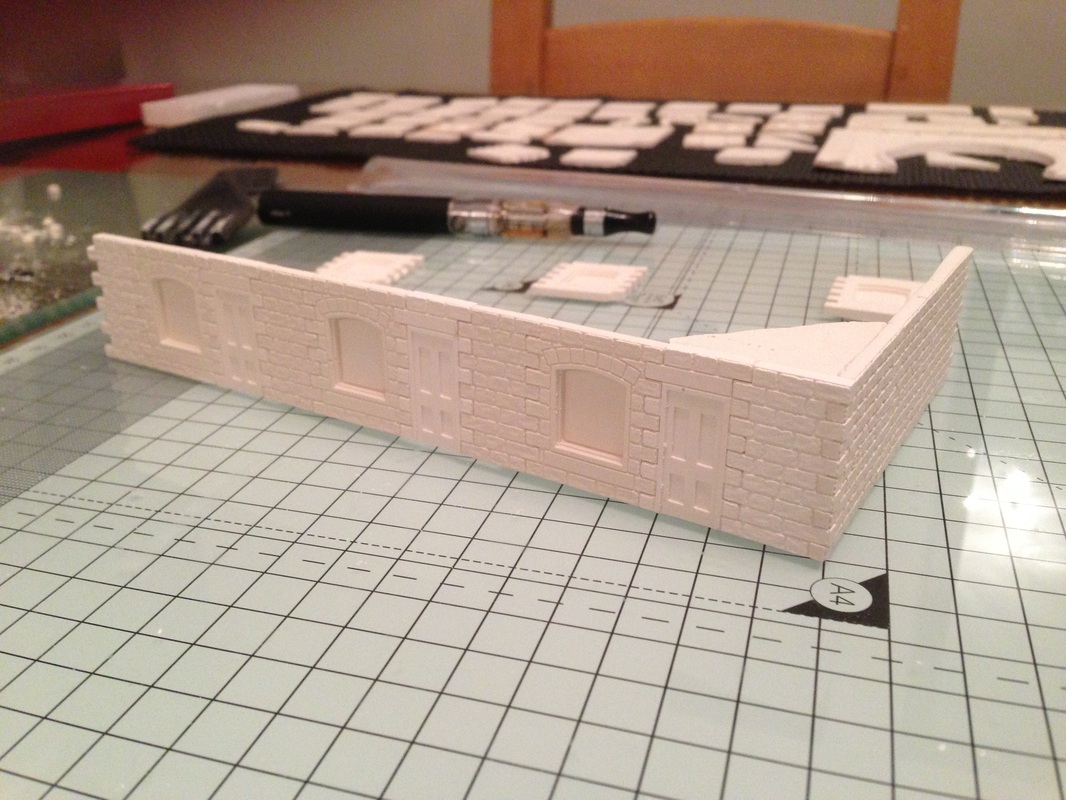
The next 3 images show adding the casts to the right hand side of the building, notice the corner pieces to keep everything square. while I am waiting for parts to dry I have started the dormers as you can see in the background. so I am always working on something while other parts are setting.
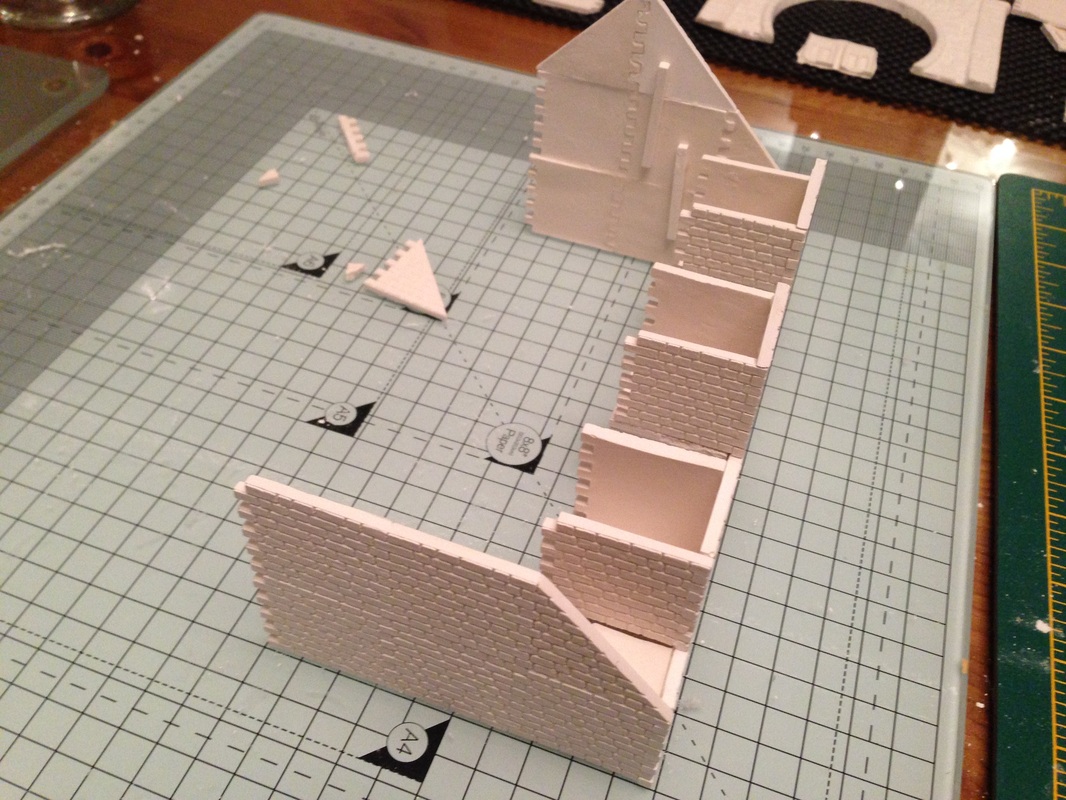
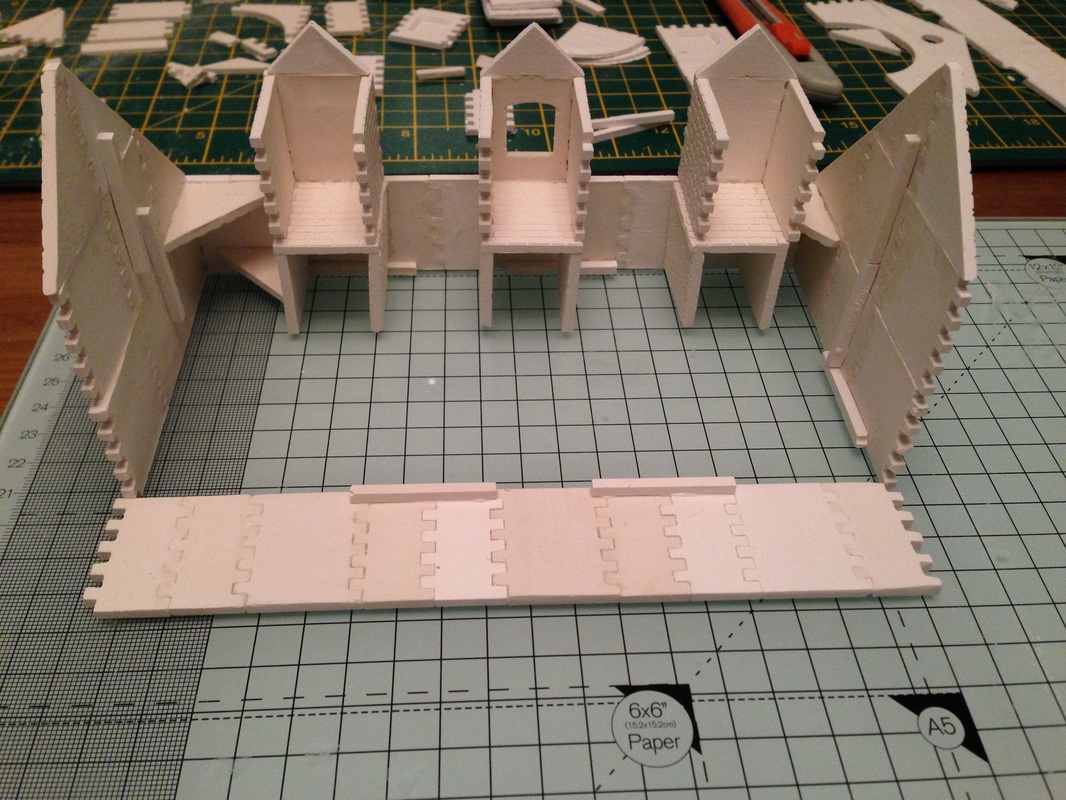
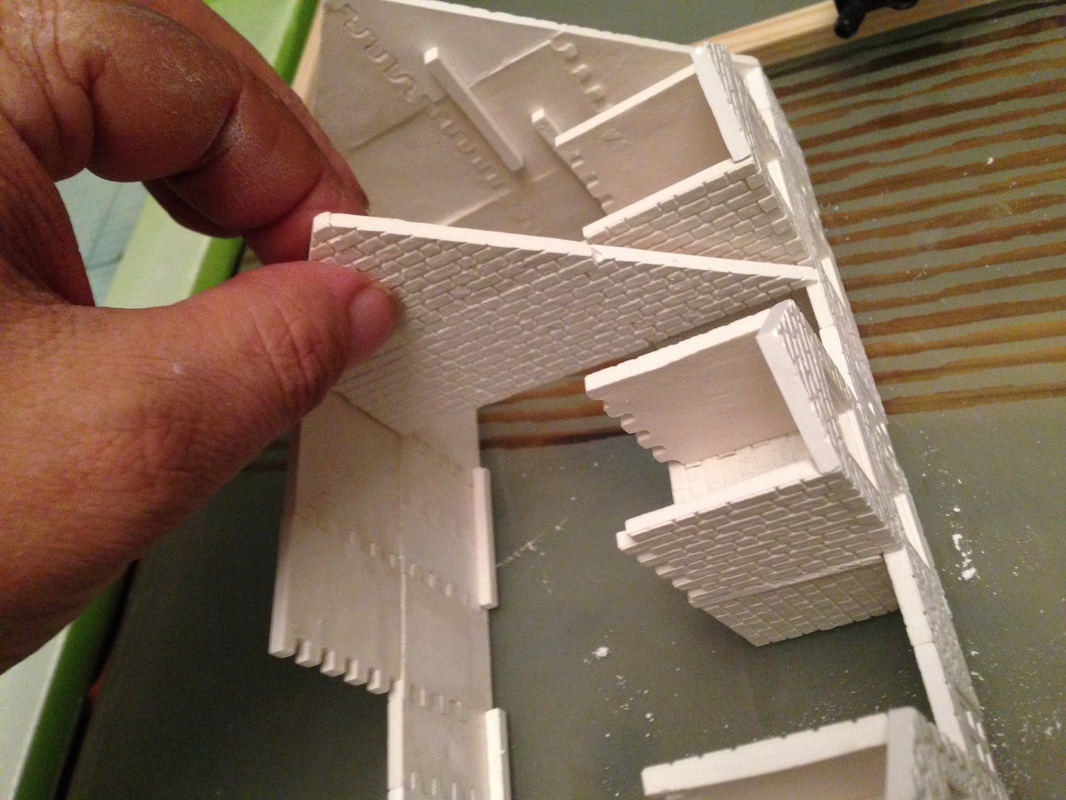
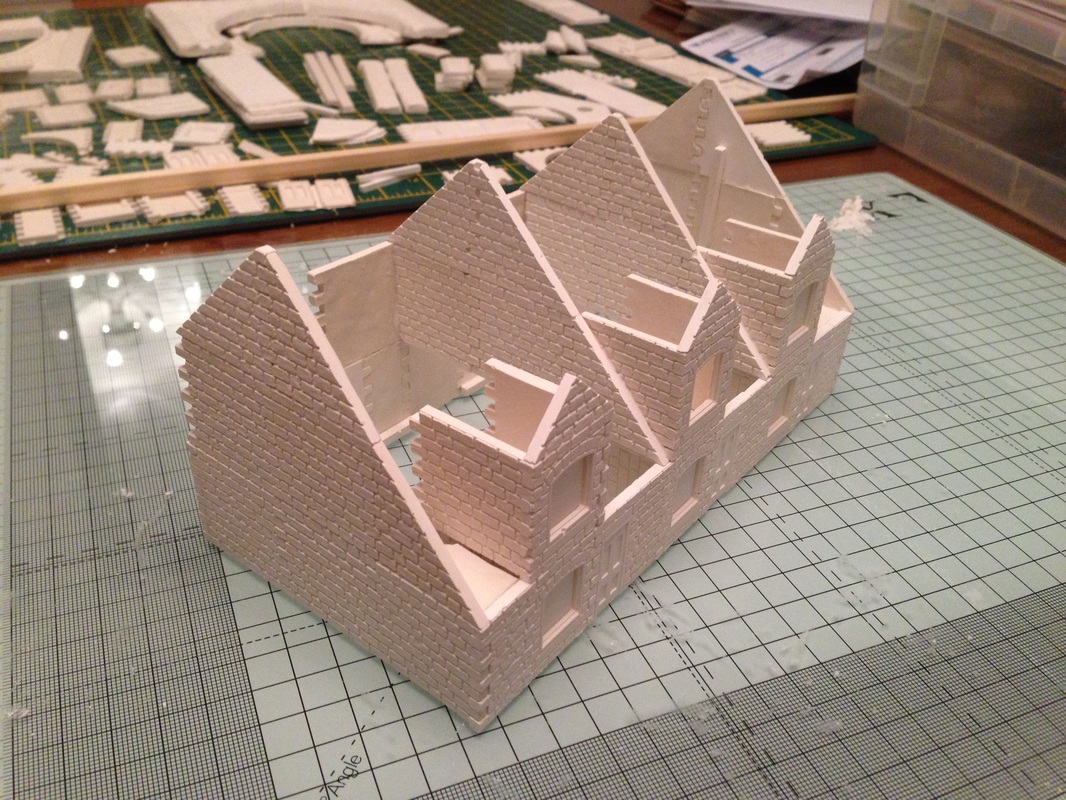
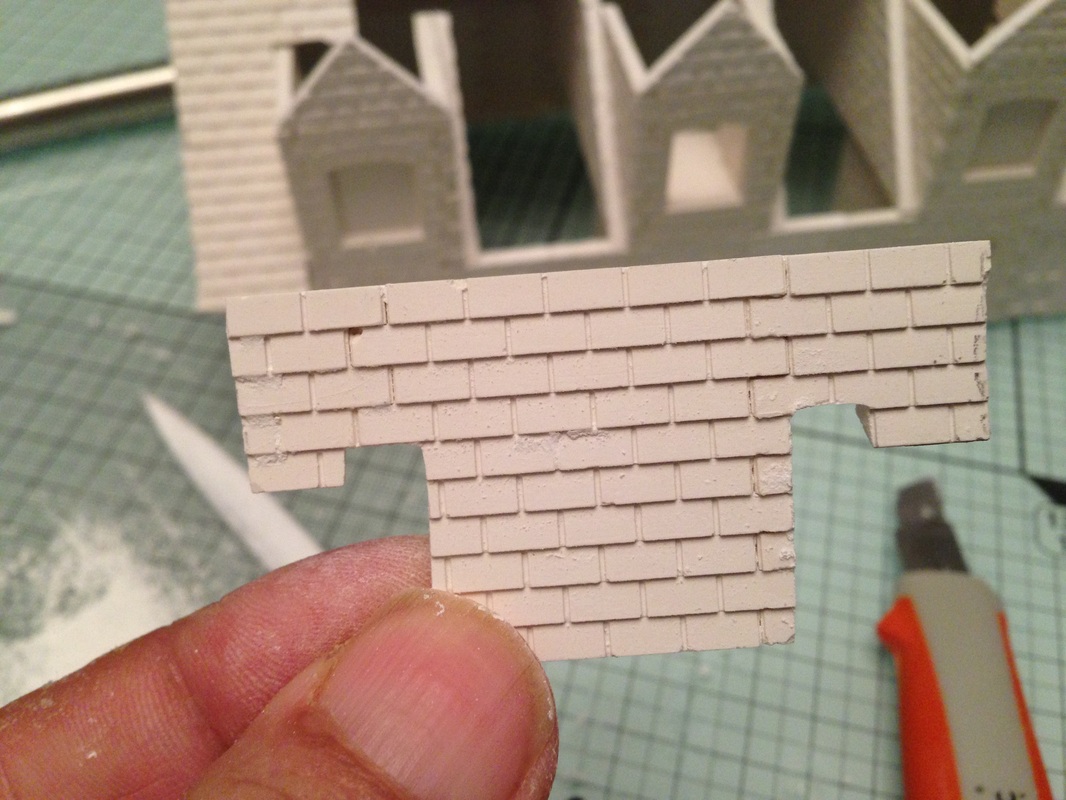
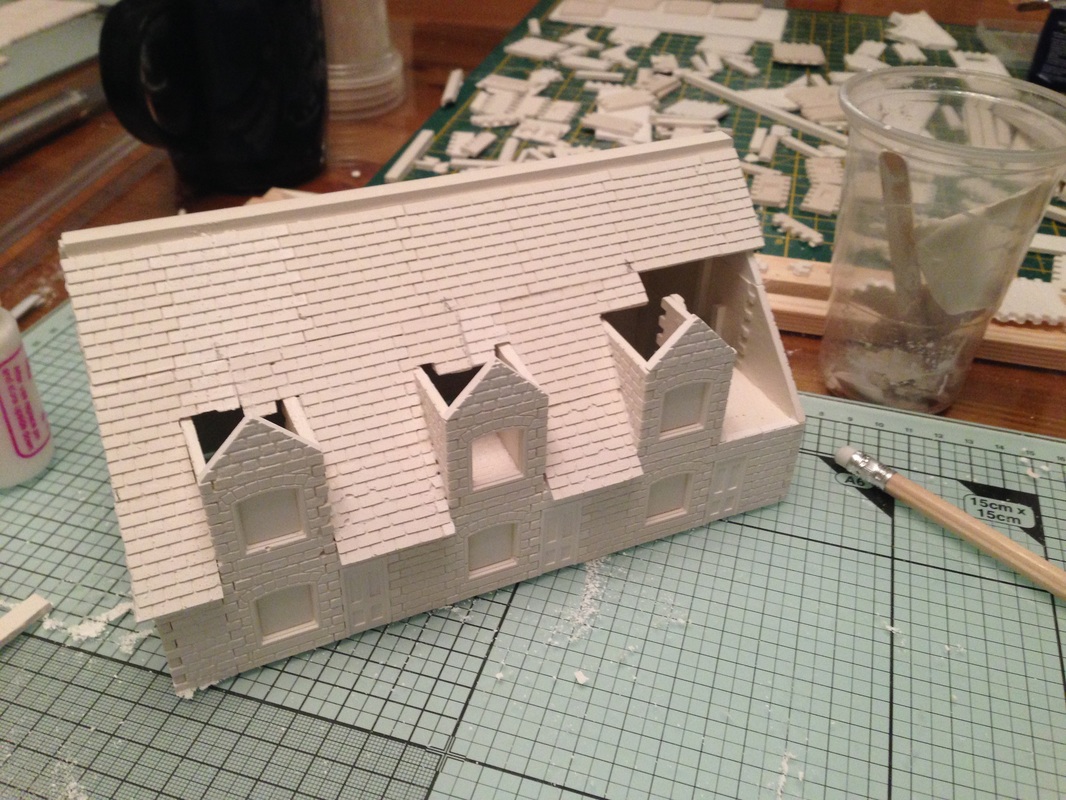
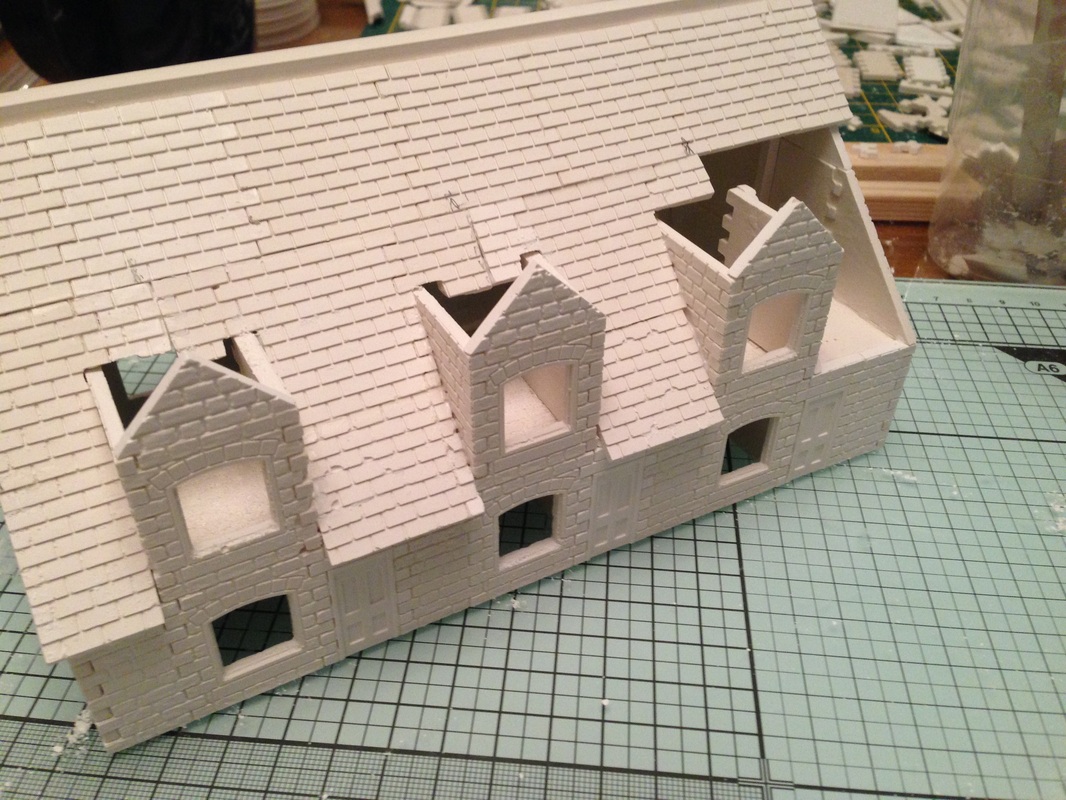
In the left image here you can see the small square matchstick type casts on the inside of the right hand wall, I put these in to keep everything lined up nice and square. also you should notice the dormer supports which are just 3 standard stone wall casts glued together, the bottom of them is hollow so I can glue the windows in after from the bottom of the model.
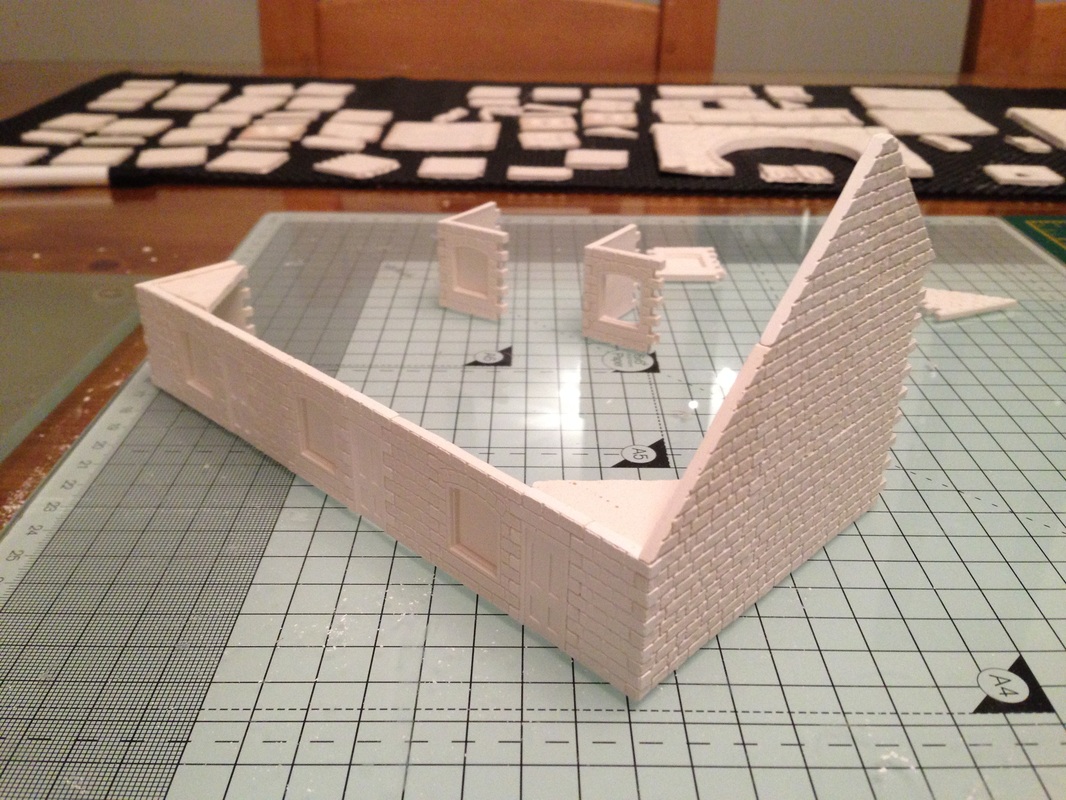
Next you can just carefully glue on your dormer sections until you end up with all 3 of them on the top floor. while they are drying you can also add the left hand wall just as you did on the right side of the building
In the right two images you can see I have created the back wall bottom floor and then attached it to the rest of the building
|


|
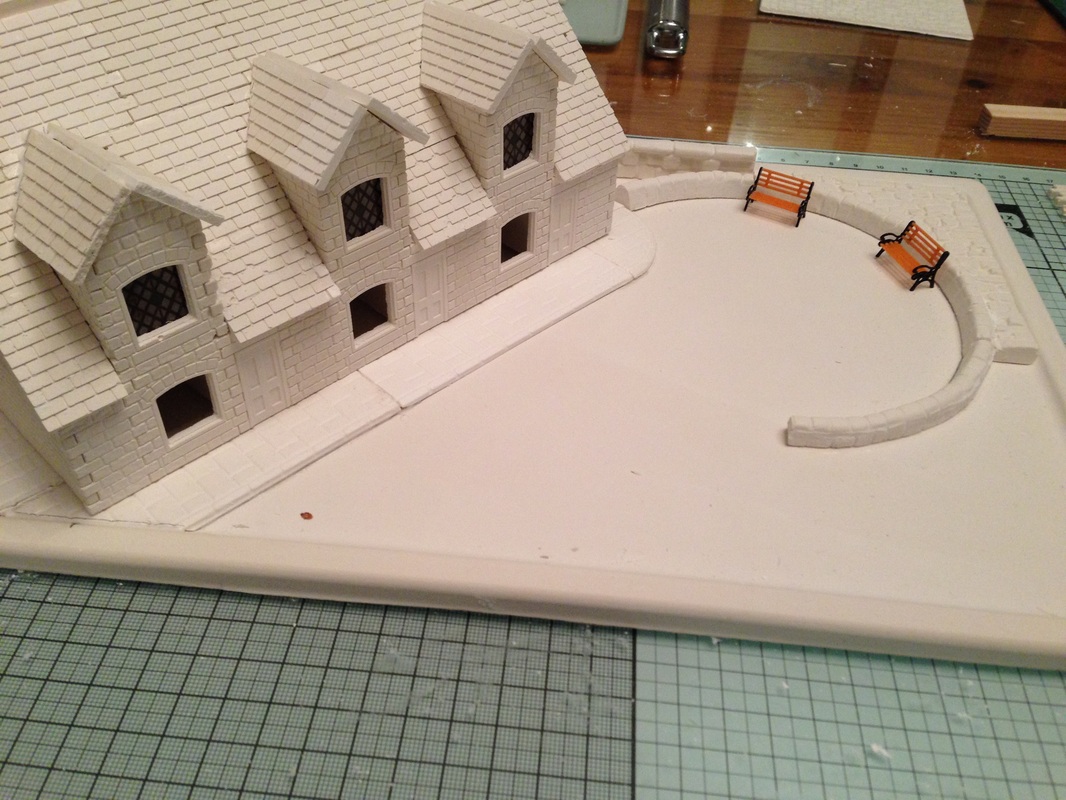
A little inspiration
While making this model I had been thinking of a base to put it on, then it came to me in a little flash of inspiration, why not cast the top of one of my "Really Useful Box" lids. it worked really well as you can see in the images here. Ok so your thinking why not just use wood, but I think it looks better in cast and I can always glue some felt to the bottom, lets see how it all turns out in the end I guess. |
|


|
|
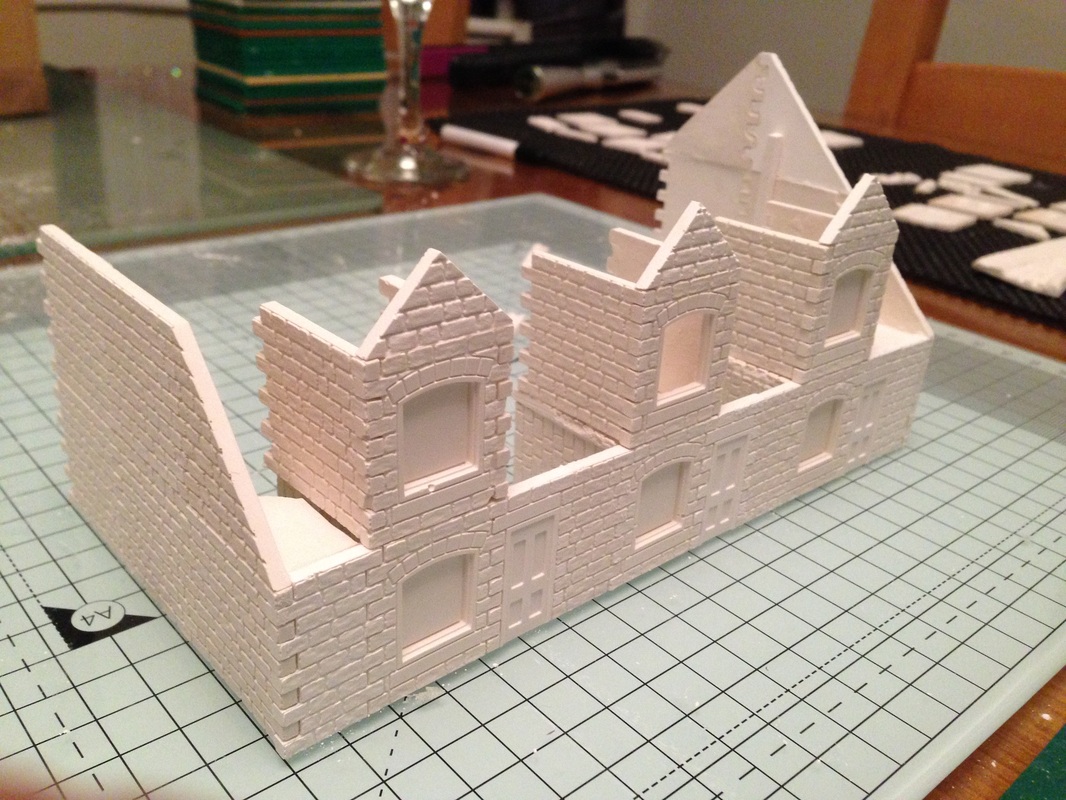
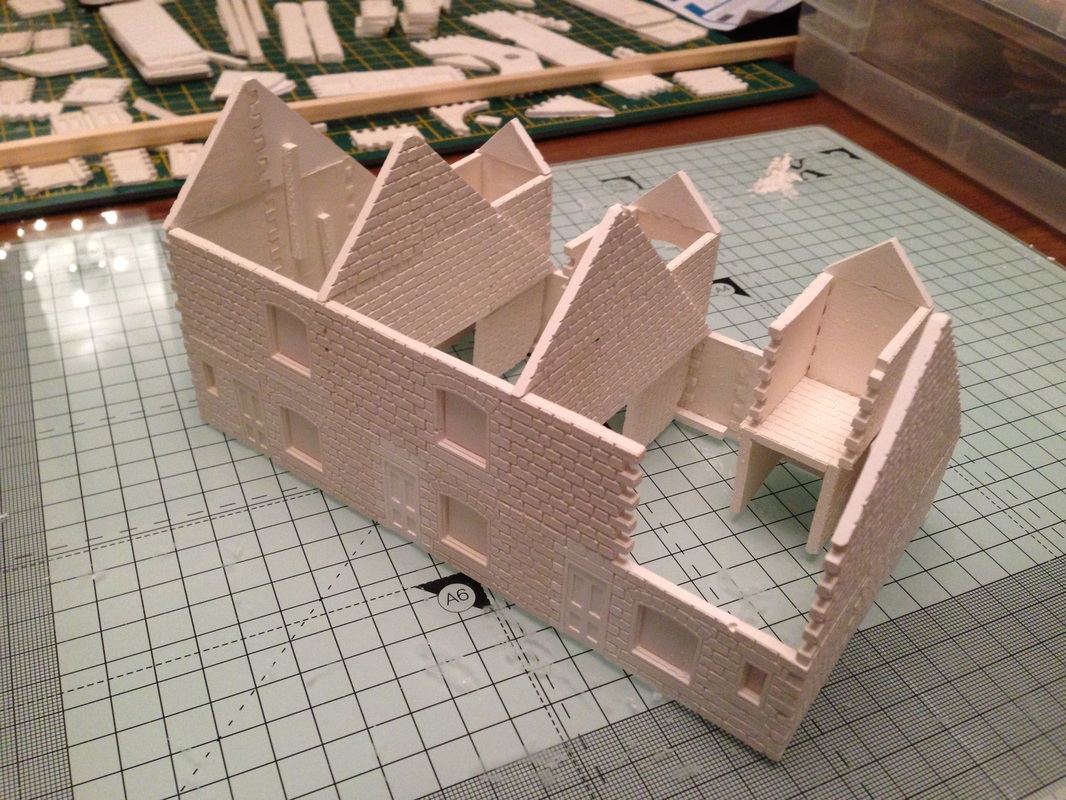
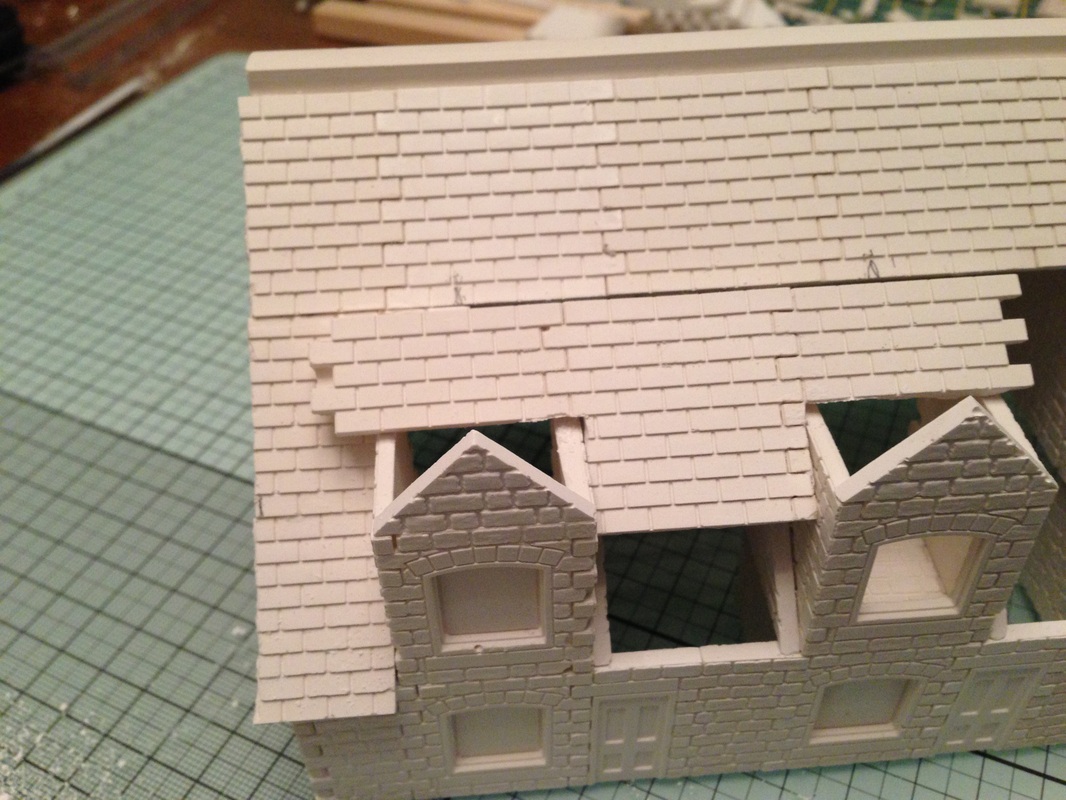
left Photo you can see I am adding the second floor to the back of the Linka Cottage model, then as its drying I am also making 2 roof supports which you will see in the 3rd photo will be placed at the side of the dormers, this will add strength and ensure the roof aligns properly
From left to right you will see I have bonded the main two roof supports in place so the roof will lay across the structure. Next you will want to glue some small apex sections to the other side of each of the dormers, again to support the roof that will go between them, in the right image I have put the model on its side so the small apex pieces do not move out of place until they are set So now in the left photo you should be at the stage where you're ready to start adding the roof. |


|
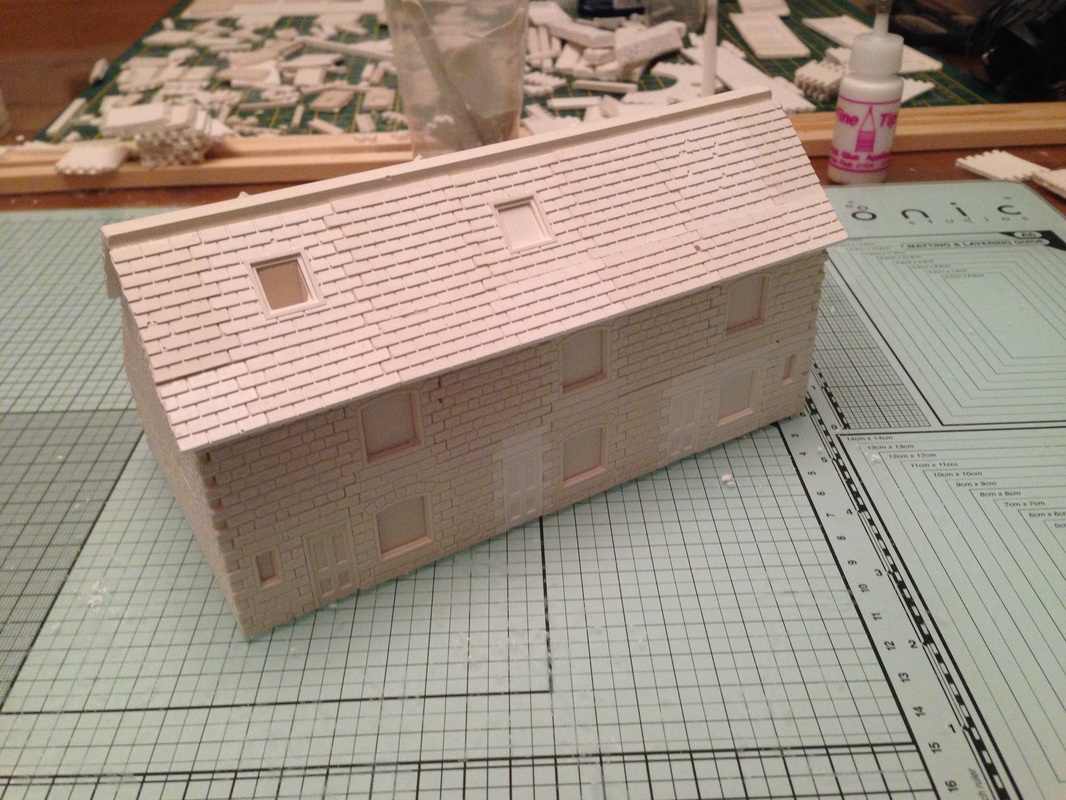
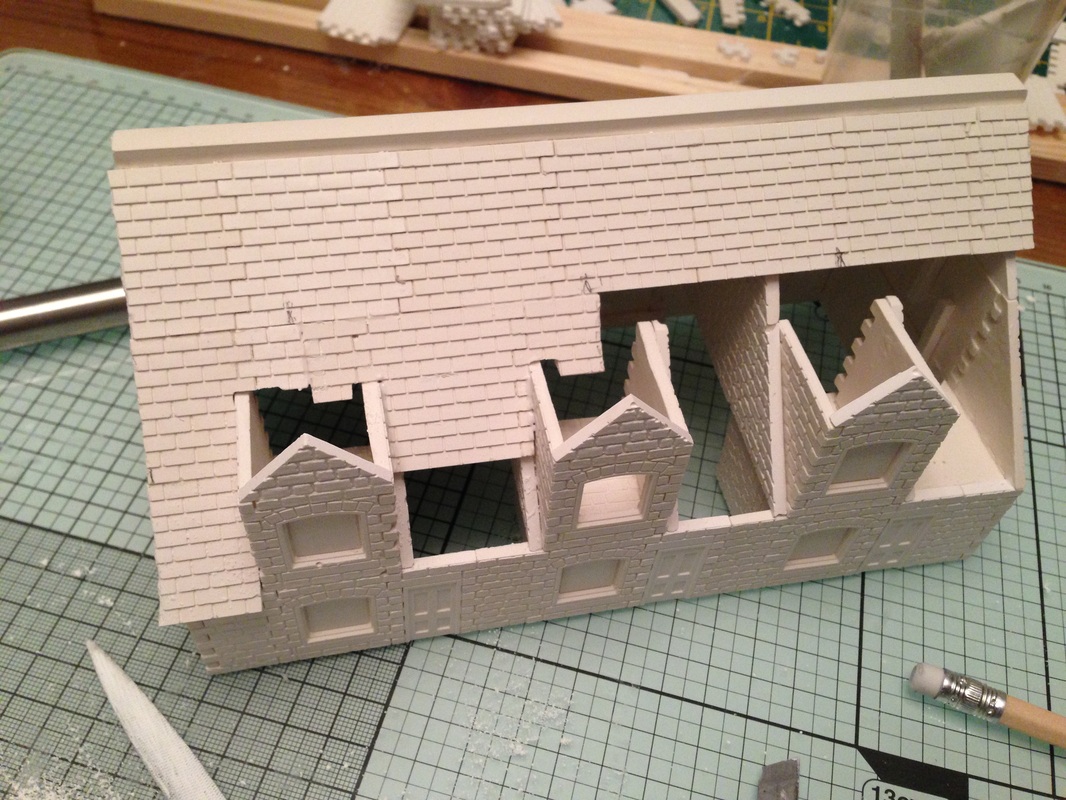
In the first image you will see I have all one side of the roof in place, there is a video showing this being done on the Linkaonline Video Channel.
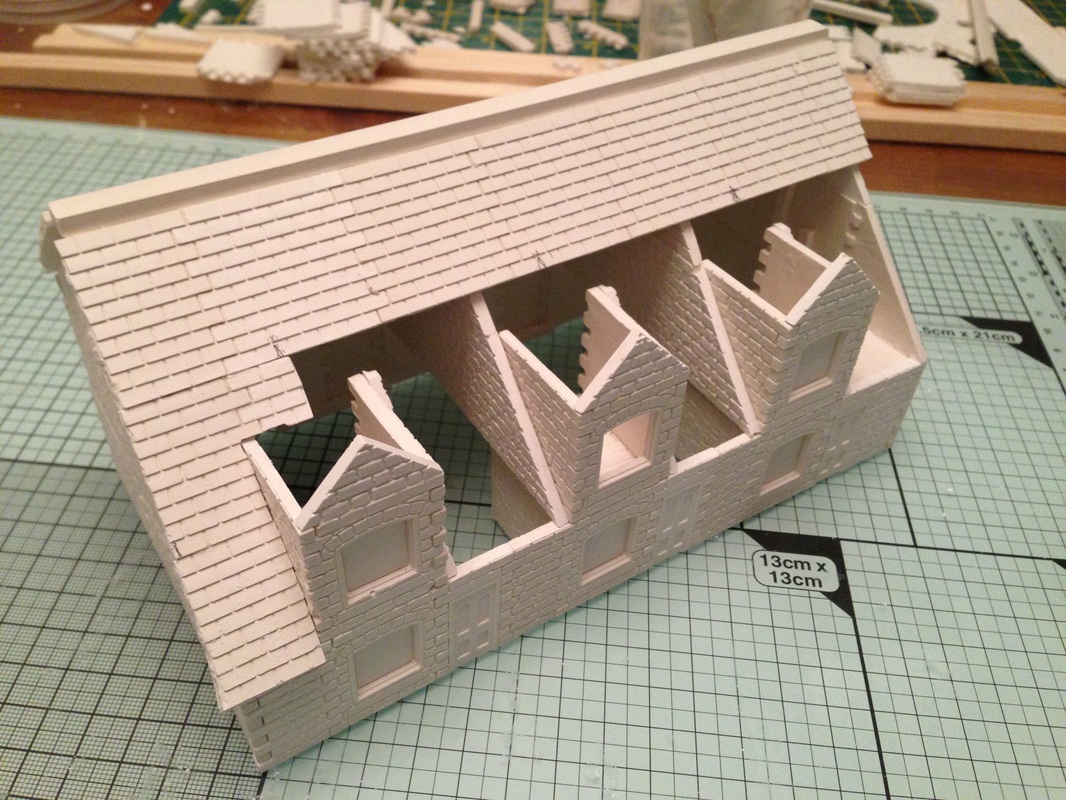
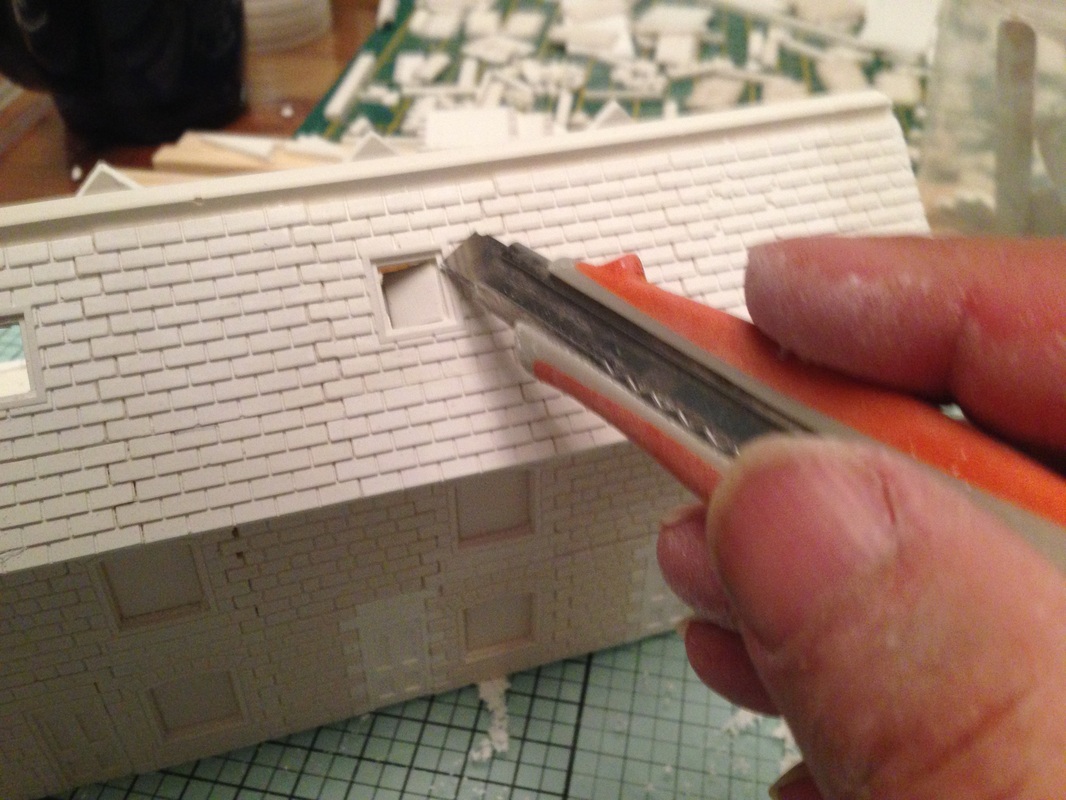
Adding the second side is a bit more tricky so here I will talk you through it. Work from left to right and create small T sections of roof, the apex of each of the dormers will cover up the central joint as you will see a little later, you can use a piece of cardboard to make a template, although I don't usually. It takes a bit of time and a lot of patience but if you just take it steady and keep filing small amounts you should be fine, adding the roof in small steps like this means if you break a casting its not such a big disaster. As I am waiting for one side to dry I have started taking the window centres out and filing everything smooth. this is a good time to do it as before we add the apex roofs we need to put the acetate plastic windows in place as I will be doing in the final part of this build 24th Feb 2014 |
|

|
|
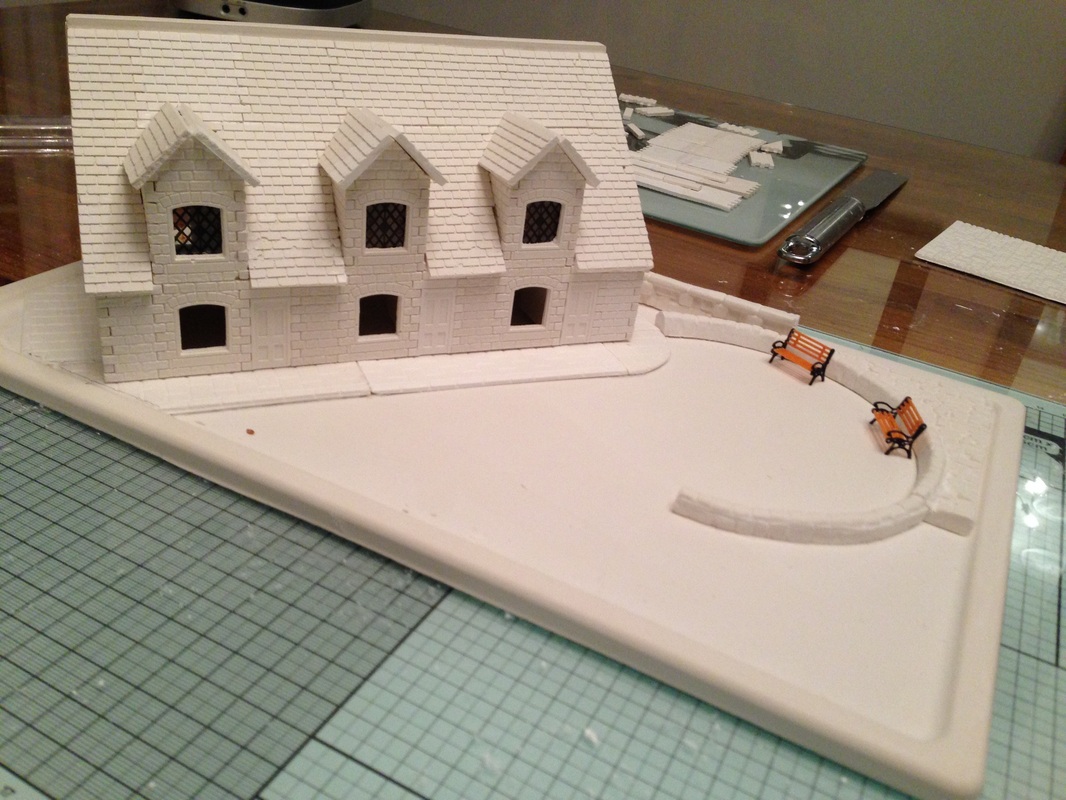
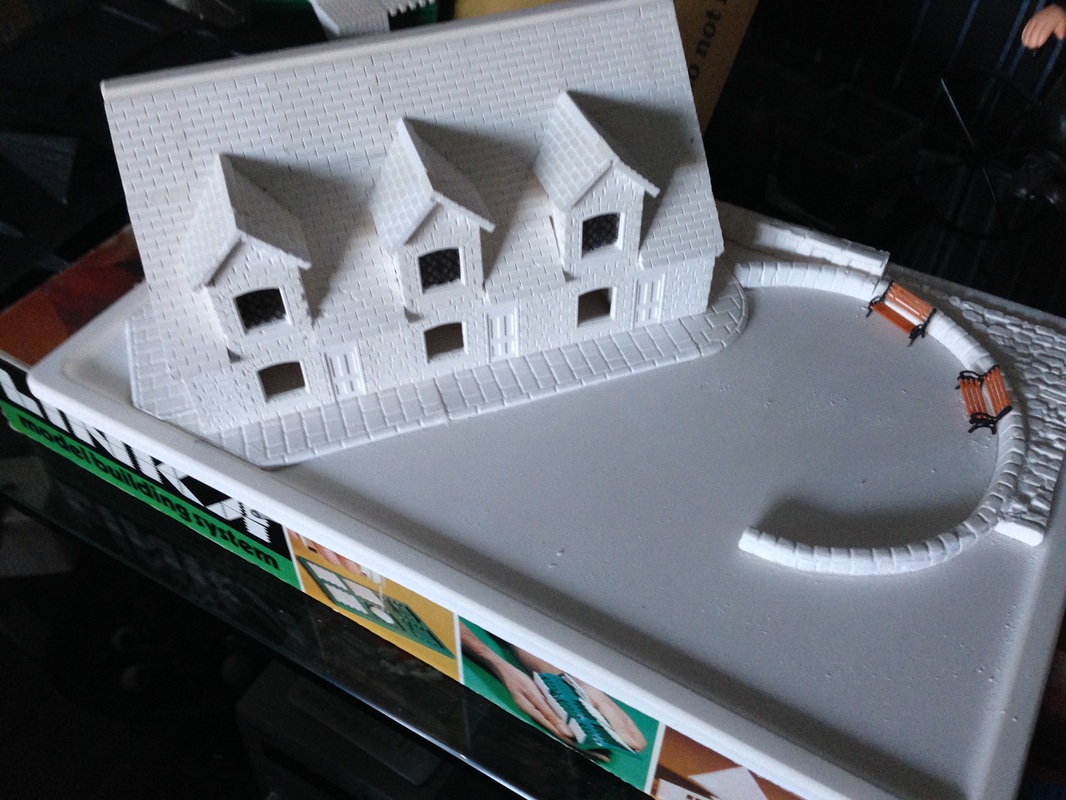
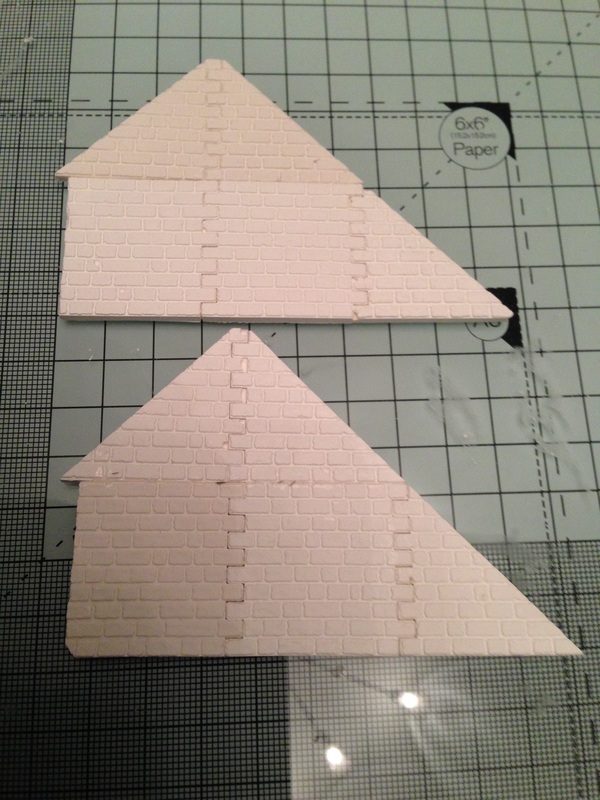
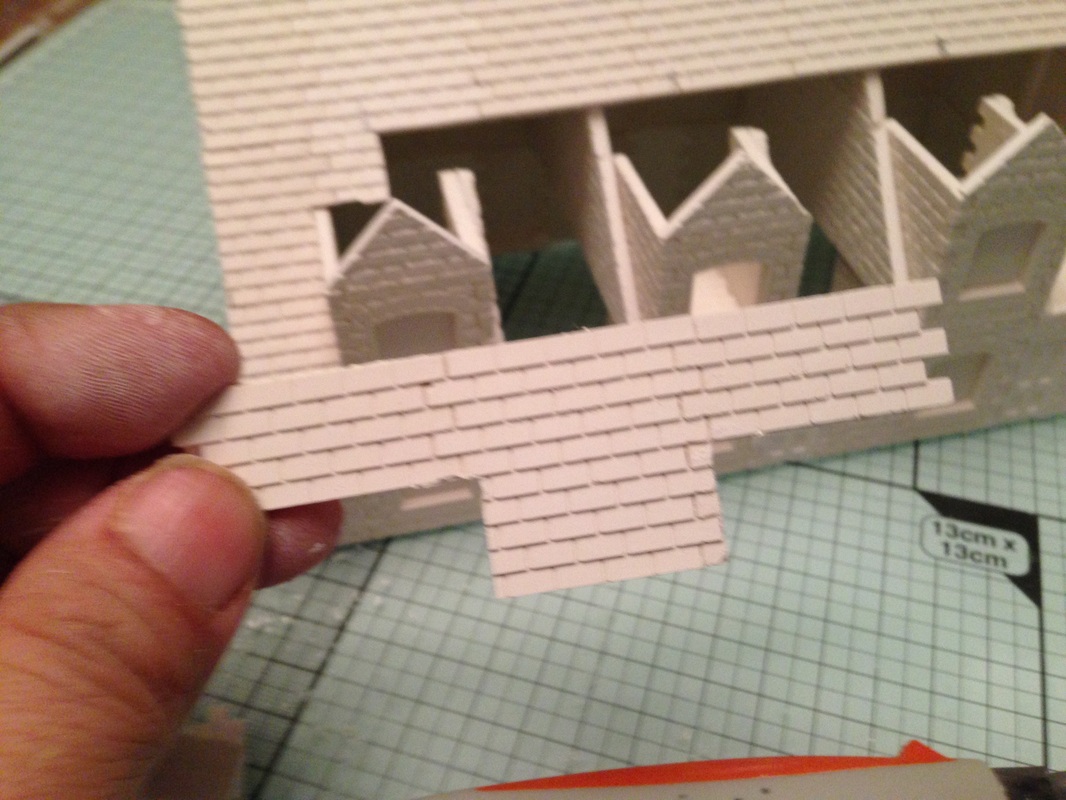
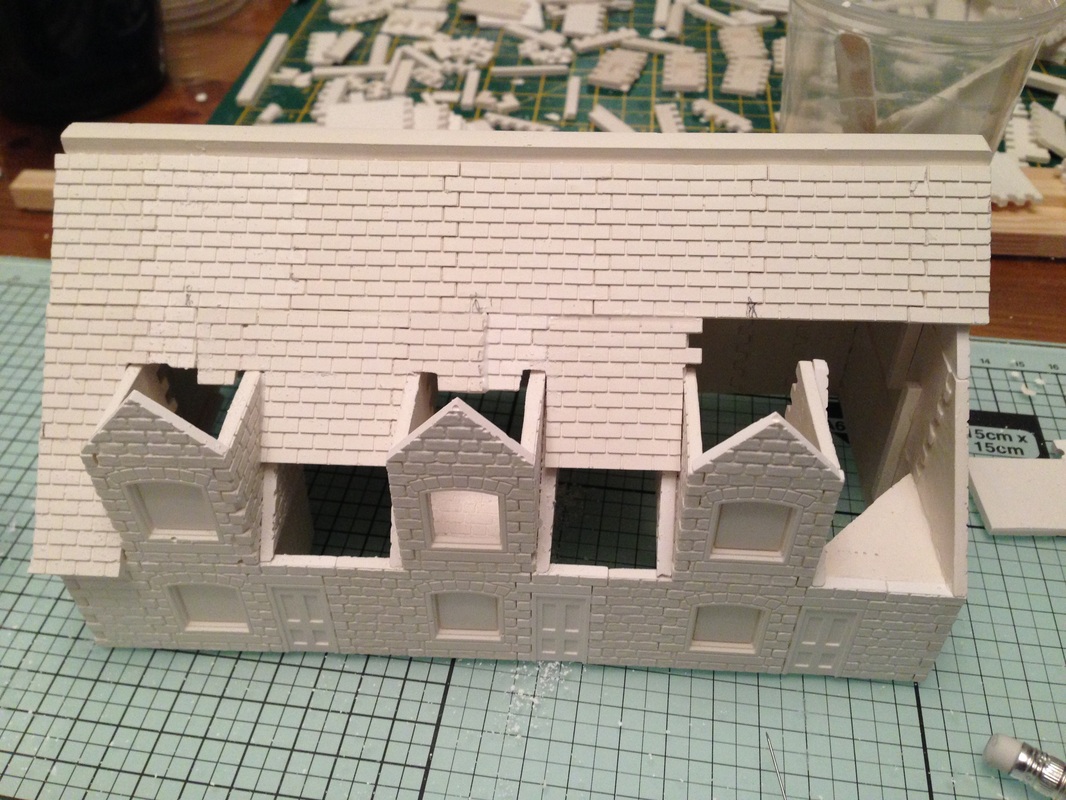
In this final part, I have added the acetate windows behind the dormer windows, using a little PVA glue around the edges, Then I created two Linka roof casts joined and cut at the correct angle to meet the main roof of the building. just turned it upside down and mark it on another two for the other side.
I cut the too long, glue them in place and file them to the required length when they are set in place so the all protrude to the same length. the remainder of the images show the model complete, you may need to just tidy edges with a small file and fill in any gaps, I use a fine glue adapter and fill the gaps with white PVA, that way I can see that the crack or gap is ok. It will dry clear and show the cracks again but when applied with paint it will cover fine. The rest of this project, Painting and making a Scene will be covered in other areas of the website. Completed 03 March 2014 |