Linka Models and Mini Buildings
Like us or contact us
  • Mini Buildings
    • Model Gallery
    • Tudor Gallery >
      • Tudors Step by Step
    • Members Galleries
    • Inspiration >
      • Buildings of Inspiration
      • Railways Gallery
    • building Step by step >
      • Fountains Abbey
      • 01 - Linka Church
      • 02 - Linka House
      • 03 - Linka Rectory
      • 04 - Linka Station
      • 05 - Xmas House
      • 06 - Linka Cottages
      • 07 - The Lock Keepers House
      • 08 - Corner Shop
      • 09 - The Old Market Place
      • 10 - The Cathedral
      • 11 - Shop by J Howe
    • Making your Linka Pieces >
      • Bespoke Casting
      • All About Plaster
      • About Windows
    • How To - Tutorials >
      • YouTube Channel
    • Models and Plans >
      • The Great Abbey
    • Building Linka >
      • Linka Moulds
      • Castings
      • Linka Kits
      • Linka Rooms
      • Rare Pieces
    • Building Plans
    • The Linka Story
    • Links
  • Workshop
    • Casting Couch >
      • Casting Top Tips
      • Casting Products
    • Scenery Workshop >
      • Easy Scenery
    • 01 Custom Moulds
    • 02 Making Curved Casts
    • 03 Quoines Casts
    • 04 Painting Casts
    • 05 Painting A Model
    • 06 Double Sided Walls
    • 07 Custom Doors
    • 08 Making Moulds
    • 09 Building The Canal >
      • The Canal Bridge (NEW)
    • 10 Painting Workshop
    • 11 Creating a Scene
  • Latest
  • Forum
    • Newsletter
    • Blog
  • Contact
  • Shop
    • ScaleCast >
      • All Moulds
      • Tunnels and Lineside
    • Component Shop
  • Members Only

Project 02 - The Linka house

Overview
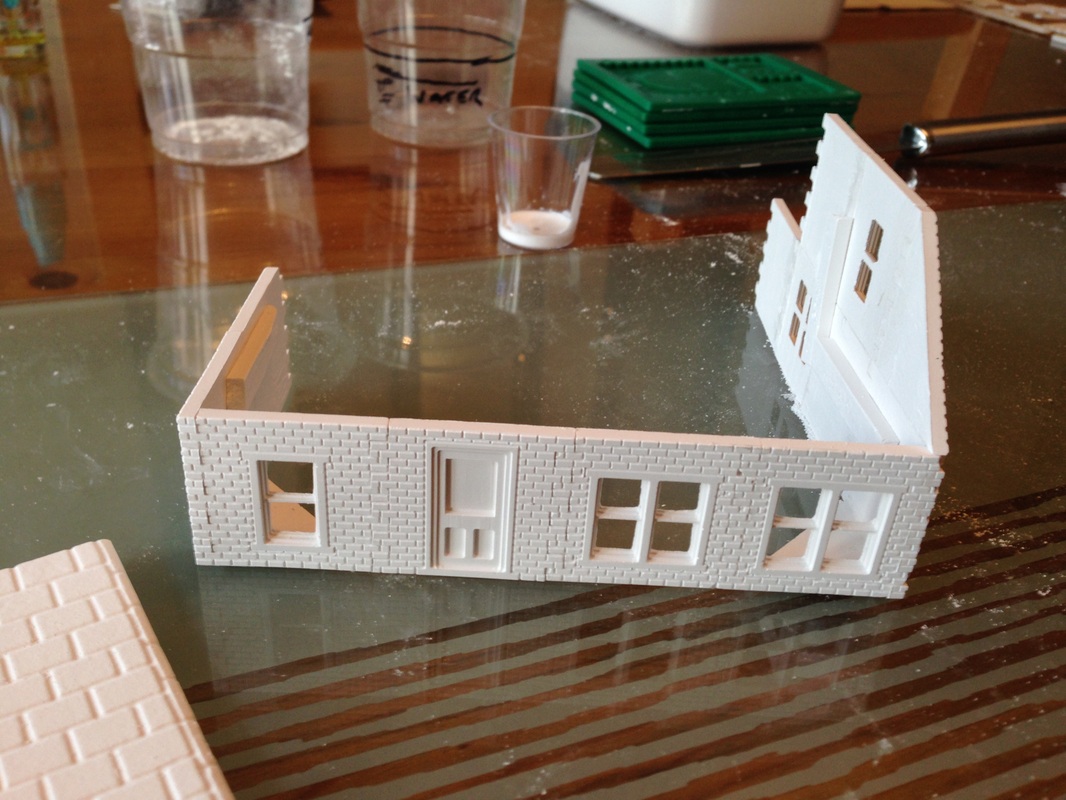
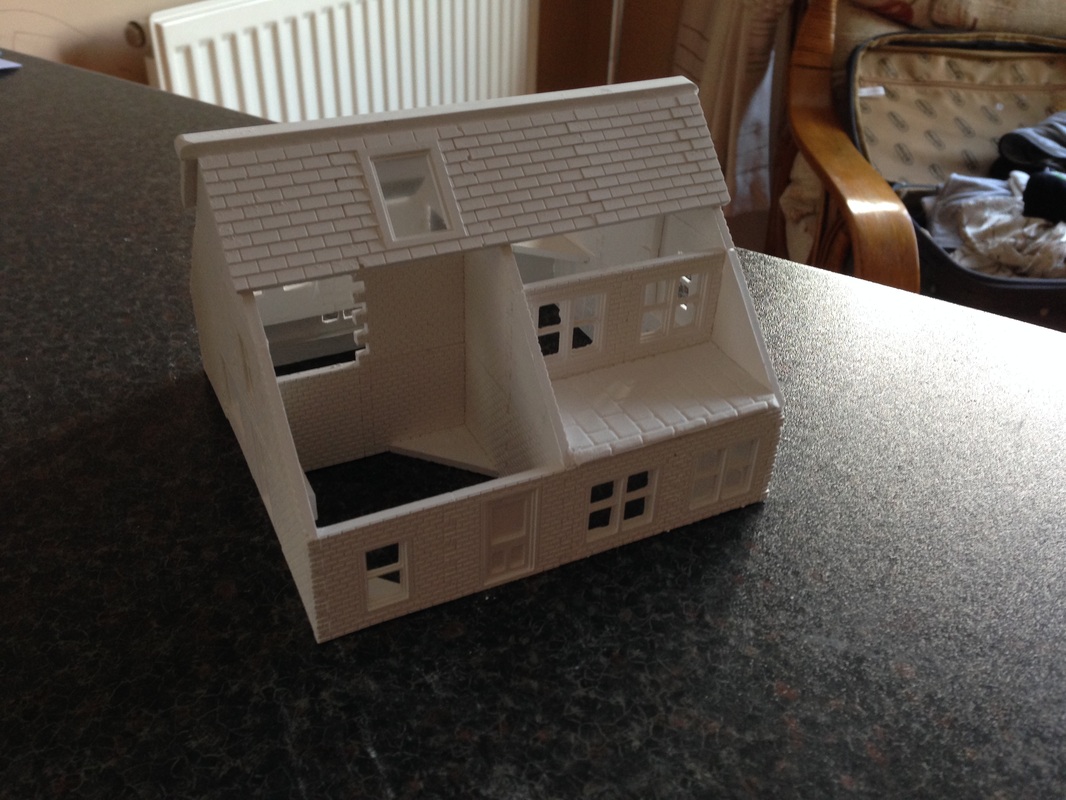
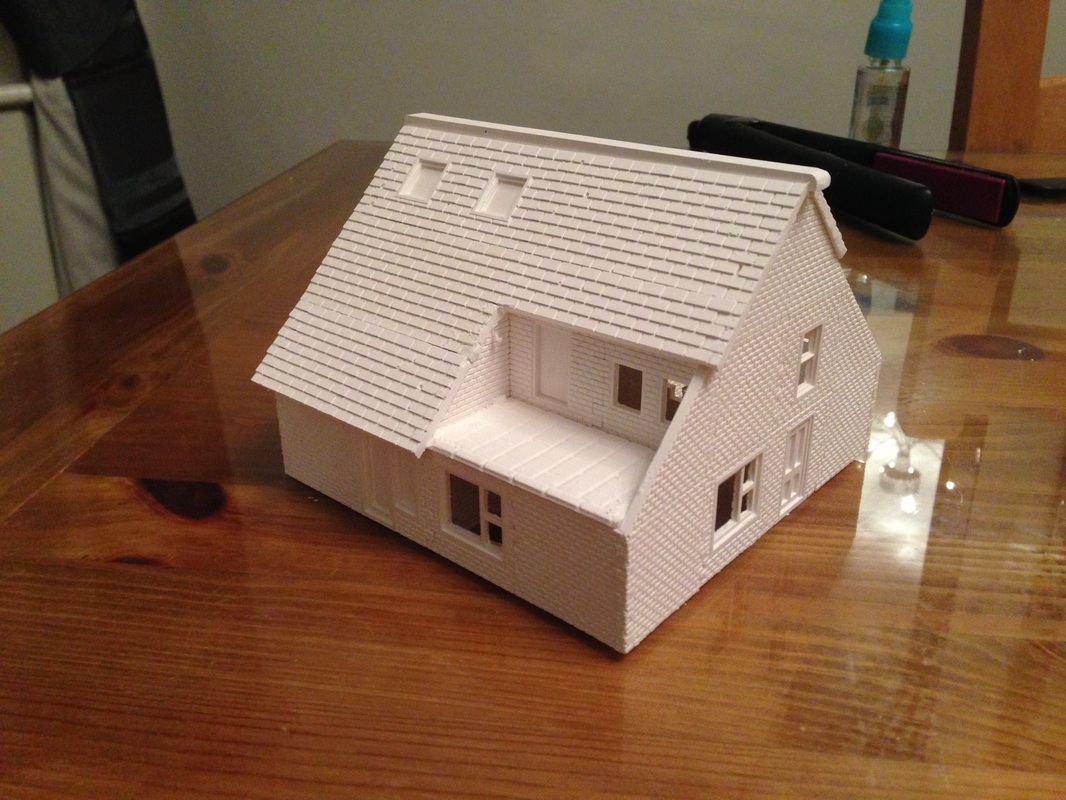
The first Linka brick house I built, not made from any plans, just a bit of imagination and a lot of messing around to get it right.

Starting the Linka house
Adding inner walls to add strength
Adding a Veranda
Adding a Roof Beam
Starting the roof Sections
Adding the second veranda
Progress on the roof
First side of roof complete
Complete Linka House
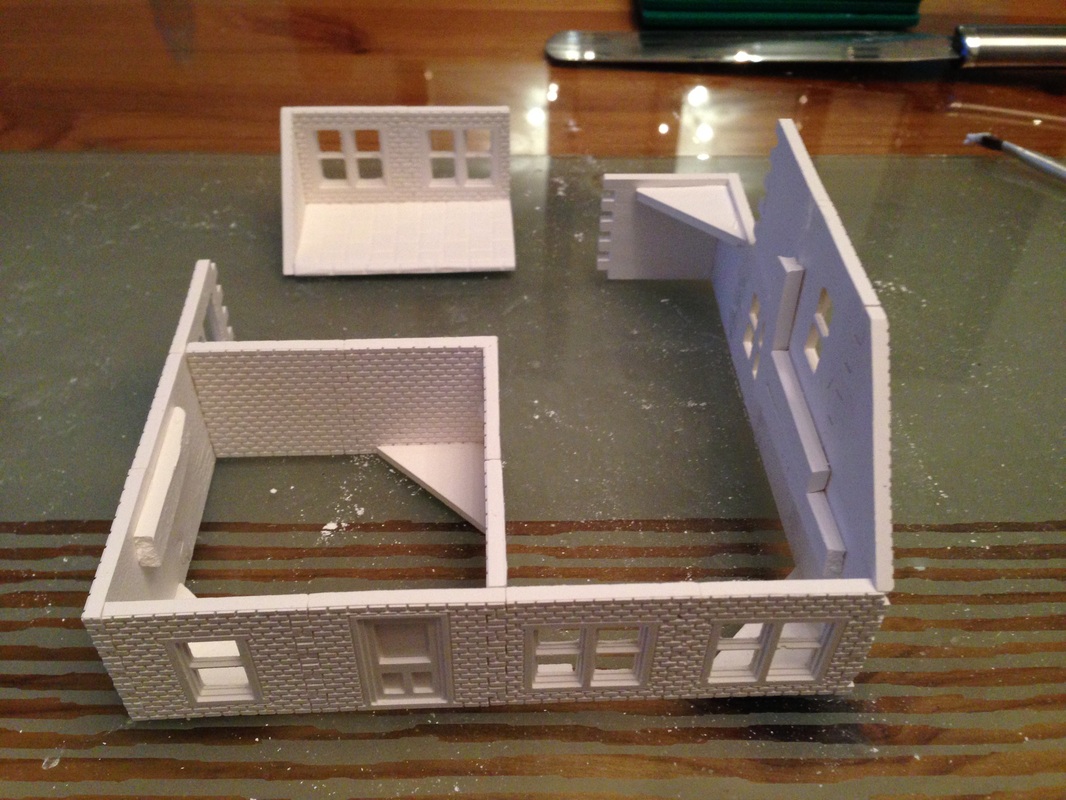
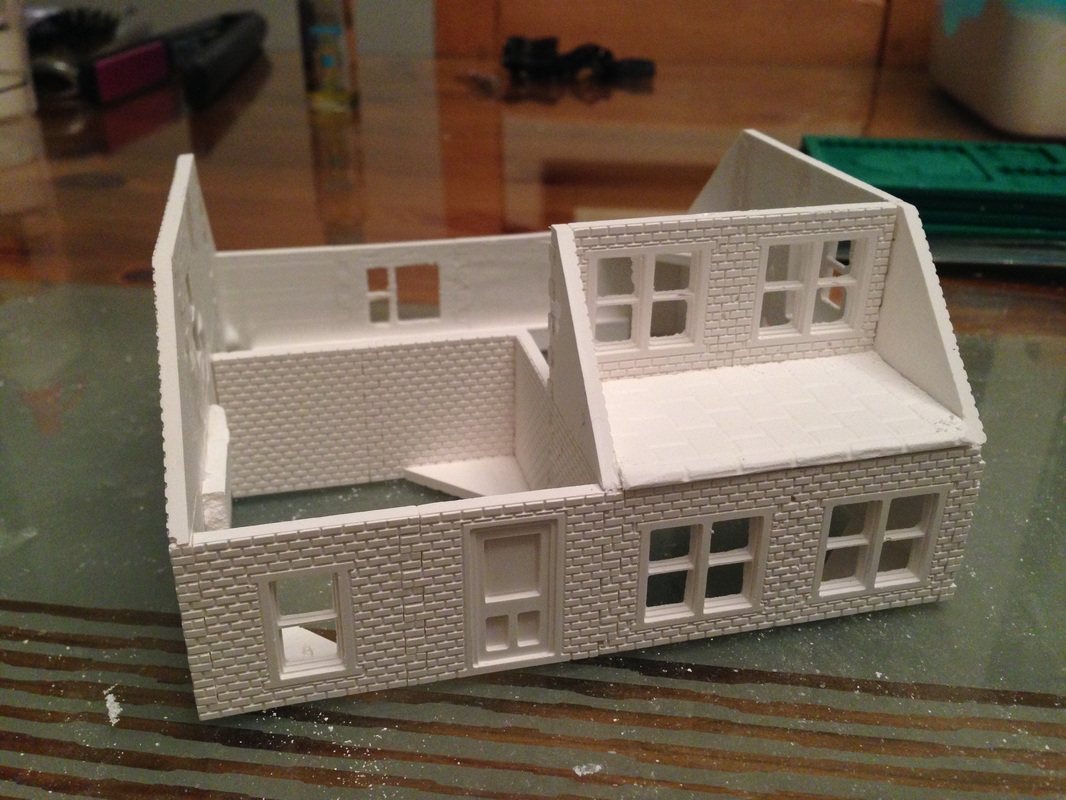
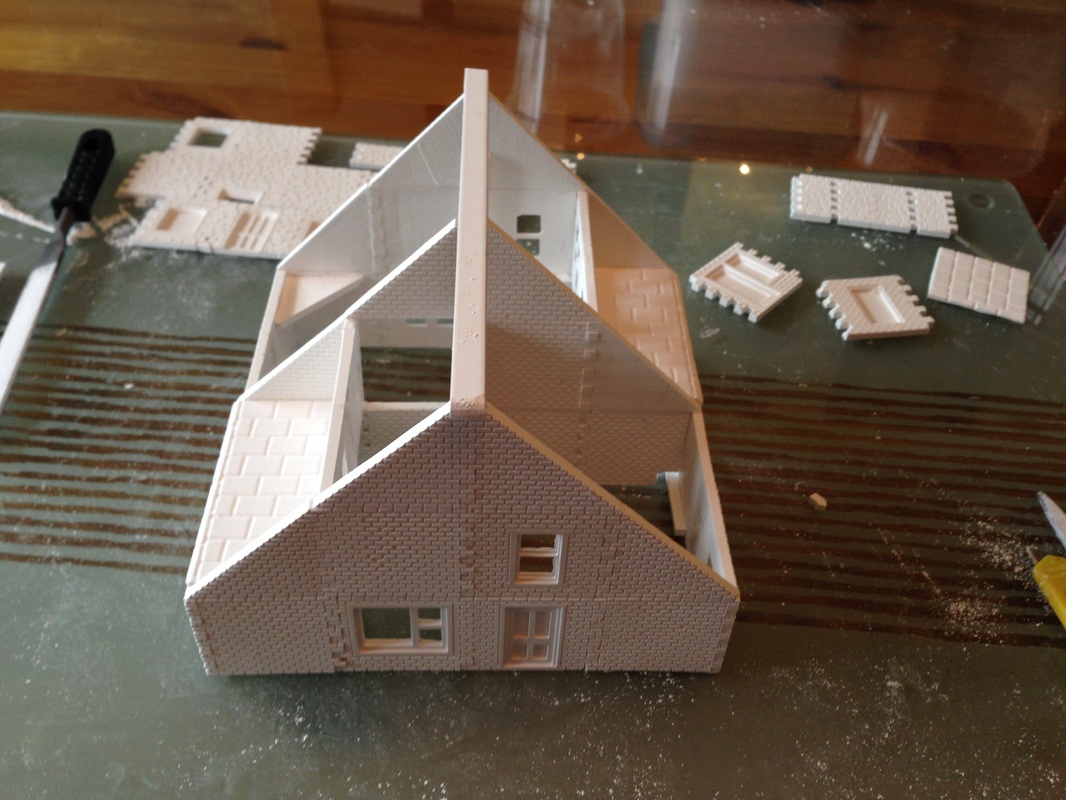
Having completed my Linka house I then went around carefully filing the edges of the roofs and windows to make sure it was all nice and smooth and ready for painting.

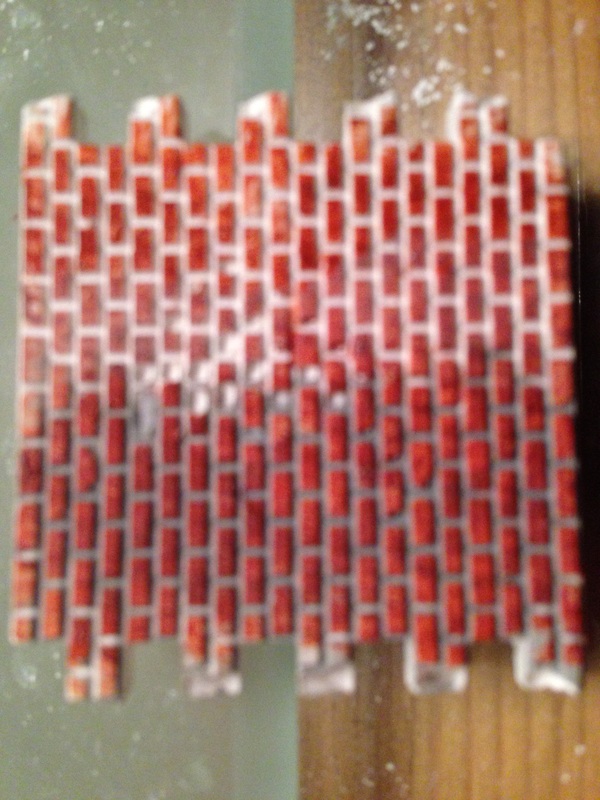
Painting the Brickwork

Picture
Test Linka Cast for painting
Test First.

I would advise you test you painting before you commit to the entire model paint job.

Here I painted the red brick first (A mix of brown, red and white acrylic paint), by dabbing with a flat brush, leaving the white Linka stone grouting exposed, then when that was dry I mixed some grey water colour as you can see on the bottom half, I washed it over liberally and the grey soaked into Linka cast giving a good grout finish, then wiped over the brick with kitchen rolls to remove the water colour from the brick
Painting

There are and will be many articles on this website about painting, so I will not try to cover it on each step by step series, at the time of finishing this article there are plans to put a lot of painting workshops on the site, so here is just one of them to get you started Painting Linka Brick Casts
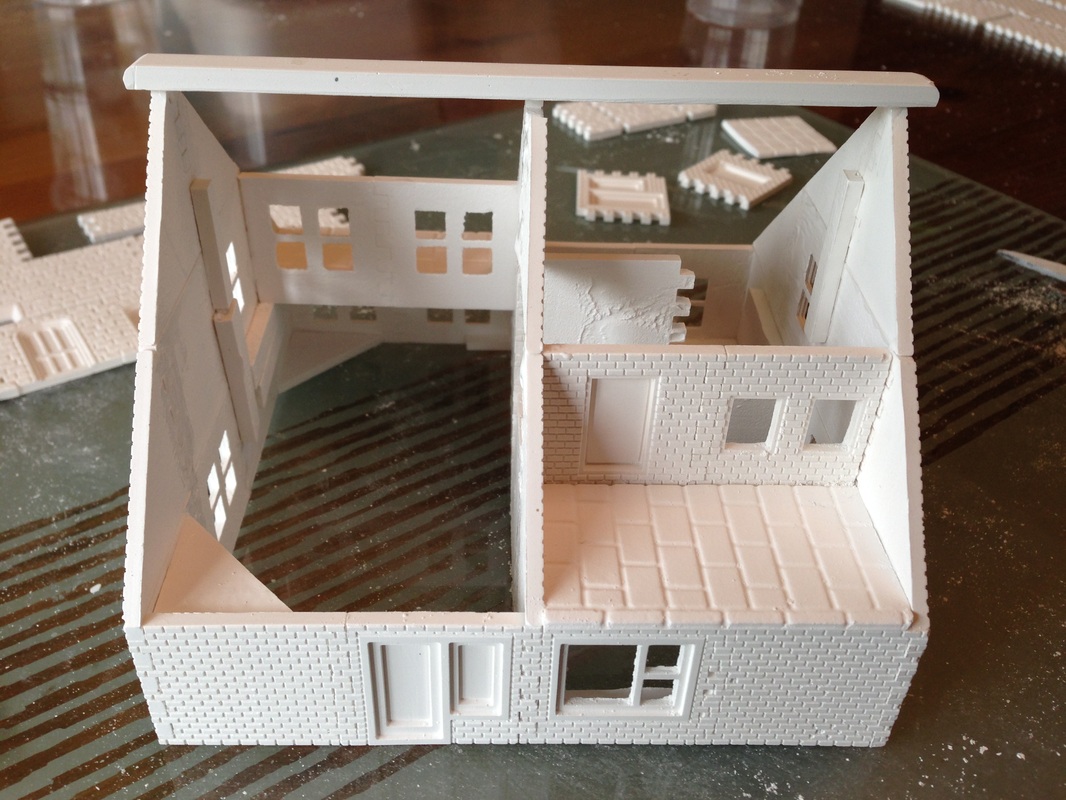
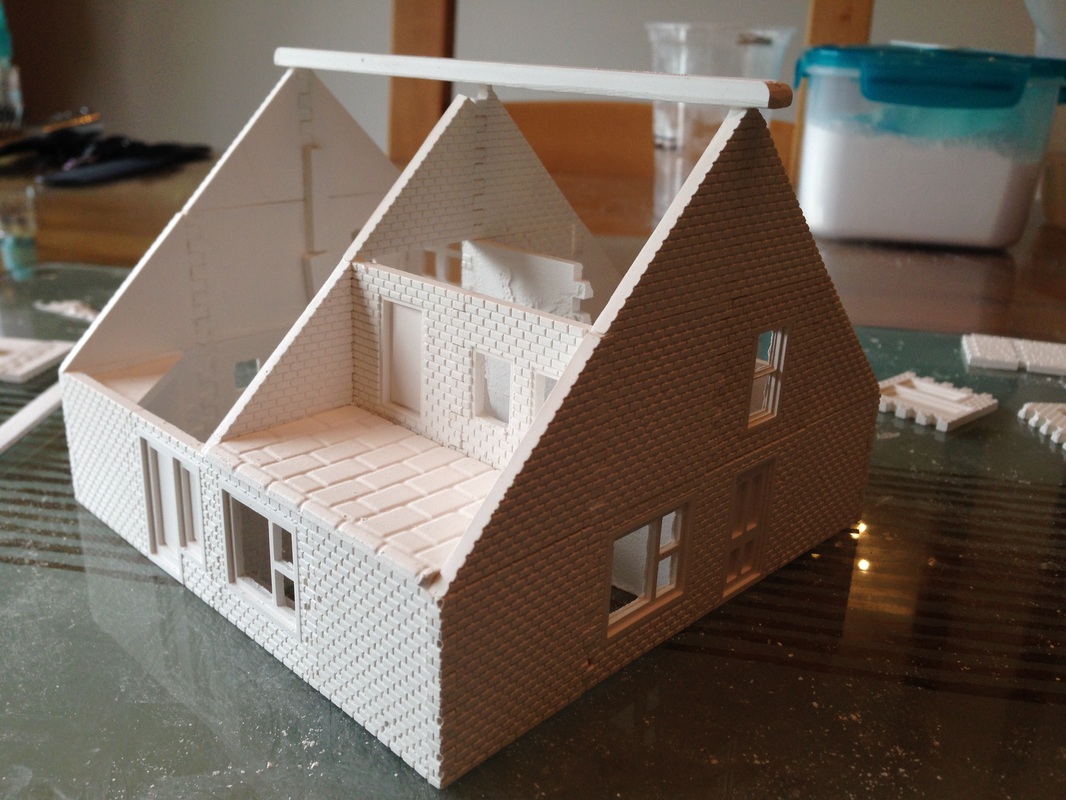
Creating the Model

I have tried to put in a number of images that show you how I progressed in creating this Linka Model, you should be able to see the how the construction came along as you click on each image, Again I used Herculite 2 in order to cast my Linka pieces.


Picture
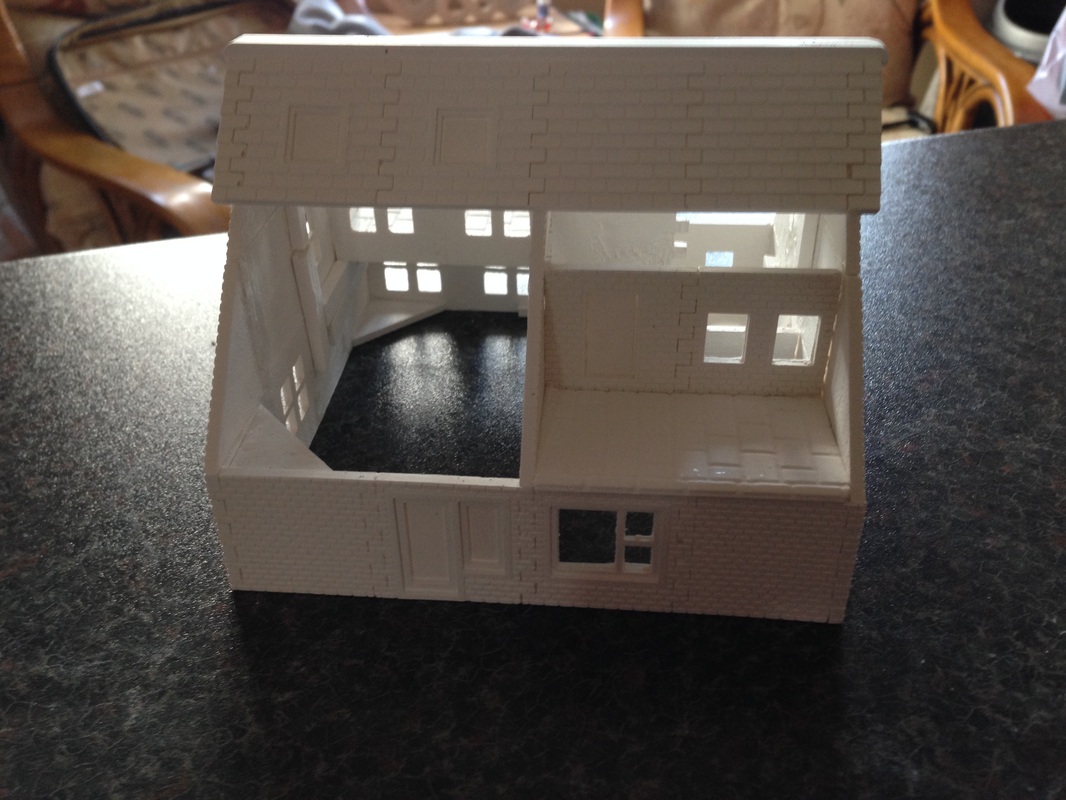
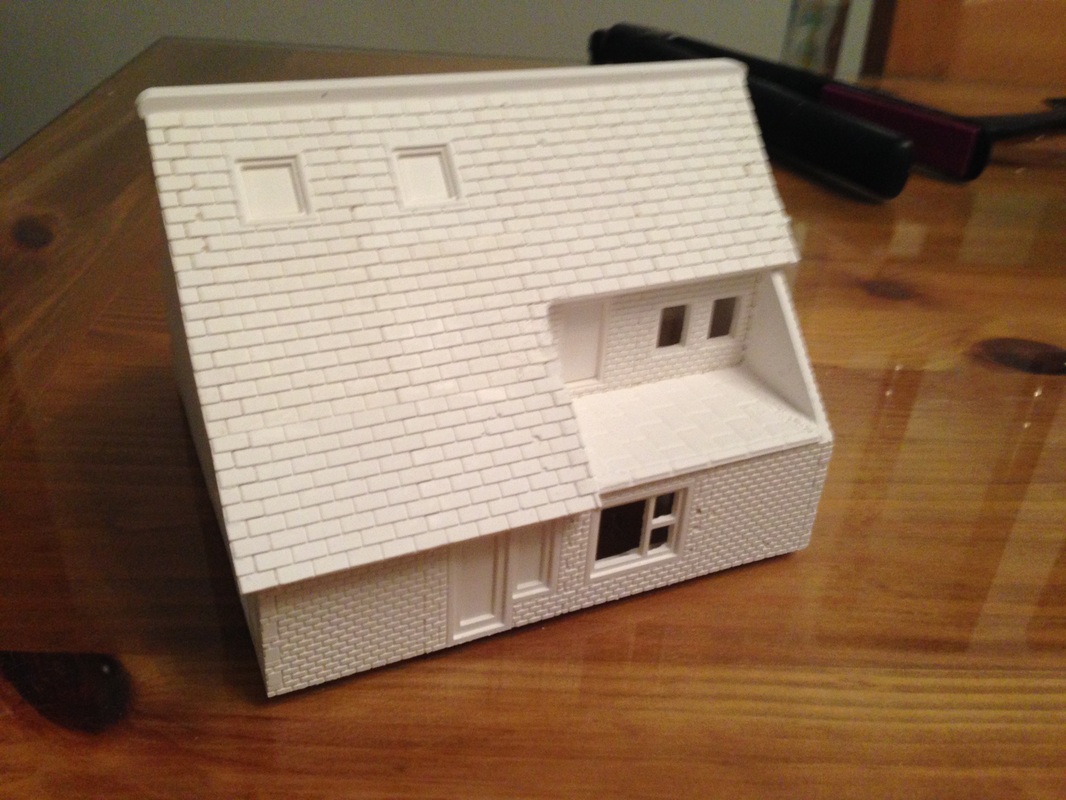
The Linka House with roof painting completed
Painting the Roof

I mixed some acrylic paint, mainly white with a little black until I found a shade I was happy with, then I just painted the whole roof with the grey, then I mixed tiny amounts of white and went around the Linka house roof painting odd tiles at random with the slightly lighter colour. The effects provide a more pleasant and realistic look to the model.

Again this is not a highly detailed step by step as are some of the later projects, however there should be enough details in the images to show you how this was constructed, the later Step by Step models will be much more detailed. 
Making Beams

You may notice I like to use Beams on my buildings, these are not standard parts, so you will need to improvise as I have done if you want the beams, but if not you can just use the normal ridge tile linka casts.

Here I have used a plastic I beam (Lintel) which I got from a local hobby shop, then filled it with Dental SP mix, the reason is that Dental SP plaster is strong but also it does not expand very mush at all, so after a lot of experimenting I found this works best and is fairly easy to extract from the plastic, Great for roof capping or whatever else you may want to use it for
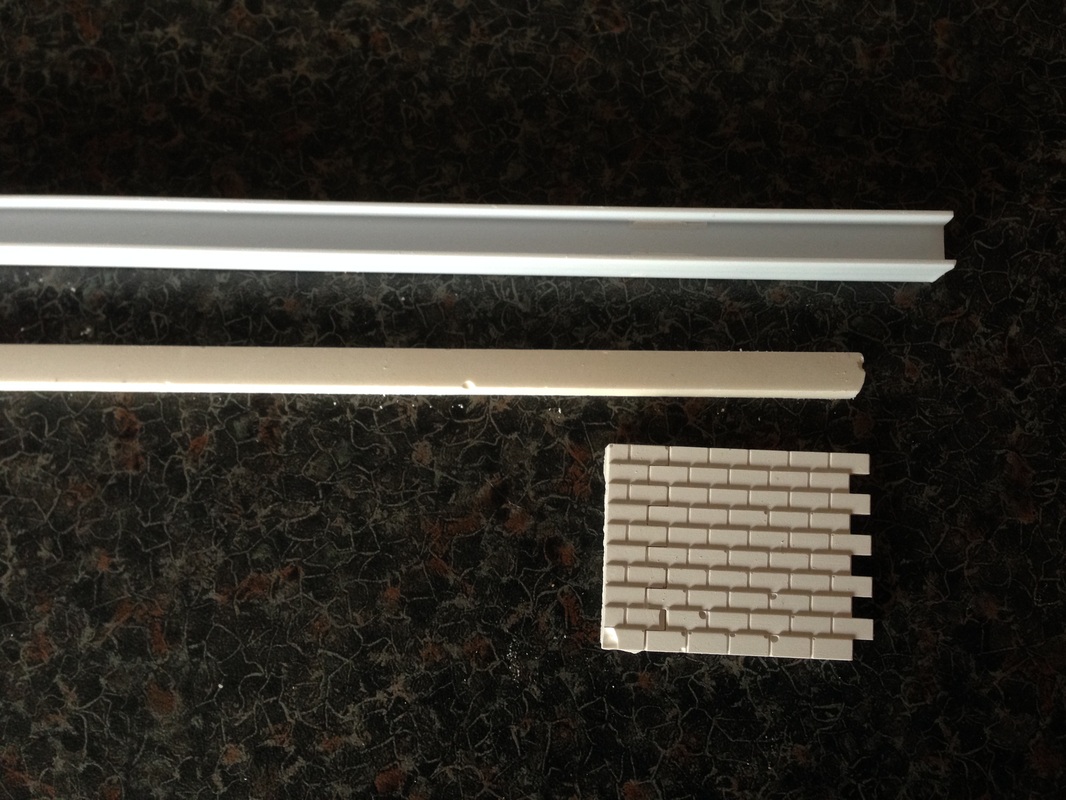
Picture
Special Casts

The special non Linka casts in this model are as follows, click the link to see any of these items and how you can make them.
Beams

Back To Projects
Site Visits

counter how to put
Easy Tracking