
Painting your Linka - Brickwork Project |

|
Painting Brick and Stonework is probably the most difficult task, to get the mortar in the cracks and not on the faces and the face colour not in the cracks. this is the first in a series of how some techniques to help you get the most from your model making. over the coming months we will be showing many different workshops and also welcome other peoples input to this website to share with fellow model makers.
|
Brought to you by Skipper

Last updated 10 December 2013
|
There are 2 methods that I use. Method no 1 we firstly paint the hole model with the mortar colour usually in a thinned state more of a wash so that it runs and sits more in the cracks than on the face. And this coat is in most cases an enamel paint then when dry we use a method called Dry Brushing to apply our brick colour. This method takes a fair bit of practice to achieve the desired results, you have to get just the right amount of paint on the brush, not enough nothing happens, to much it gets into the mortar courses. With the right amount of paint the colour gradually builds and with the variation of tones and added highlight colour on selected bricks the result is very realistic. Be patient and your efforts will be very well rewarded.
|
|
For all this sample I have joined 4 tiles together and filled the joints, the material of these samples is Hydrostone TB Gypsum Cement. So depending on your tile material you may get different results to that shown, and of course your colours may vary. I will leave a section of the tile in its finished state from the previous stage. For this example I have chosen Humbrol No 63 Matt Stone for the mortar colour the reason for this is I am painting my model of the Linka Kit L2 Village Shops which is pictured on the site and you will notice it has a custom shop front as this kit and the shop front are no longer available. For more information about this shop front please make contact |

|
|
Stage 1
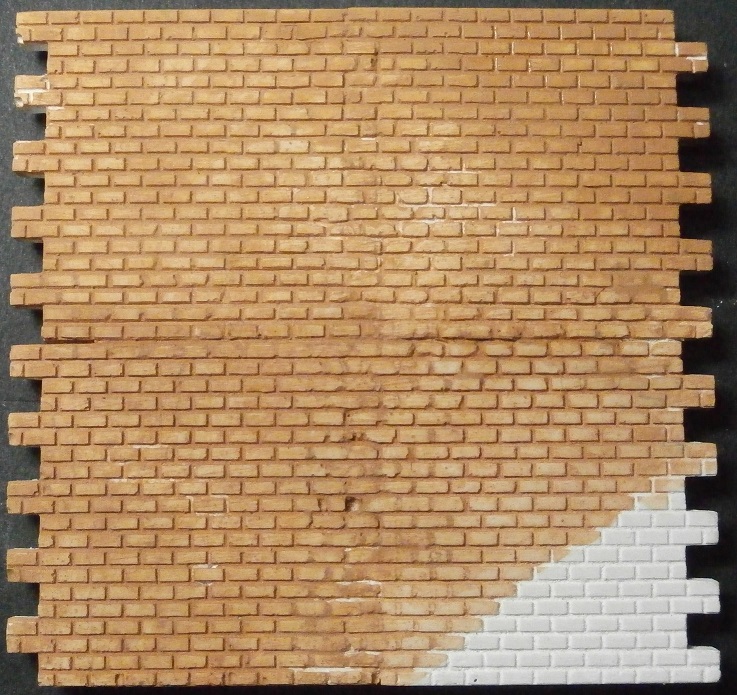
image here to the left, Is the tile with its coat of Humbrol No 63 Matt Stone I have not worried about the mortar colour being on the face of the bricks as you can see from the photo its very uneven in its coat, this is good as when we add the brick colour by dry brushing this uneven coloured background will give different shades to the colour of the bricks for no extra effort, a sort of bonus
|
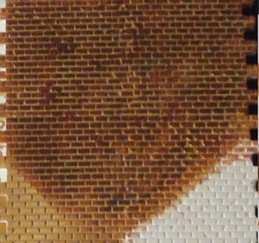
Stage 2
Here is the tile with its first coat of dry brushing even at this early stage we have a nice effect, this is because of the uneven mortar coat that was left on the face of the bricks and the relative unevenness that dry brushing gives so if you wanted to you could leave it at this stage.
The paint is applied with the brush strokes going at about 45 degrees to the mortar lines. I also use a scrap piece of card that I used as a palette and a place to remove the excess paint, the paint is slightly thinned. One thing to remember with dry brushing is you don't have to wait for the paint to dry fully before going to the next colour as it's nearly dry already and any blending between colours adds to the effect. The one thing about dry brushing is you do not end up with harsh lines at the change of colour, because it is a gradual build up of colour it all just blends in together. |
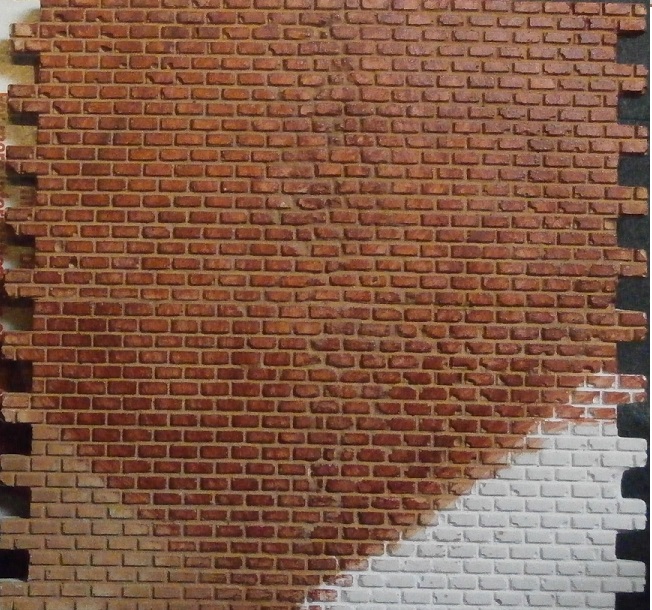
Stage 3
Here is the finished tiles. Again I used the scrap piece of card for mixing the colours and getting rid of excess paint I hope that you can see the picture properly as I am not a very good with these digital camera's on the card you will see the base brown colour and around it the various colours that I have mixed with it to get the different shades there is matt yellow, matt blue, matt wine, matt green, this is only a selection you can use as when you look at brick walls there are all shades of colours in them. The next step that can be done is to apply a very light grey Acrylic wash if needed to take out the harshness and blend things together a bit better. Usually this would be done on the complete building as the last step.
|
|
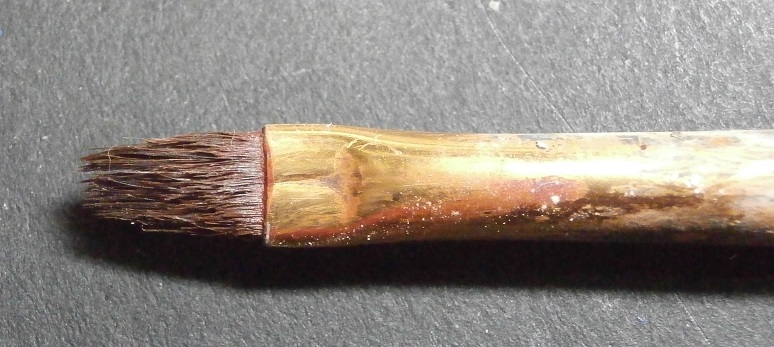
Note I only used one brush from start to finish and that was a Monte Marte gallery series No 7 flat, you may use something else, as the photo shows it's well used, and broken in.
I personally prefer using enamels in this method but you may prefer to use acrylics only or a mix of both, its best to begin with what you know best. But don't be afraid to try other types of paints. I use enamels, acrylics, water colours, it depends on the job at hand to what I shall use. You must remember we are all individuals and my method may not suit someone else. So experiment and develop your own techniques. |
|