Project 11 - The ShopBy Jeff Howe
|
Another Step by Step project and this one is produced by one of our Members. It is a great variation on the standard shop build. with a complete new character it should provide you with some inspiration on building your own designs.
Completed 30-03-2014 |
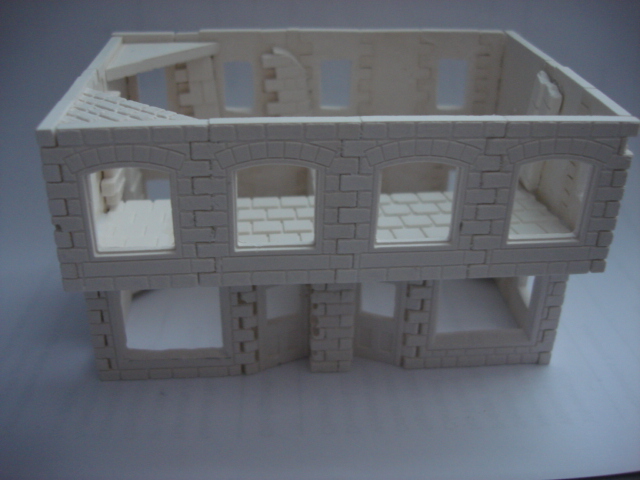
The Building after Part 1 Completion
|
Part 01 of the Linka shop
|
|
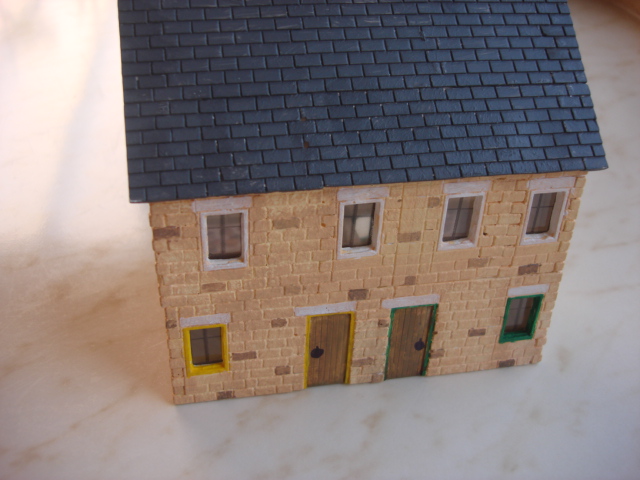
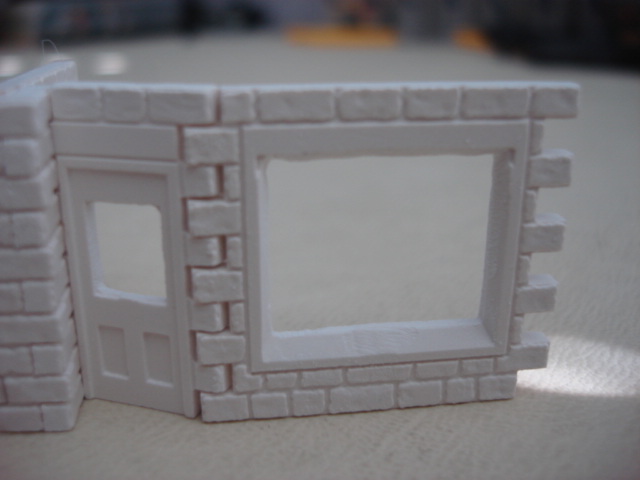
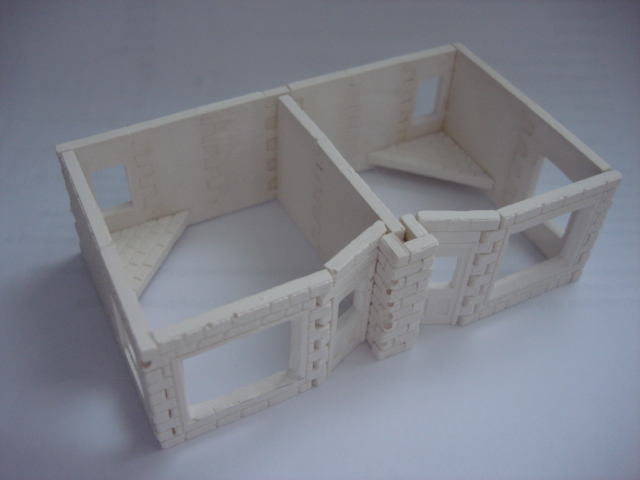
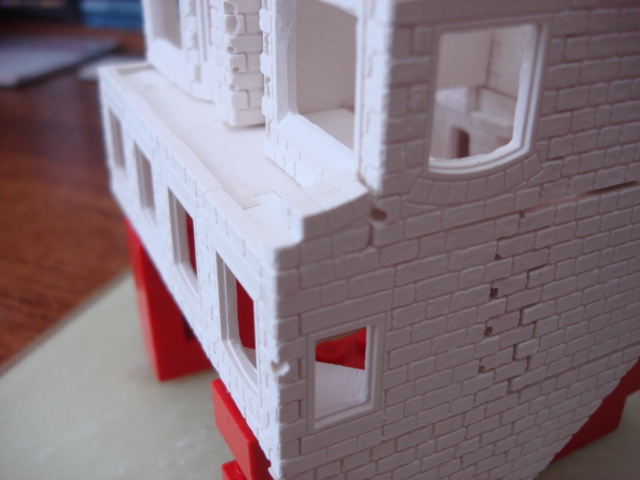
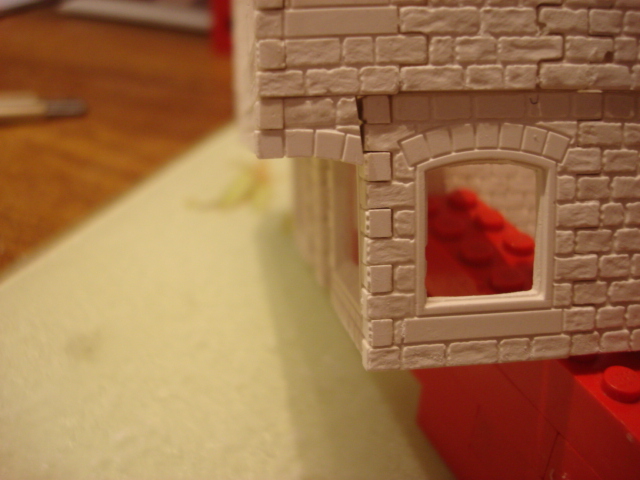
Photo 1 Shows the Shop window made from casting 61, mould S6 and door made from casting 148, mould S2. It can be seen that the door and window are not aligned.
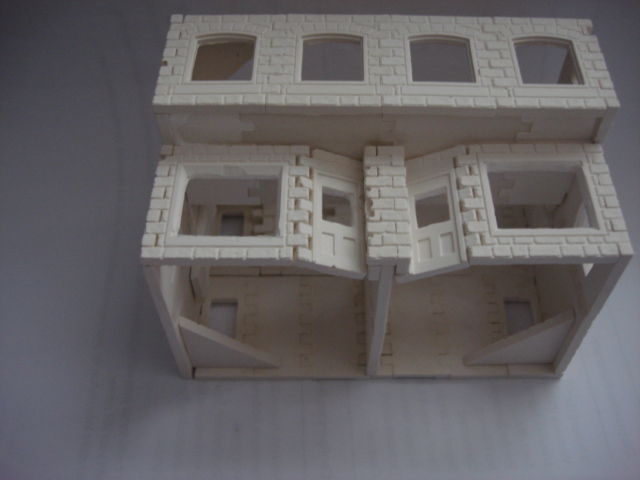
Photo 2 Shows the shop front from above. Using 3 casts 45, mould S5, a pillar is made, and the doors are now angled inwards. The tall upright is just for strength. Photo 3 Shows the front from another angle and the angled doors can be seen. Photo 4 / 5 / 6 The round floor complete. I made the building floor by floor, not the conventional way but all will become clear. Photo 7 This is the upper floor complete from the front. Photo 8 Upper floor from the back. Photo 9 Upper floor in place. |


|
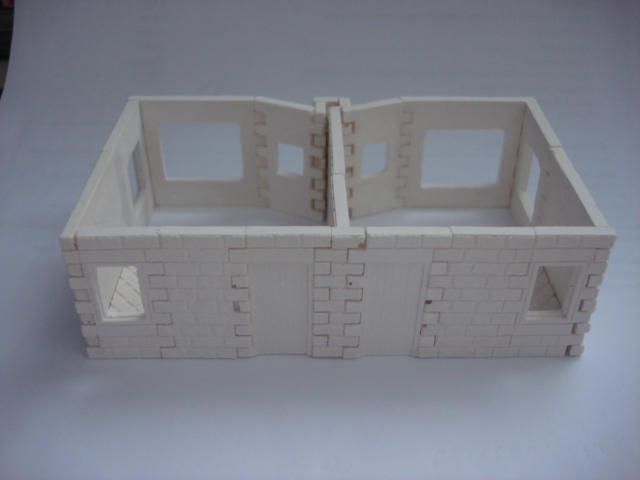
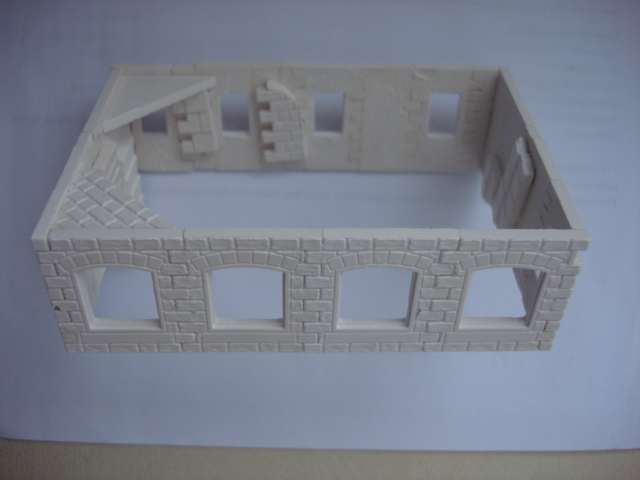
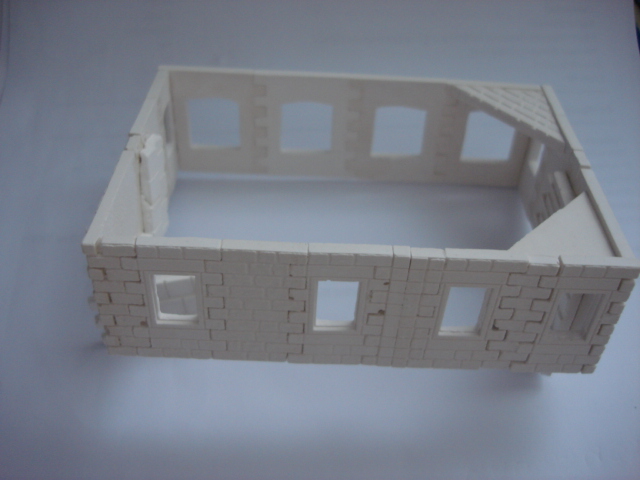
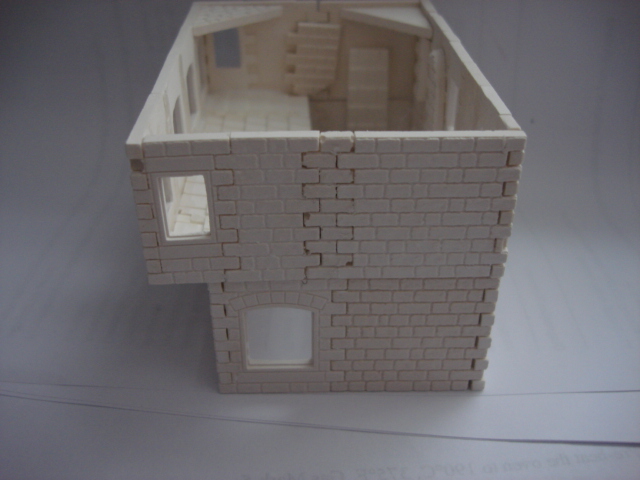
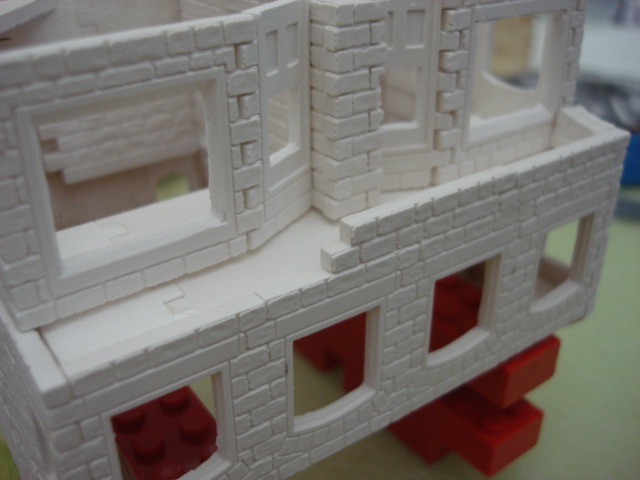
Photo 10 / 11 Upper floor from the side. It can now be seen that the upper floor is deeper (Front to Back) this is to make an overhang on the front.
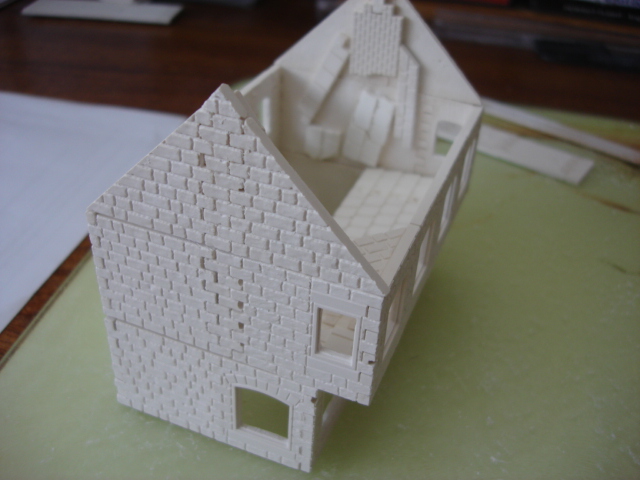
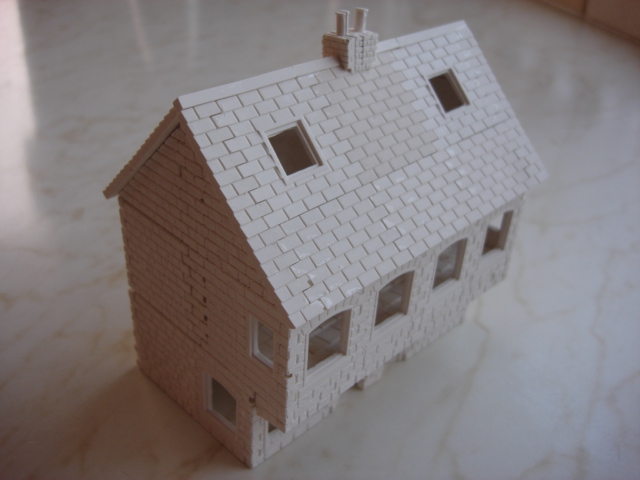
Photo 12 From underneath can be seen the ceiling of the overhang. Made from damaged casts just to make a fill in piece. Photo 13 Walls now complete with gable ends in place. Extra strapping can be seen on the far end to add strength. Photo 14 The small piece at the top has been cut one of these pieces(mould S3 cast 122). 3 were cut. Another 3 were cut from the reverse cast (mould S3 cast 121) These were glued together in pairs to keep the stone pattern on both sides. Photo 15 With the building upside down the first pair glued in place, another pair are glued at the far end and the final pair in the middle at the centre pillar. Photo 16 Building is right way up showing the small part in place. Photo 17 3 casts (mould S1 cast 36) are glued to the underside of the overhang along the front edge. Photo 18 Model complete over to filling and painting in part 2. |
|


|
|
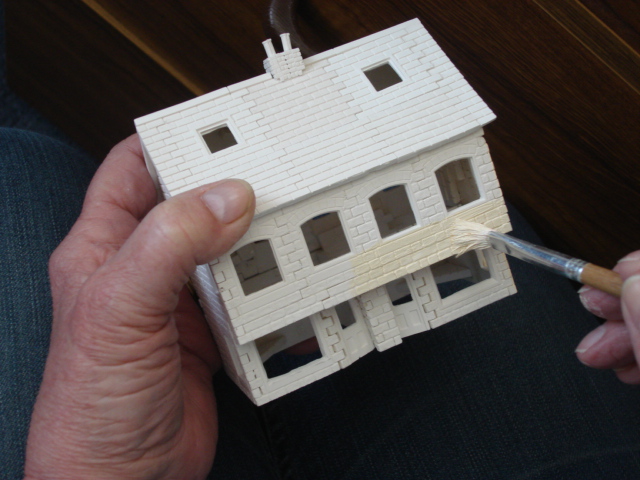
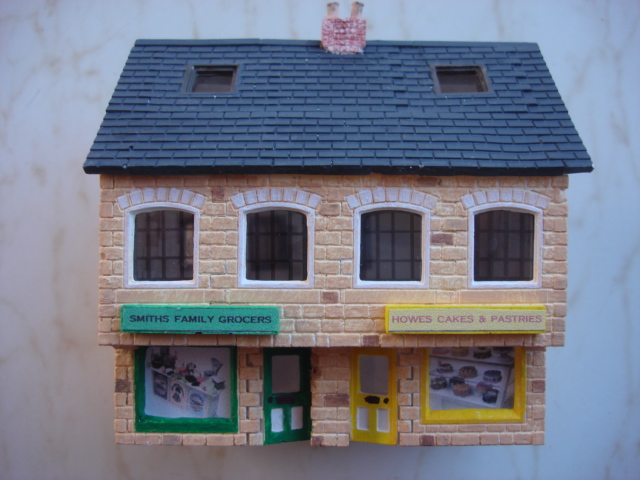
Photo 20 Applying the wash coat for the mortar colour.
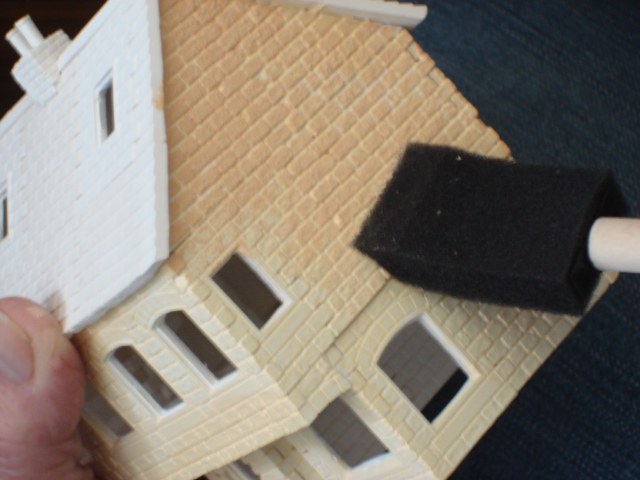
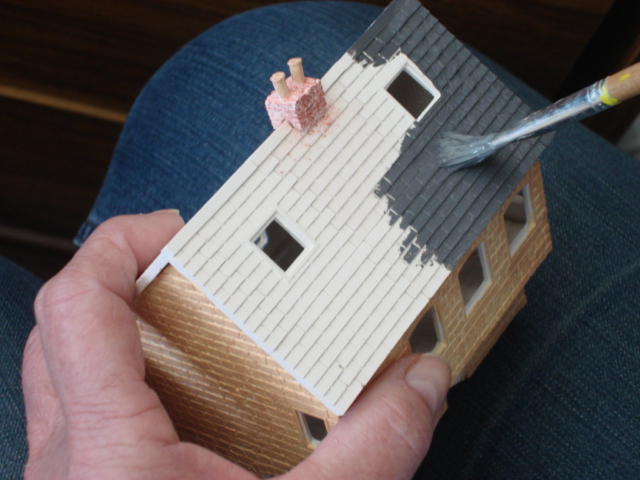
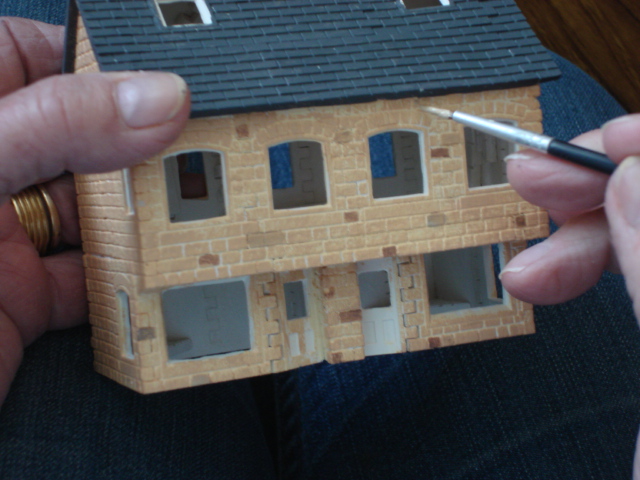
Photo 21 Using a foam brush, dabbing colour on the face of the stone. Photo 22 Roof painting. Photo 23 Picking out odd stones in different colours to add effect. Photo 24/25/26 Window frames painted and glazed, signs fixed, doors painted... Project FINISHED............... |