Linka Models and Mini Buildings
Like us or contact us
  • Mini Buildings
    • Model Gallery
    • Tudor Gallery >
      • Tudors Step by Step
    • Members Galleries
    • Inspiration >
      • Buildings of Inspiration
      • Railways Gallery
    • building Step by step >
      • Fountains Abbey
      • 01 - Linka Church
      • 02 - Linka House
      • 03 - Linka Rectory
      • 04 - Linka Station
      • 05 - Xmas House
      • 06 - Linka Cottages
      • 07 - The Lock Keepers House
      • 08 - Corner Shop
      • 09 - The Old Market Place
      • 10 - The Cathedral
      • 11 - Shop by J Howe
    • Making your Linka Pieces >
      • Bespoke Casting
      • All About Plaster
      • About Windows
    • How To - Tutorials >
      • YouTube Channel
    • Models and Plans >
      • The Great Abbey
    • Building Linka >
      • Linka Moulds
      • Castings
      • Linka Kits
      • Linka Rooms
      • Rare Pieces
    • Building Plans
    • The Linka Story
    • Links
  • Workshop
    • Casting Couch >
      • Casting Top Tips
      • Casting Products
    • Scenery Workshop >
      • Easy Scenery
    • 01 Custom Moulds
    • 02 Making Curved Casts
    • 03 Quoines Casts
    • 04 Painting Casts
    • 05 Painting A Model
    • 06 Double Sided Walls
    • 07 Custom Doors
    • 08 Making Moulds
    • 09 Building The Canal >
      • The Canal Bridge (NEW)
    • 10 Painting Workshop
    • 11 Creating a Scene
  • Latest
  • Forum
    • Newsletter
    • Blog
  • Contact
  • Shop
    • ScaleCast >
      • All Moulds
      • Tunnels and Lineside
    • Component Shop
  • Members Only

Project 03 - Linka The Rectory

Overview
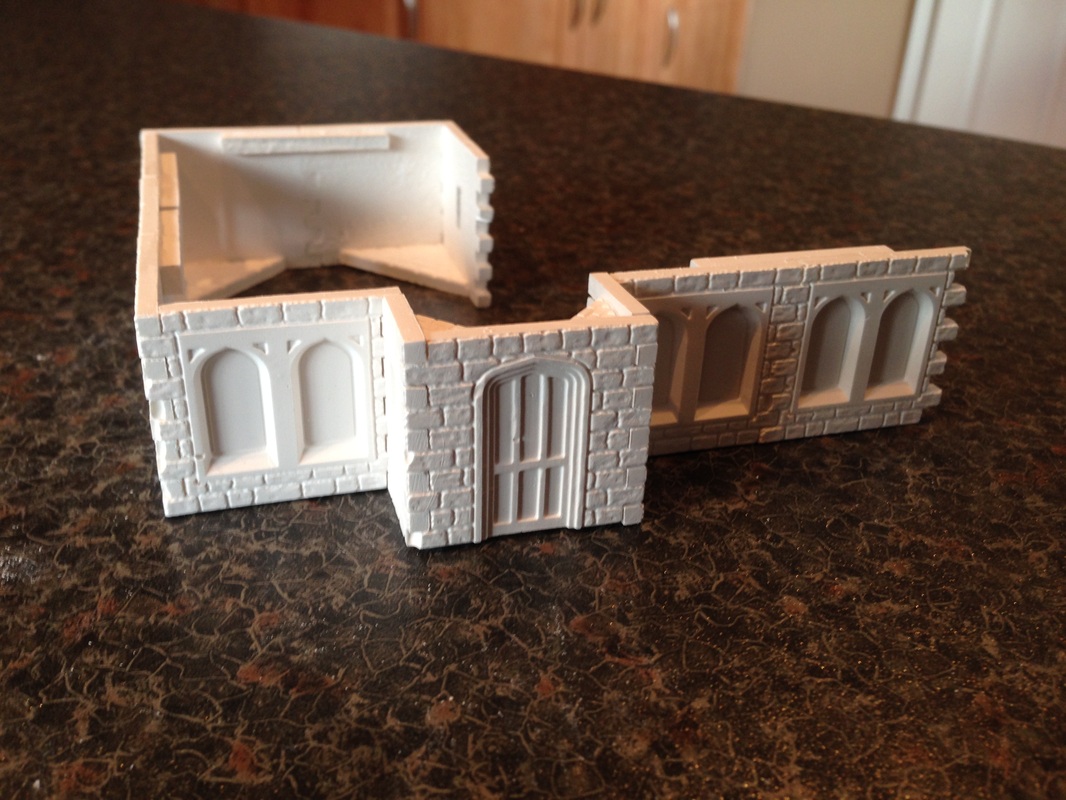
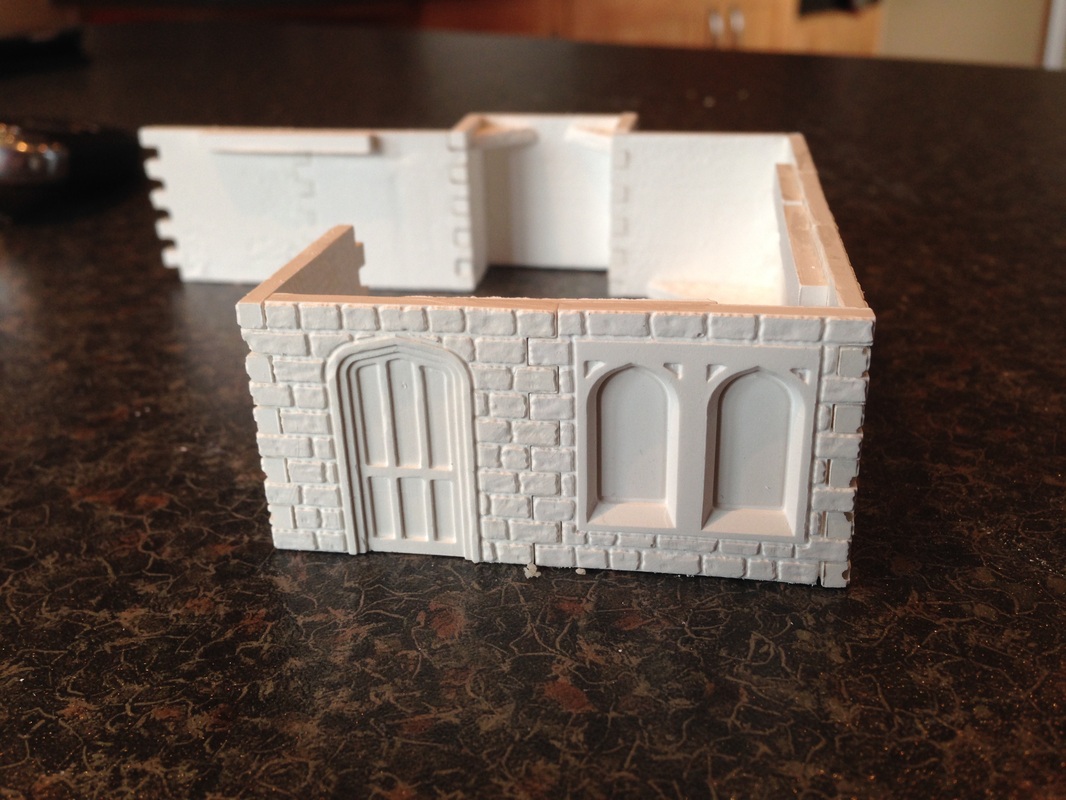
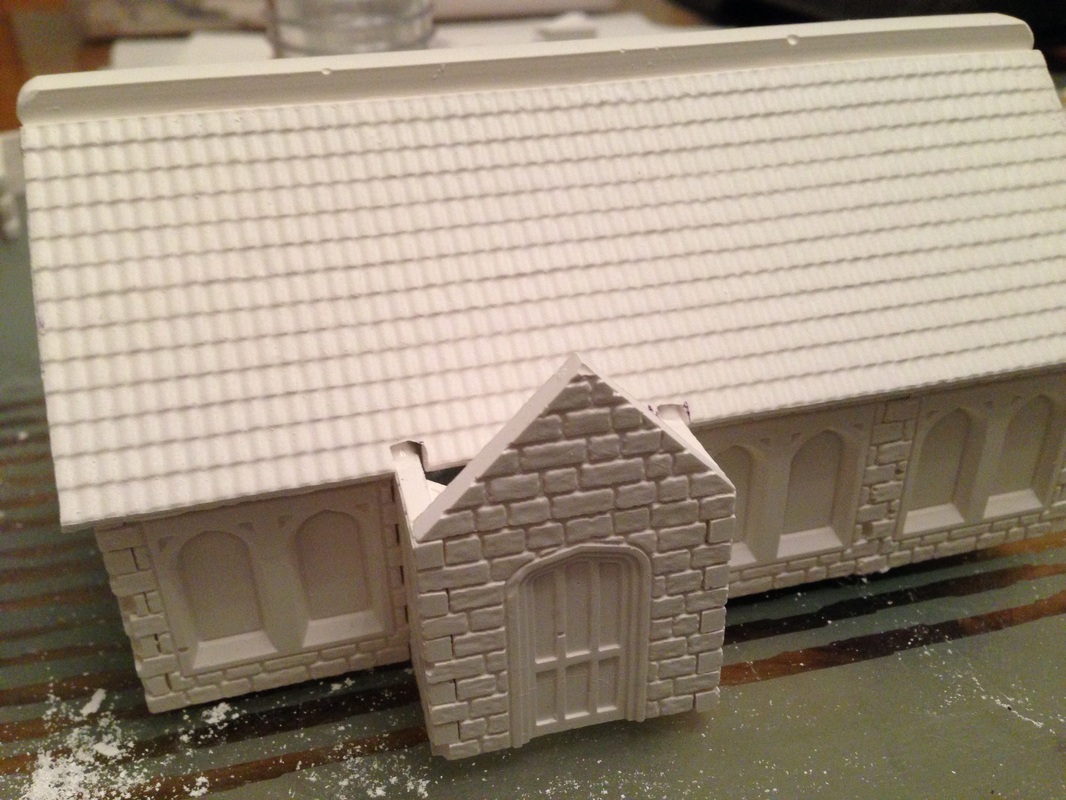
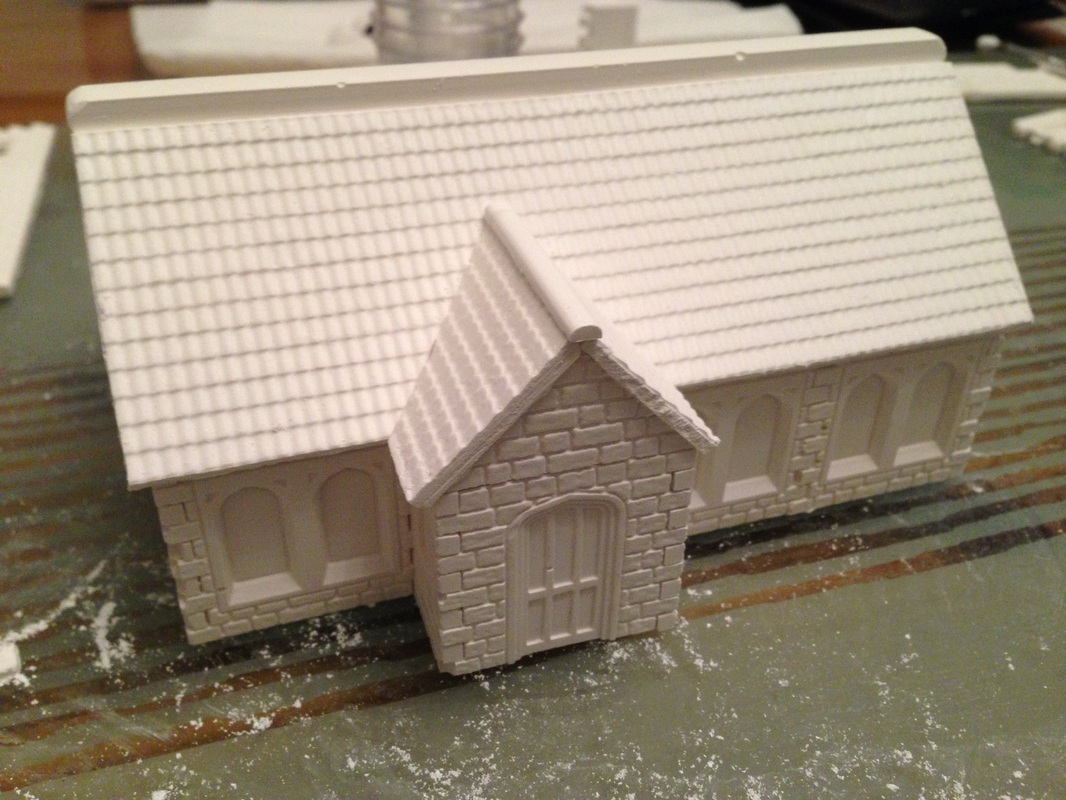
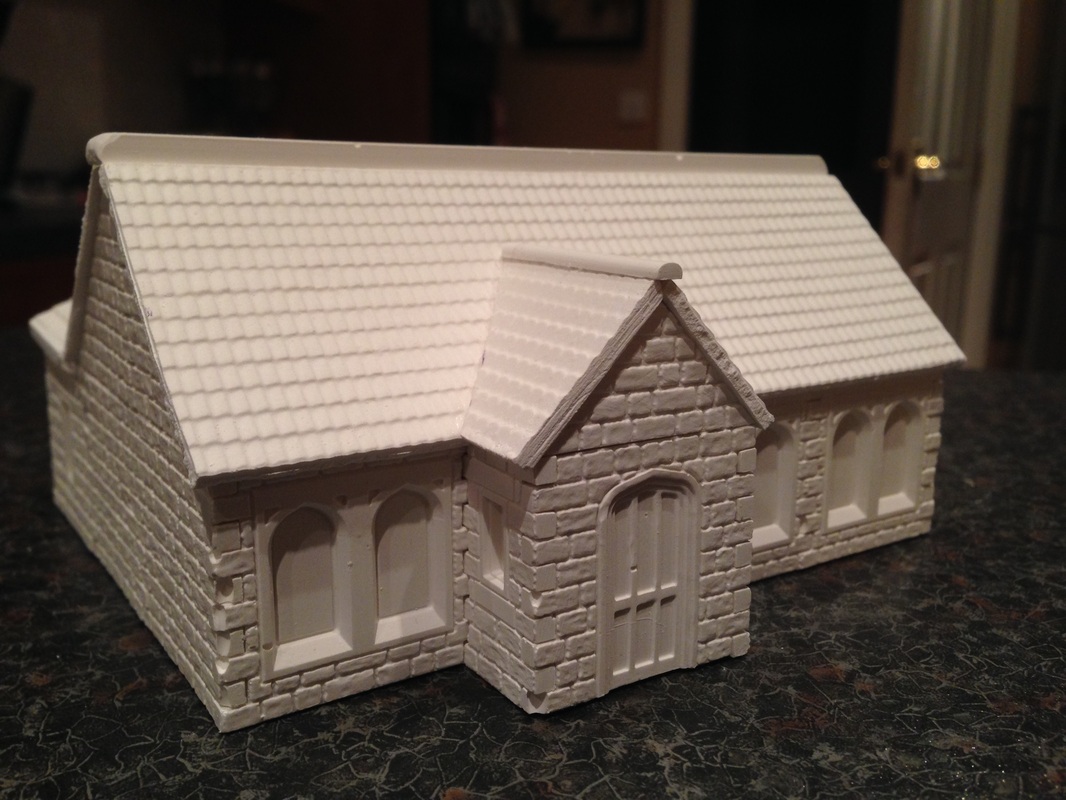
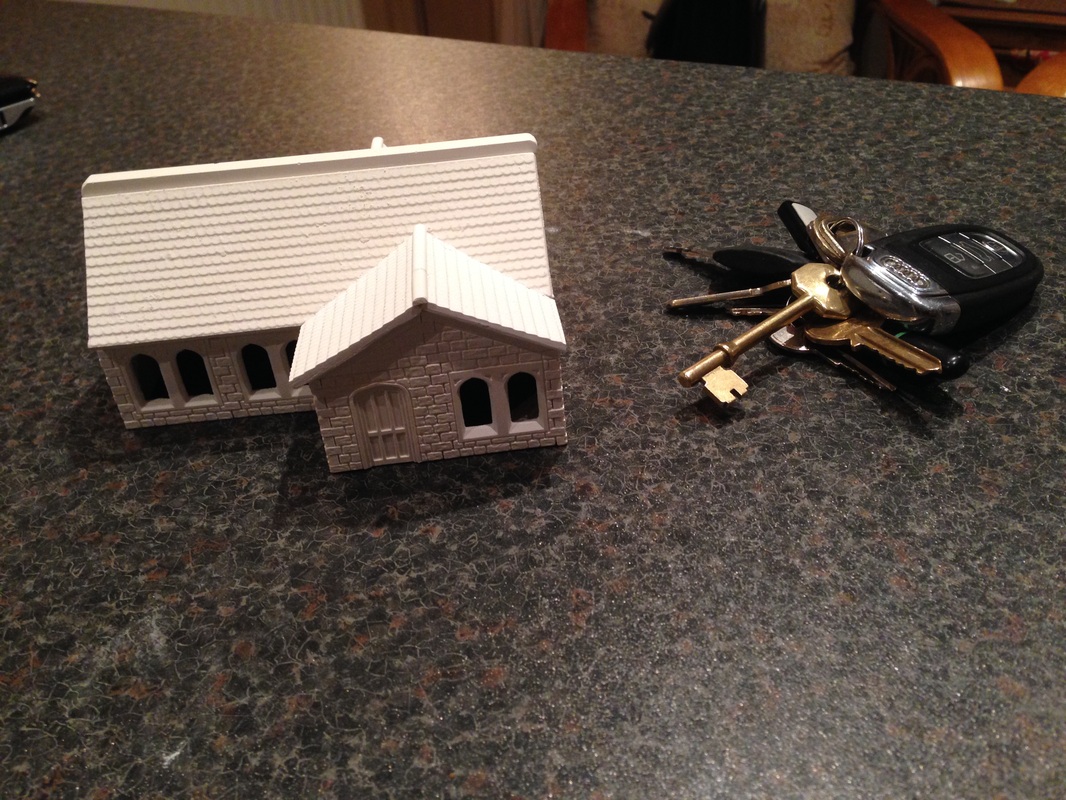
having obtained some more of the linka moulds for the additional stone work, I was eager to start this small Rectory, I had seen something similar so just started building to see how it turned out and to get more practice.

Start with adding casts
Add roof sides
Added Roof Beam
Prepare for adding Linka Roof
Adding Linka Roof
View of Linka Roof 1st Cast Added
Close Up of Linka Roof Cast
Linka Rectory Side View
Linka Rectory with Both Roof casts in place
Linka Rectory with Small entry roof complete
Linka Rectory with second small roof completed
View with car keys to show scale
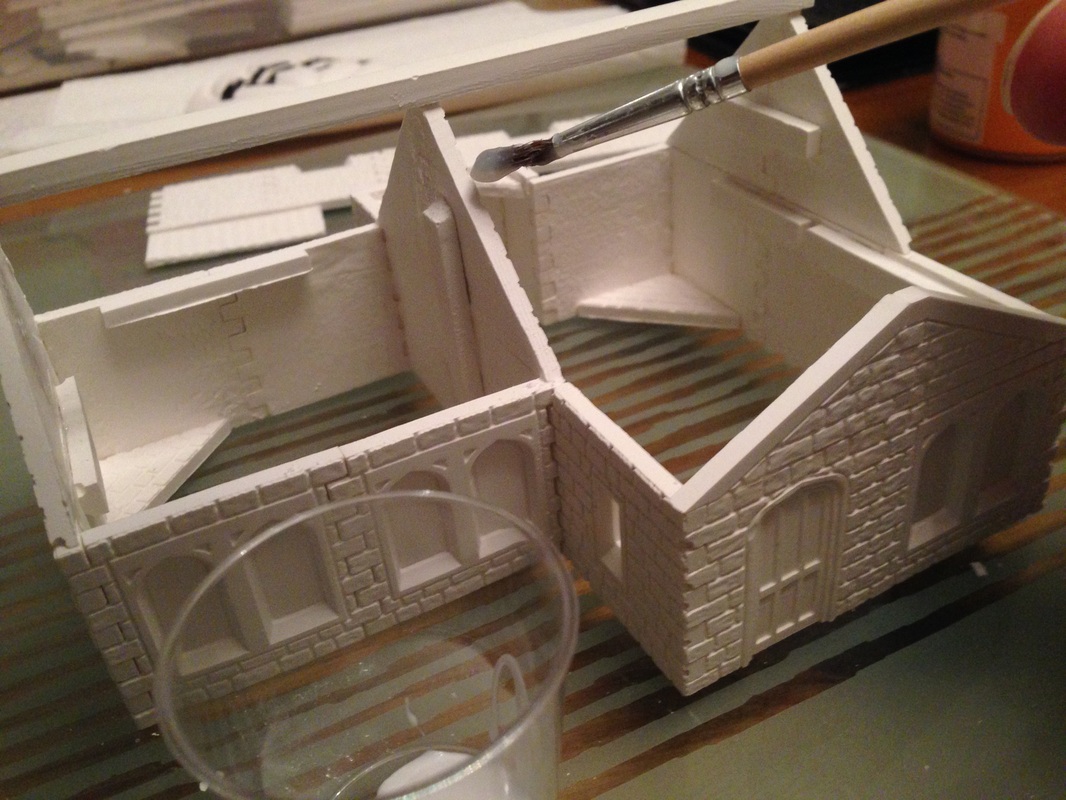
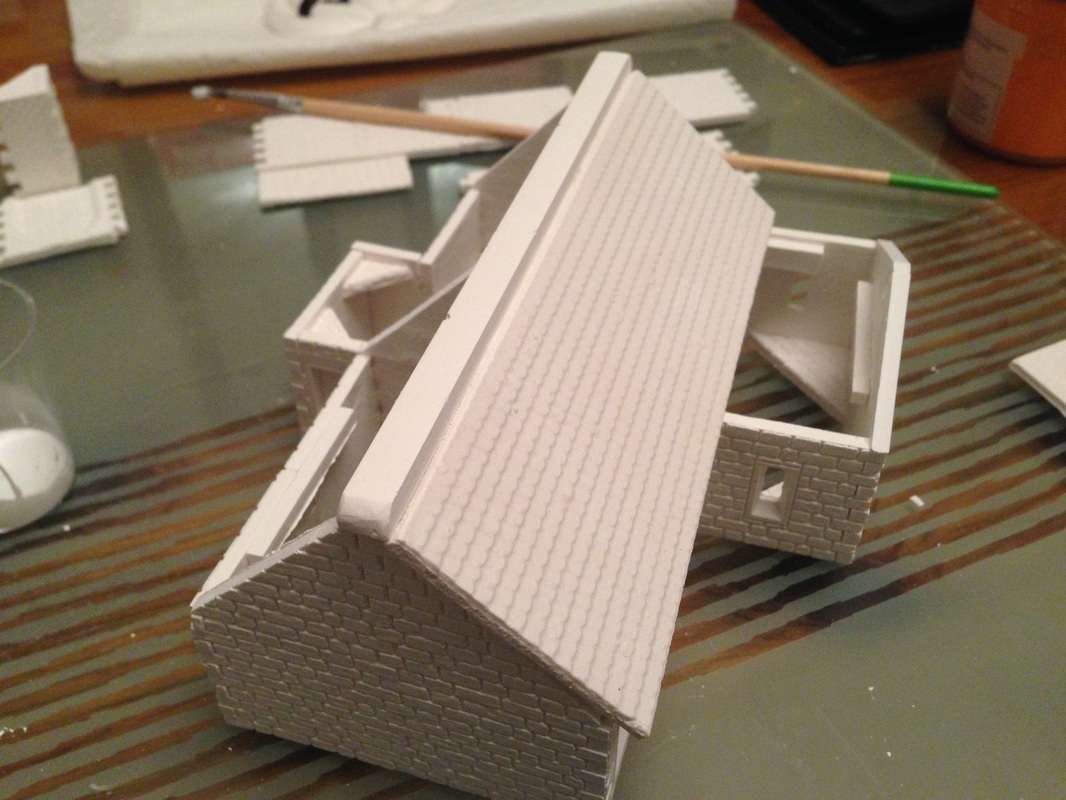
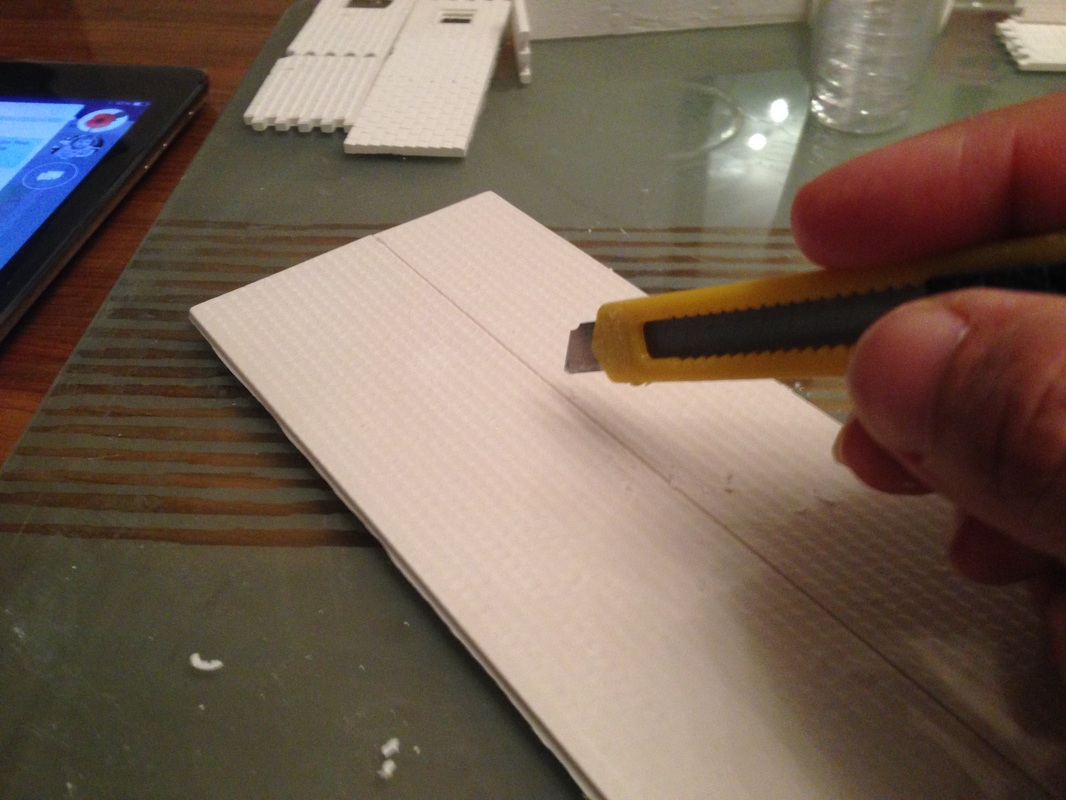
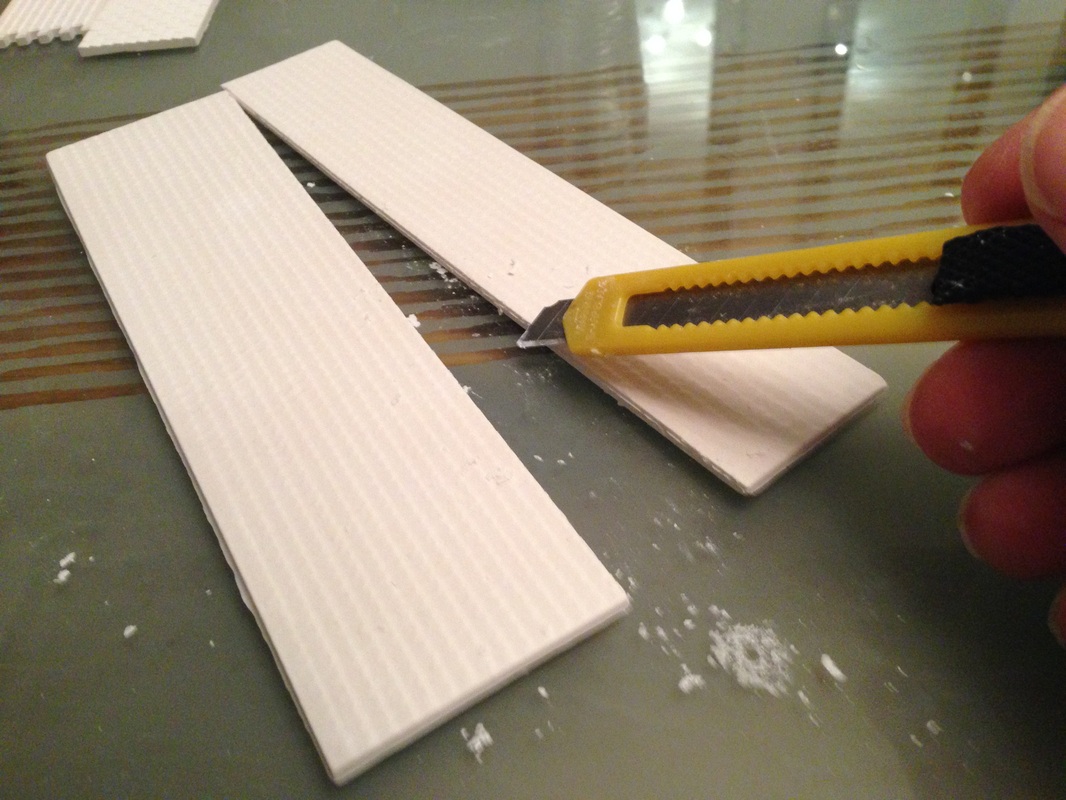
Adding the Linka Roof

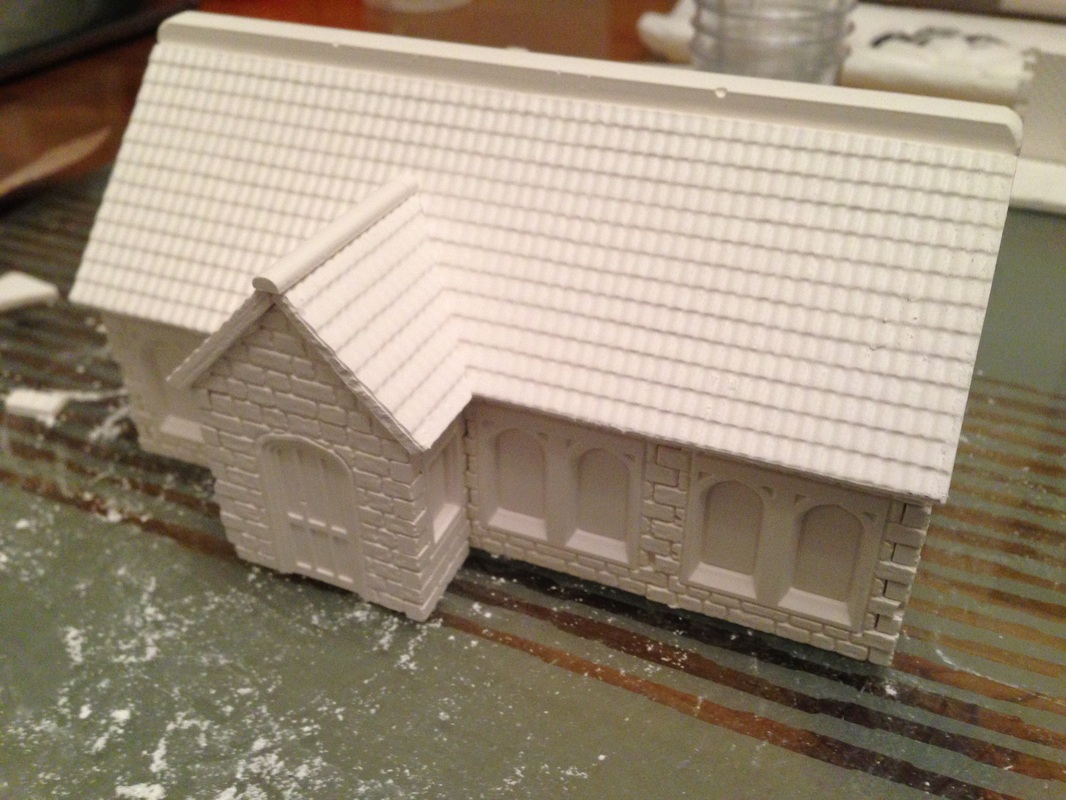
Putting the Linka roof in place can be done a number of ways on this model I have used a single cast and cut it to shape so there are no joins visible. you can just as easily use the Roof moulds and make a sheet of roofing if you prefer those types of Linka Roof Tiles.
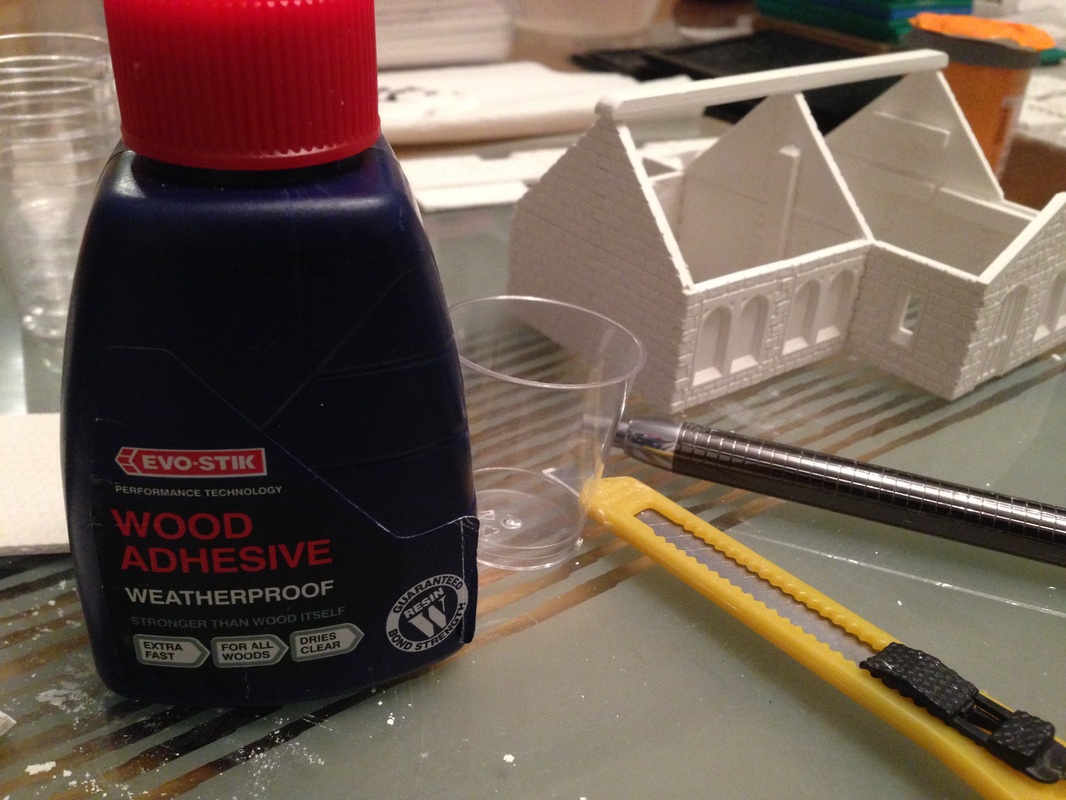
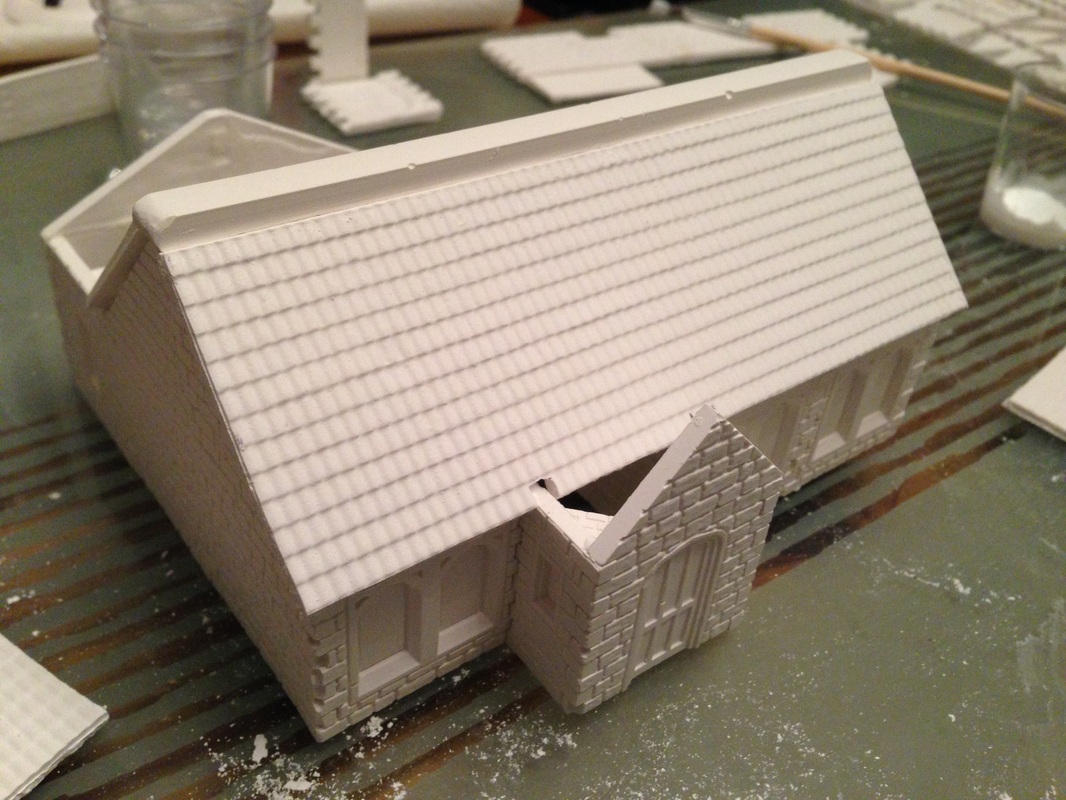
Picture
Scoring the Linka Cast
Having marked the depth needed, score the cast with a semi sharp craft knife, score several times across the same line. I try to cut about half way through the thickness to ensure a clean break
Just carefully snap the cast as shown here, all you will need do then is carefully file and smooth the edges. The photos left show the roof pieces added add each stage.

I use fast drying strong woodwork adhesive to glue everything in place 
Picture

Detail

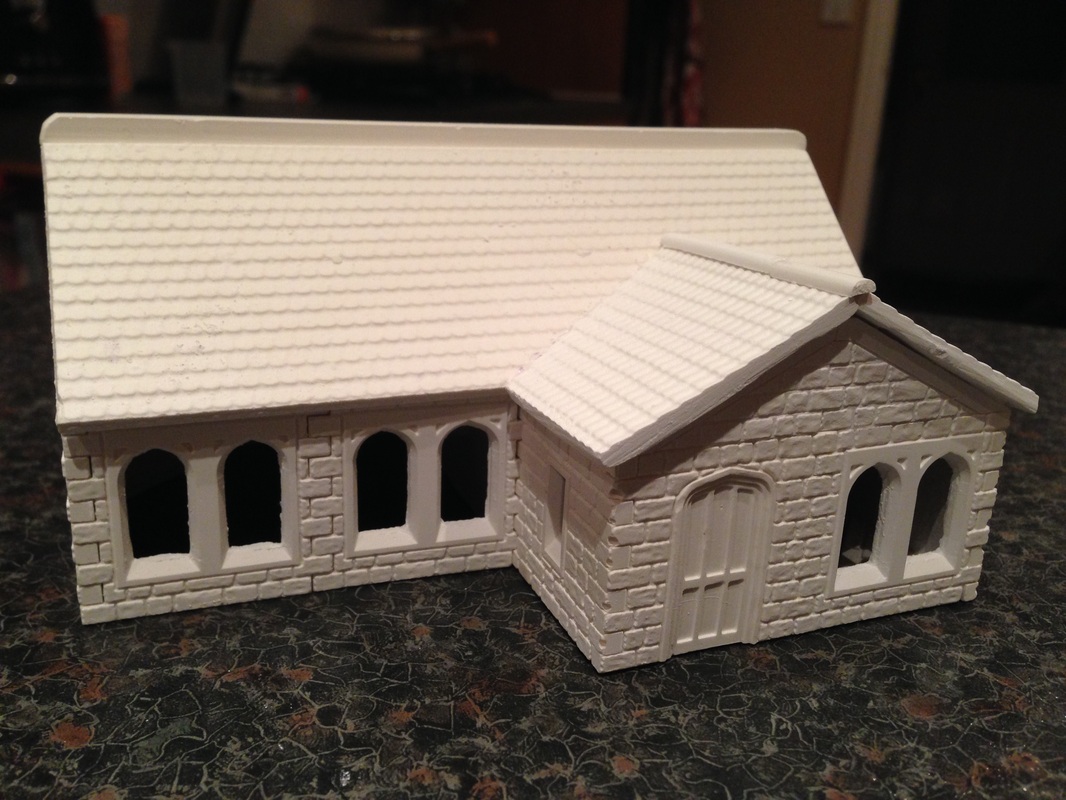
Again as this is a fairly simple building I have not gone too far in to the details, There should be enough material on this page to allow you to look at how it was created. All the moulds used are the stone ones, with the exception that I have used a full sheet plastic mould for the roof, but this could just as easily been done with the standard Linka R type tile. if you want to see all the moulds and parts available to you please see Here

Special Casts

The special non Linka casts in this model are as follows, click the link to see any of these items and how you can make them.
Beams
Painting

There are and will be many articles on this website about painting, so I will not try to cover it on each step by step series, at the time of finishing this article there are plans to put a lot of painting workshops on the site, so here is just one of them to get you started Painting Linka Brick Casts
Back To Projects
Site Visits

counter how to put
Easy Tracking