
Project 05 - The Linka Christmas HouseBuild Complete 21 Dec 2013
|
Overview
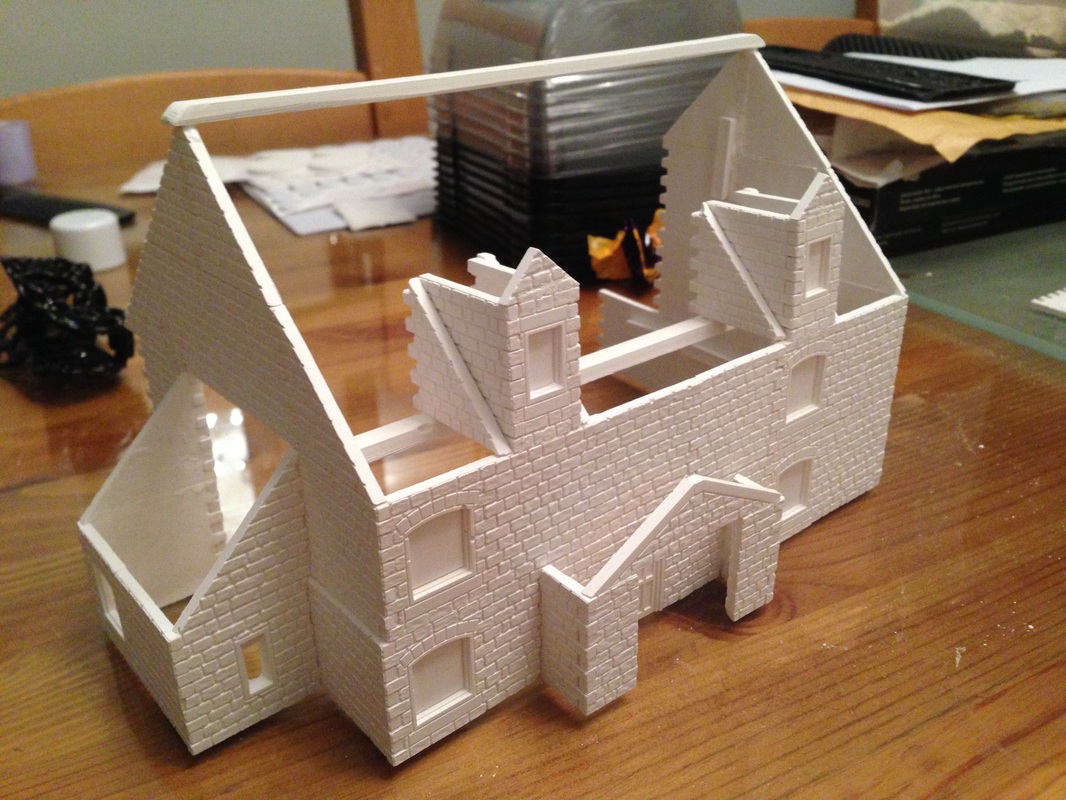
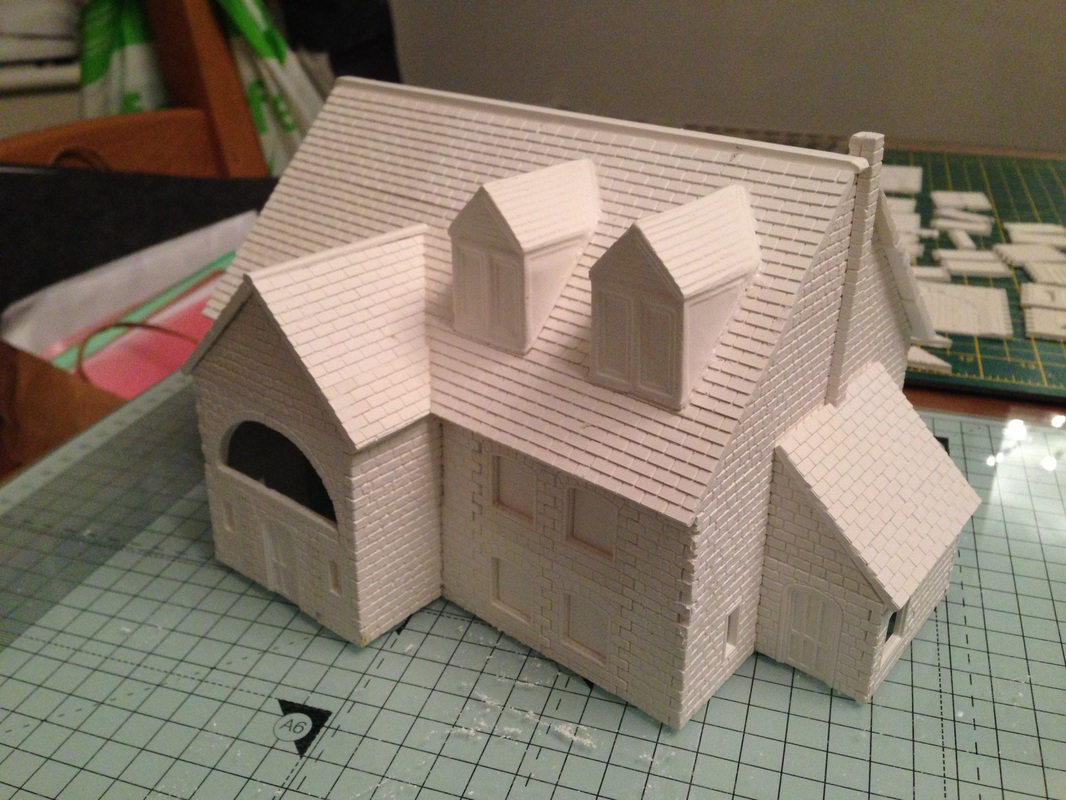
A stone built Linka house which will be completed by adding the complete model to a large shallow pot, with christmas trees lights and snow for a seasonal feel - 2013 |
|
|
Step By Step - Building the Linka Christmas house
|


Part 2 added 22nd November 2013
|
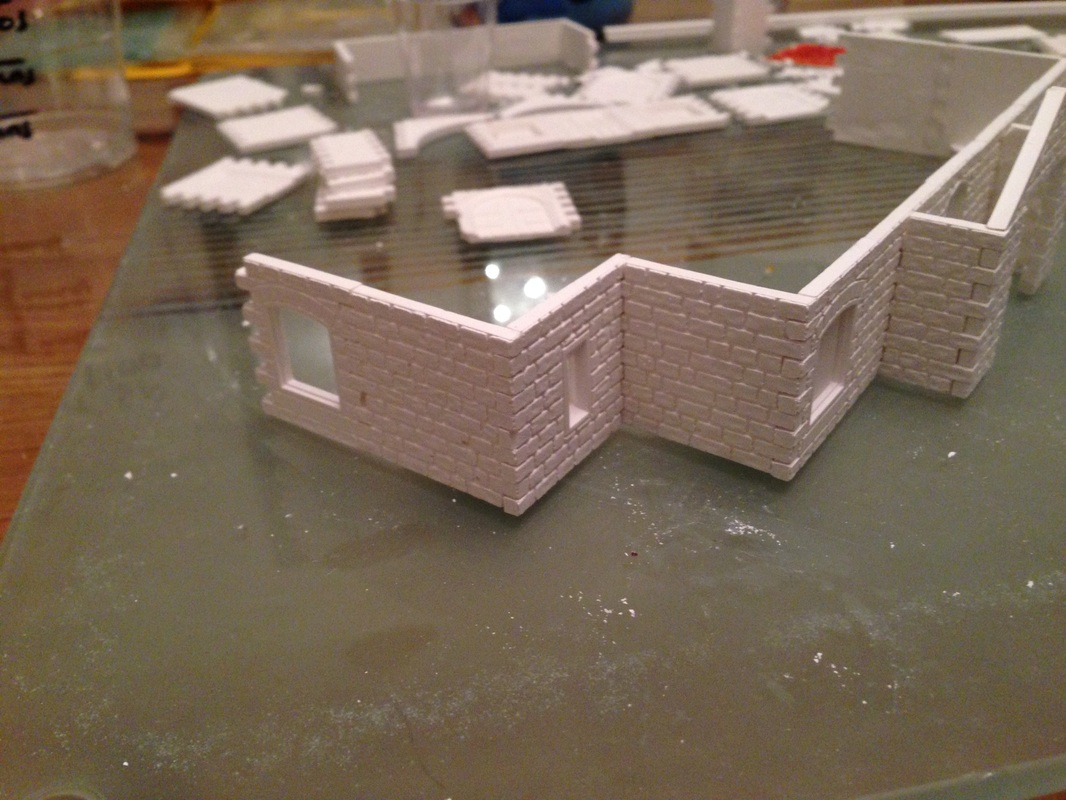
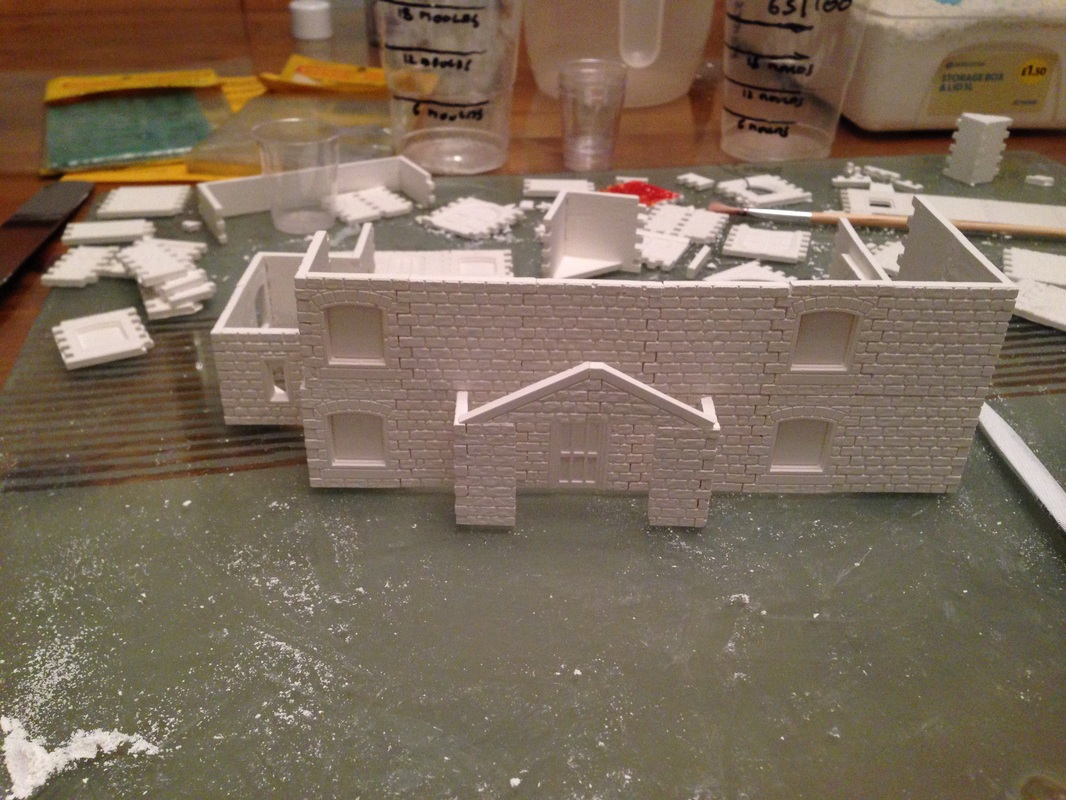
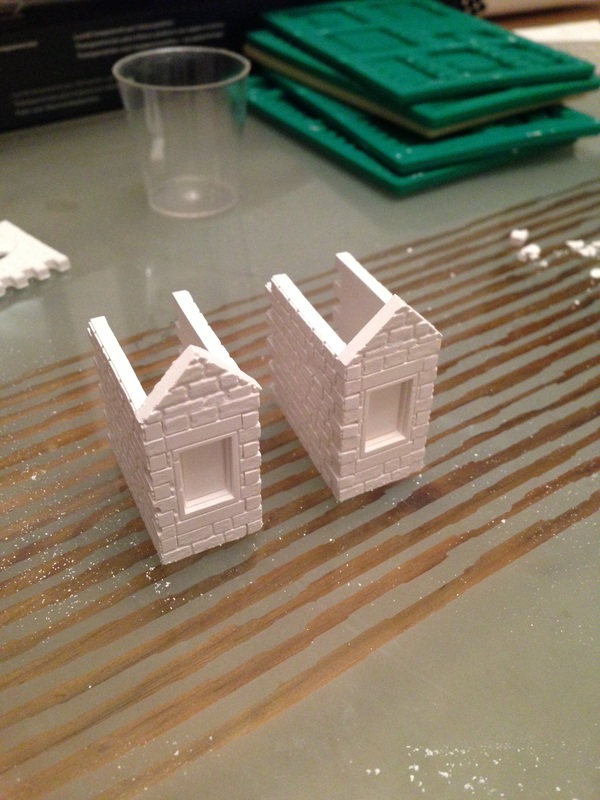
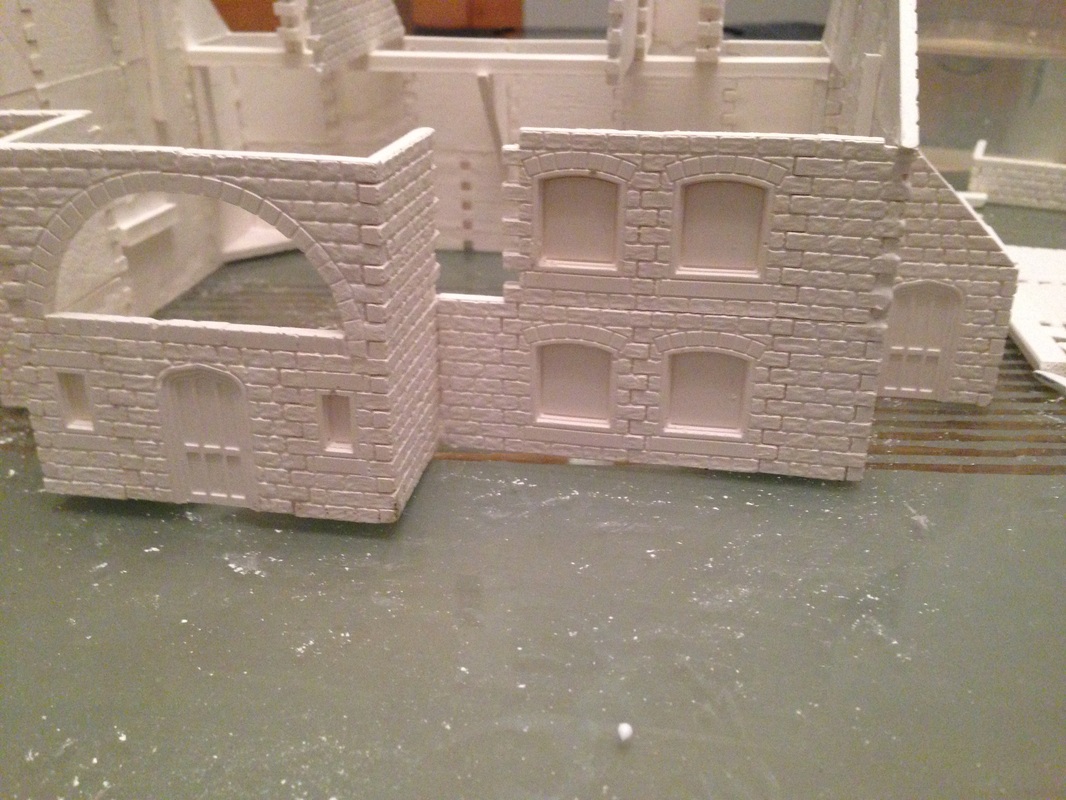
So here we are in part 2 of the Linka Christmas House
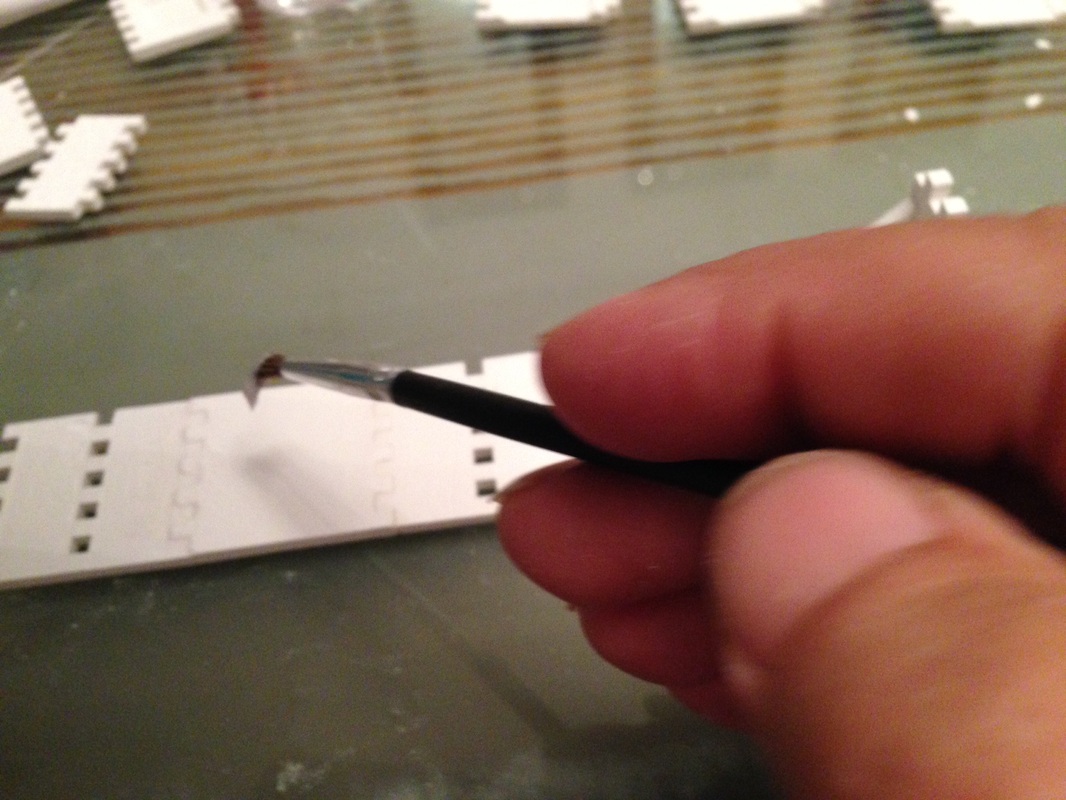
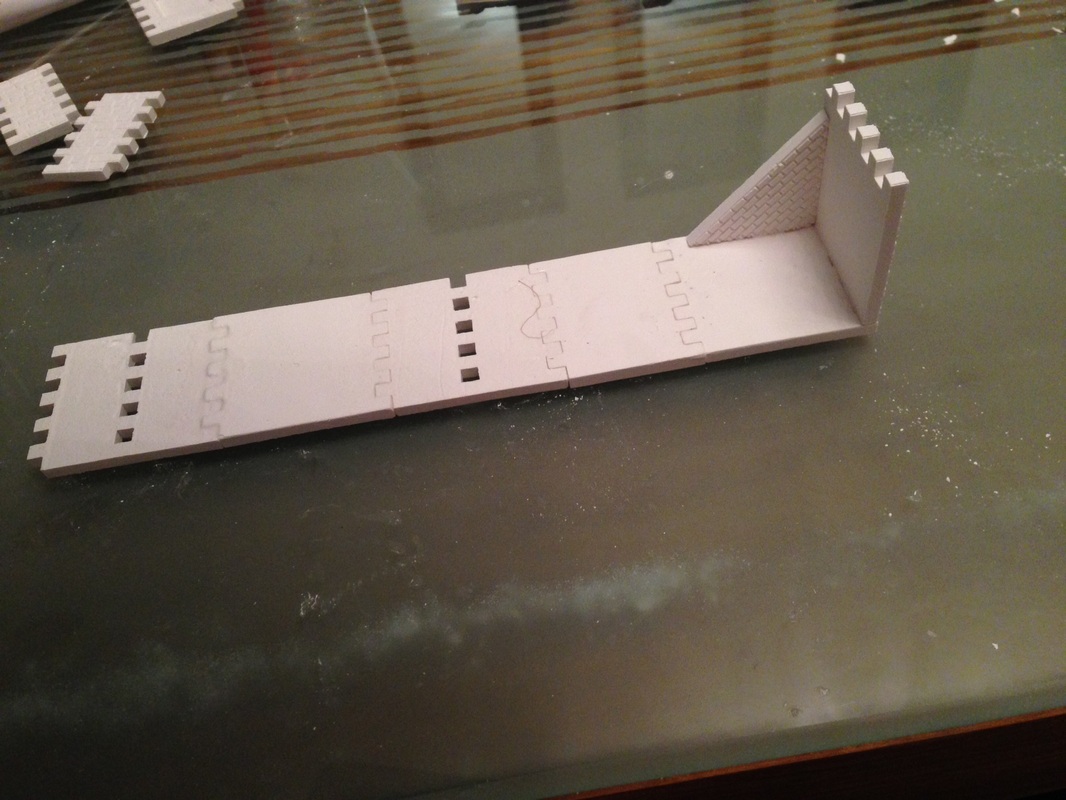
You can see in the images to the right I am working on the left corner, when adding inner corners just glue you cast to the model and use a square tile just to make sure it stay square until dry.
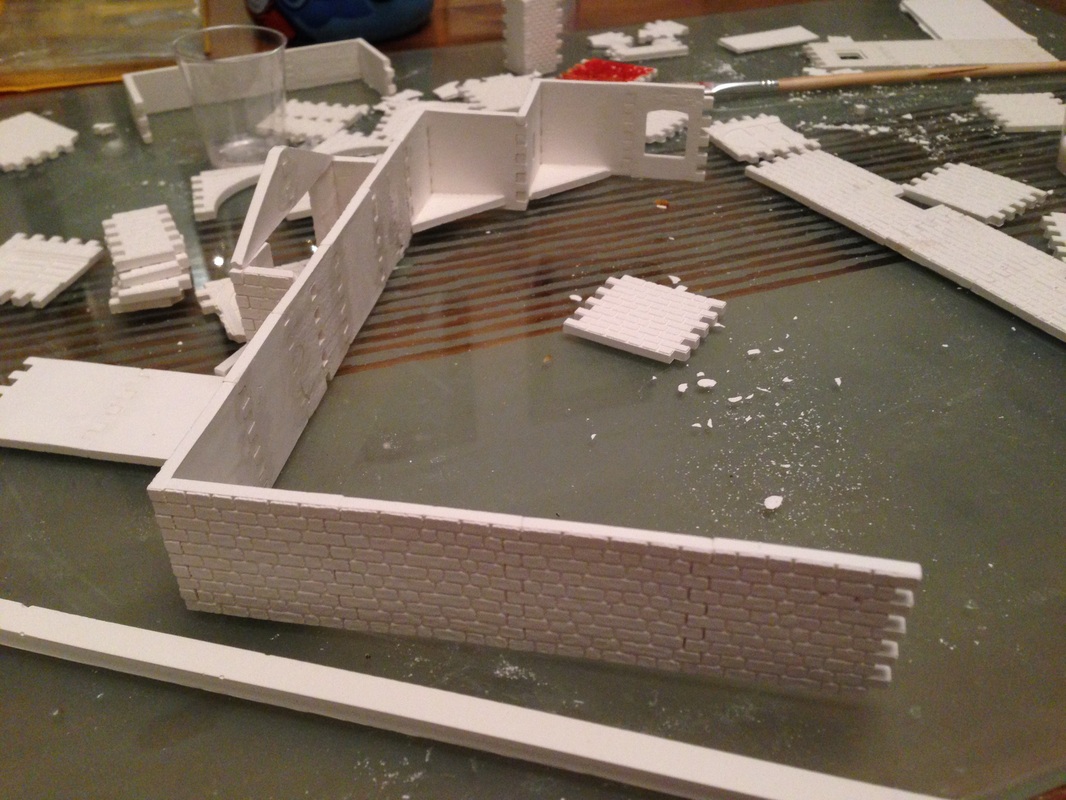
in the next 3 images we complete the right long wall, then start adding the second floor to the right corner of the building
just click any image to get a close up view Complete the second floor to the front of the building, then complete the second floor to the left of the building adding the roof apex slopes. while that was drying I started building on the right again just steadily adding the casts you can see in the bottom left image that after working on the right I have glued together the 4 pieces needed for the left side of the building, so it was dry enough to handle, but not too dry so is still is a little flexible the last to images show the 3rd level added to the left of the model. For the rest of this build session I poured some new casts as I am running low |
|


Part 3 Added 30th November 2013
|
|
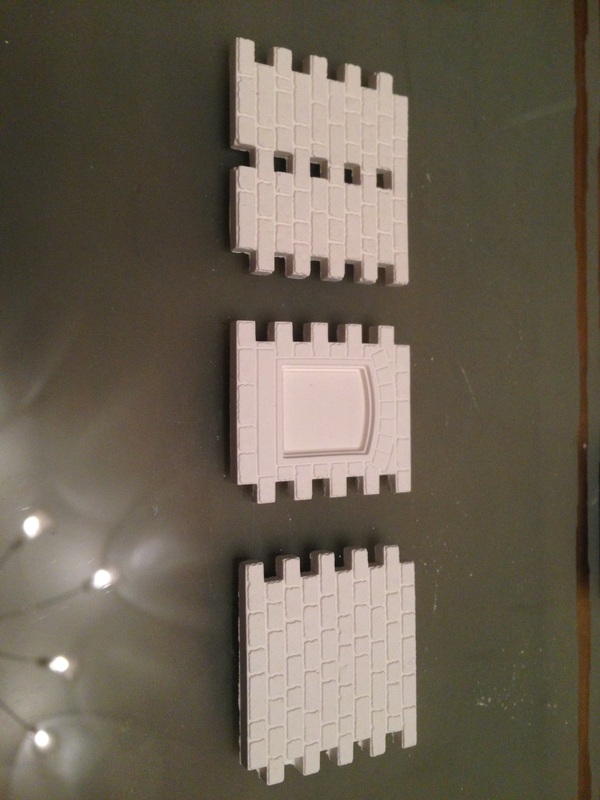
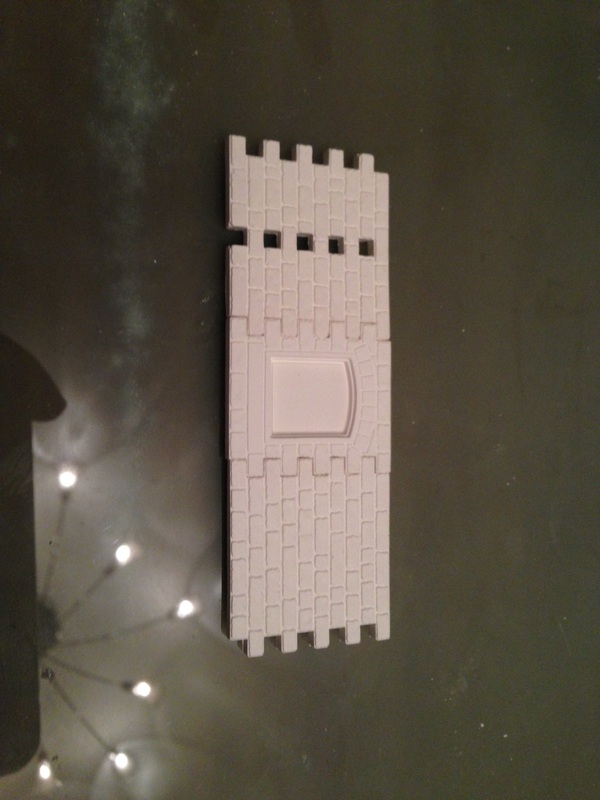
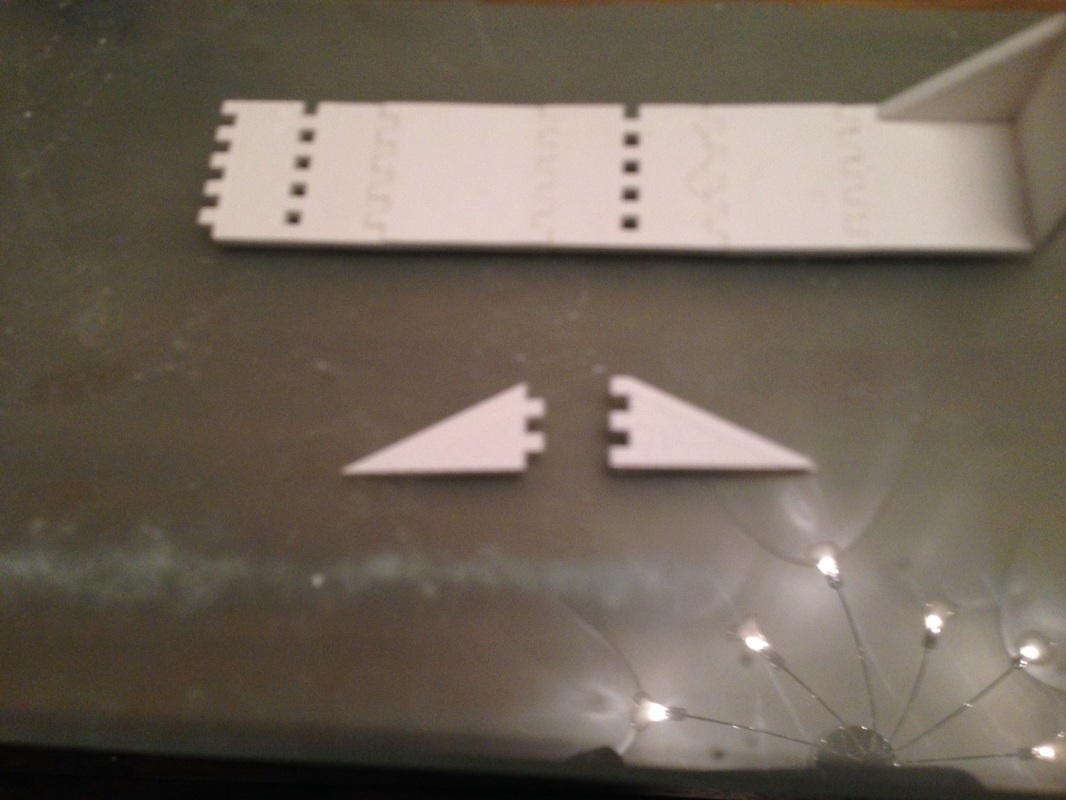
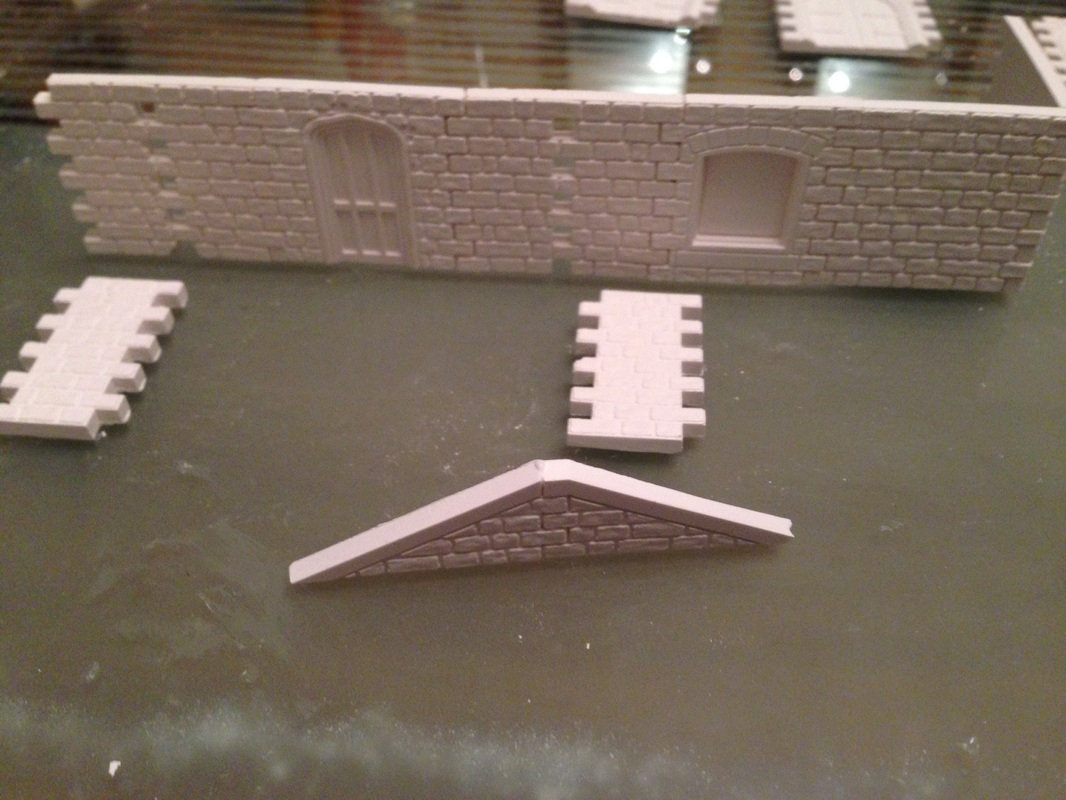
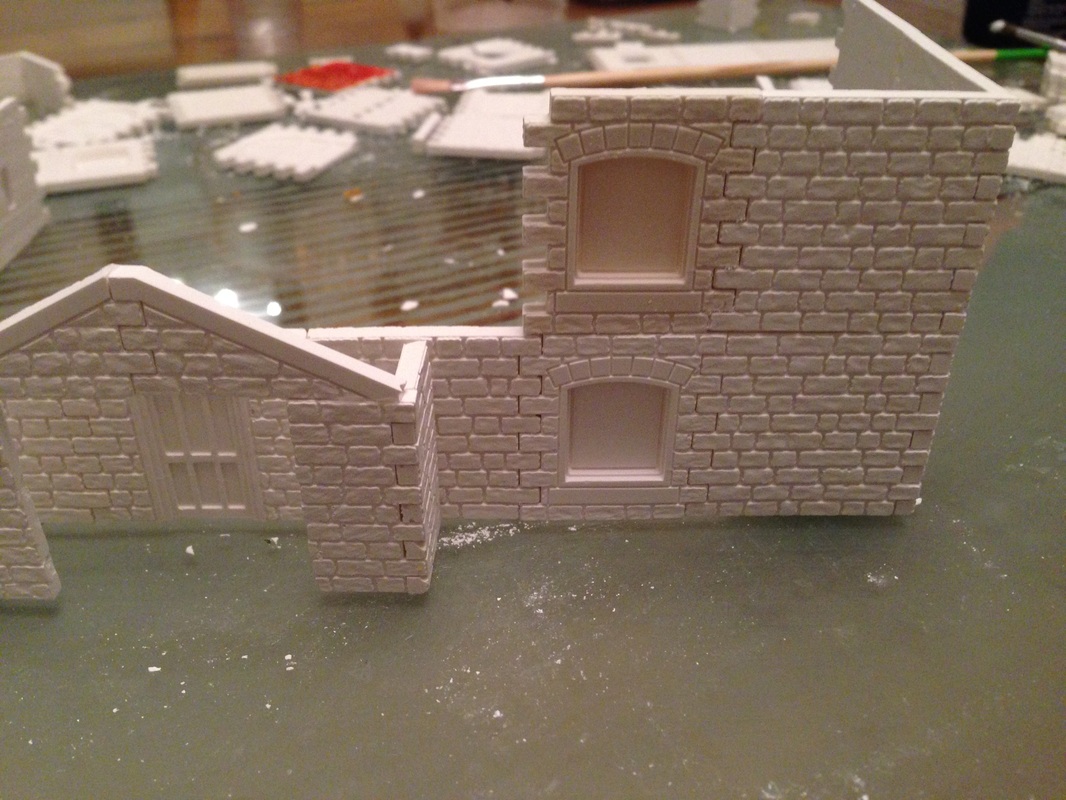
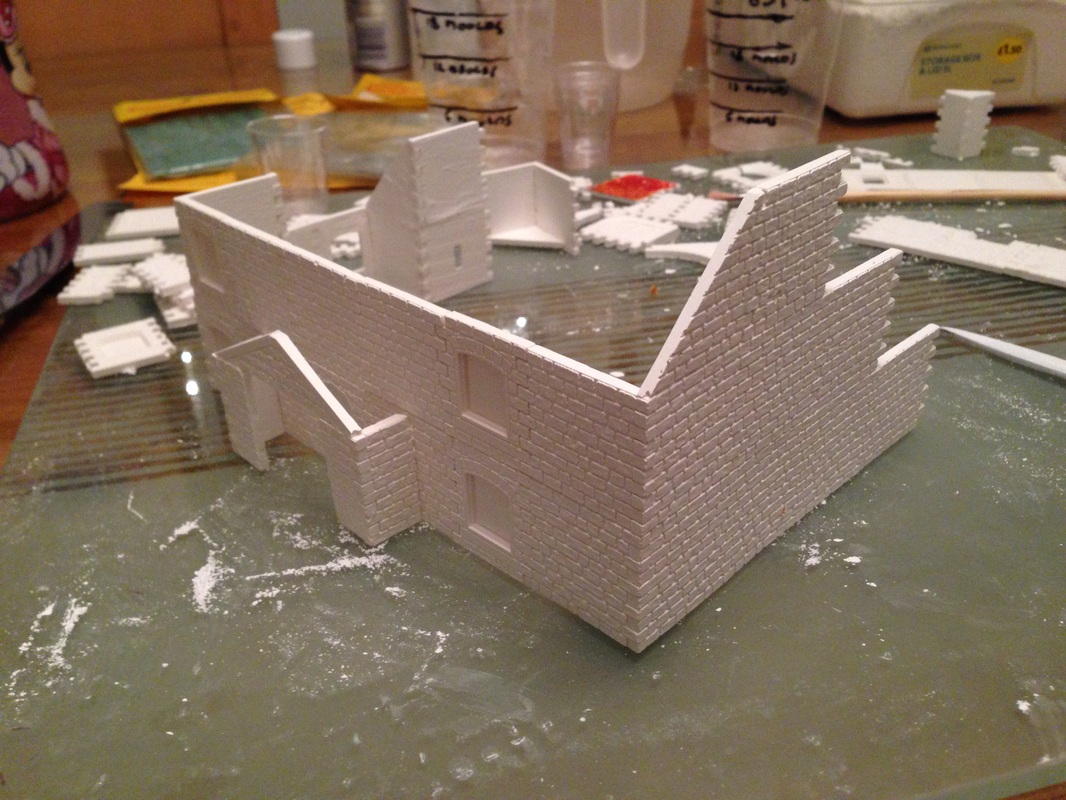
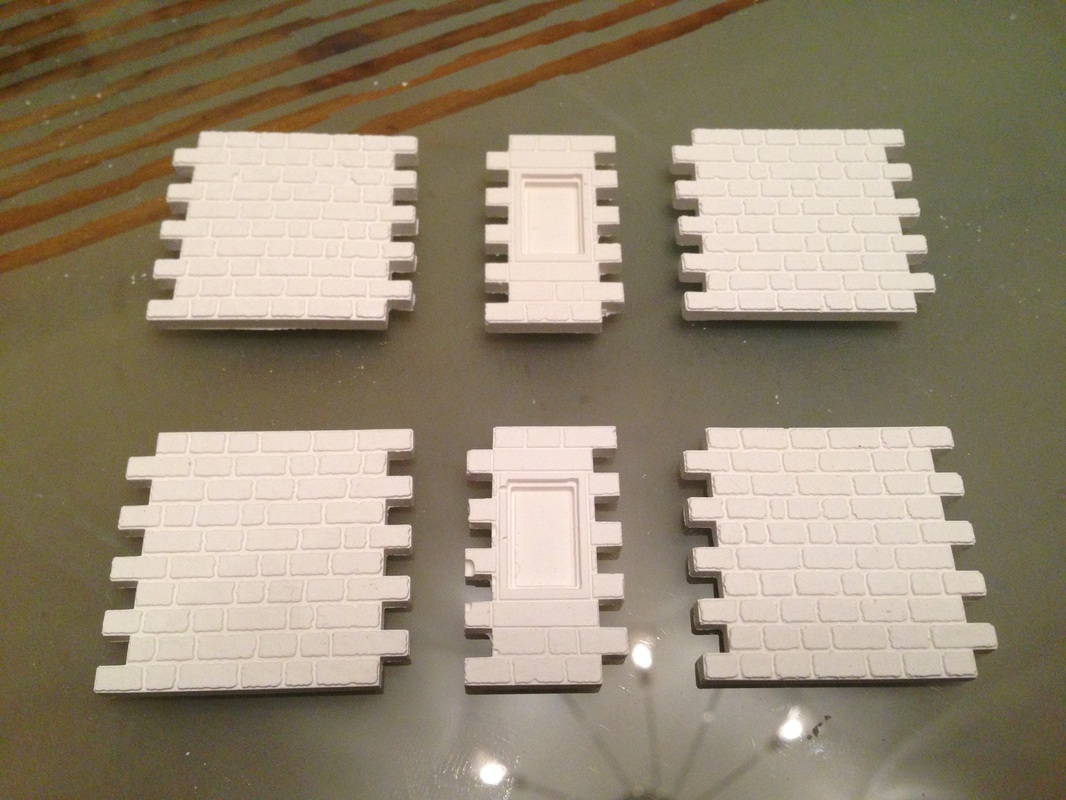
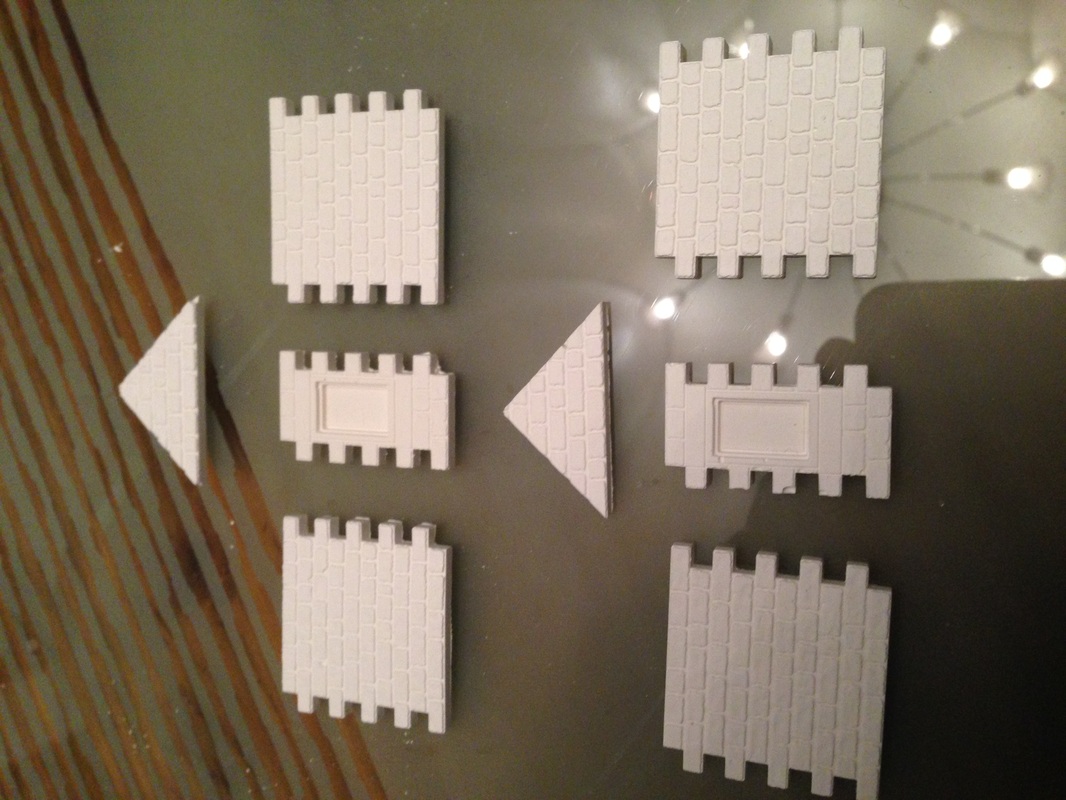
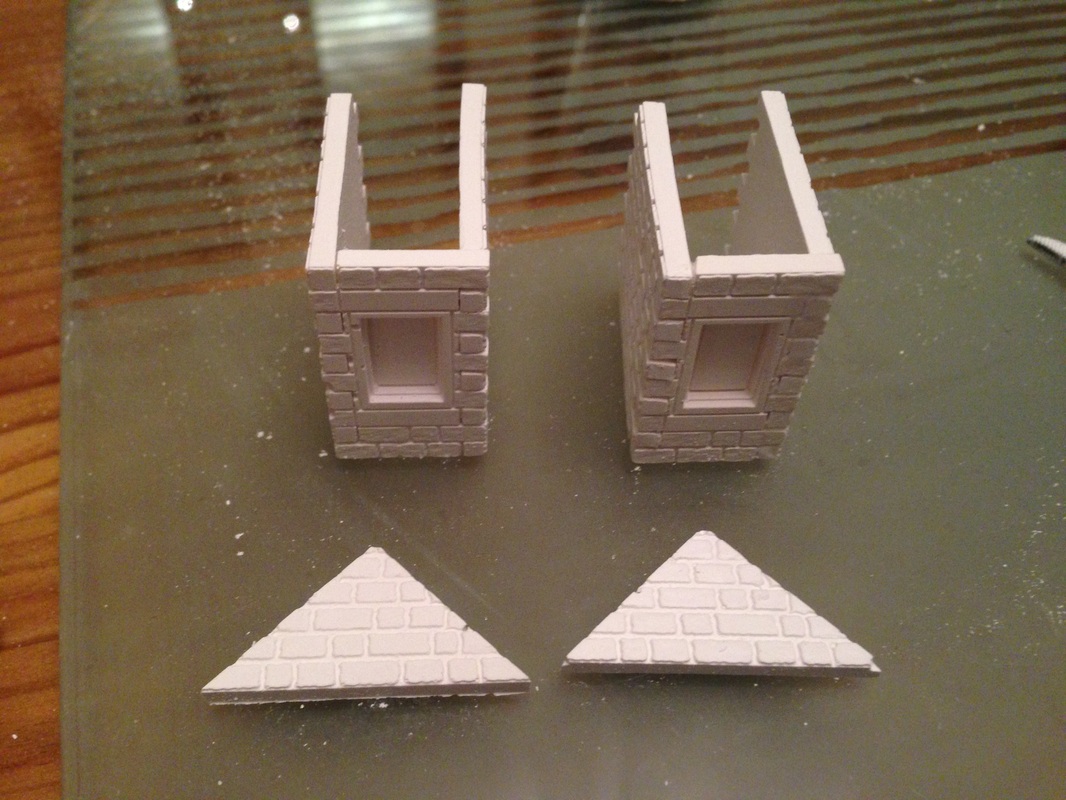
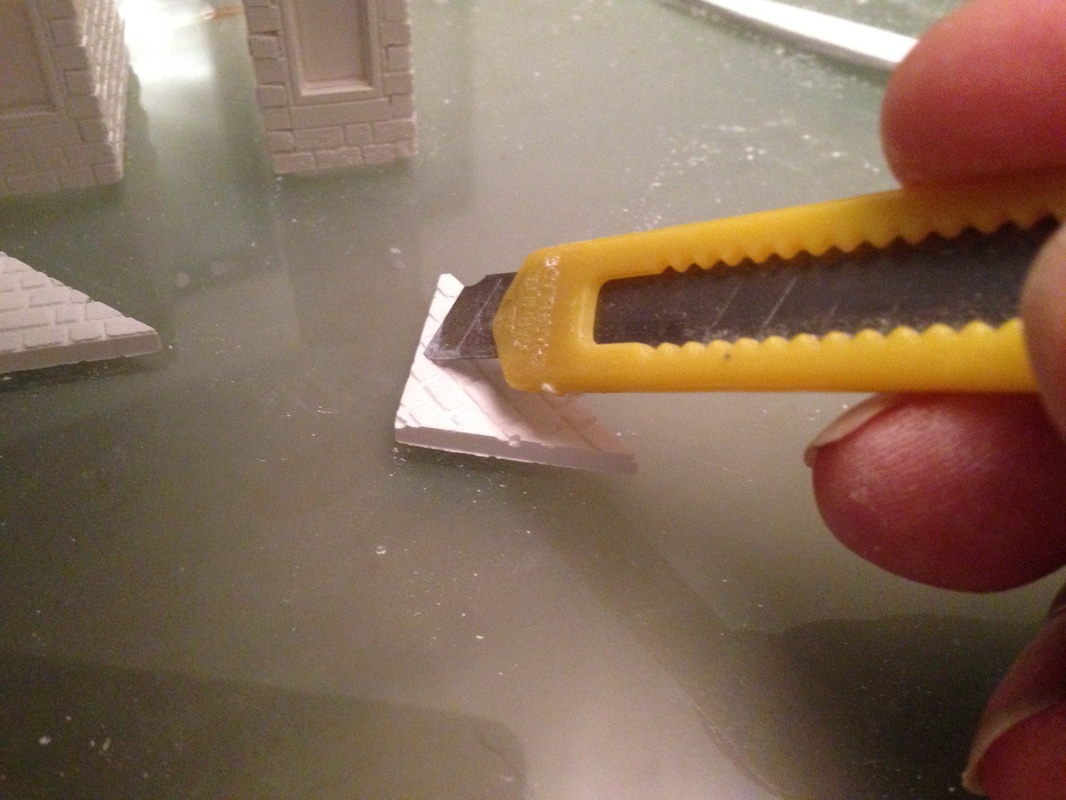
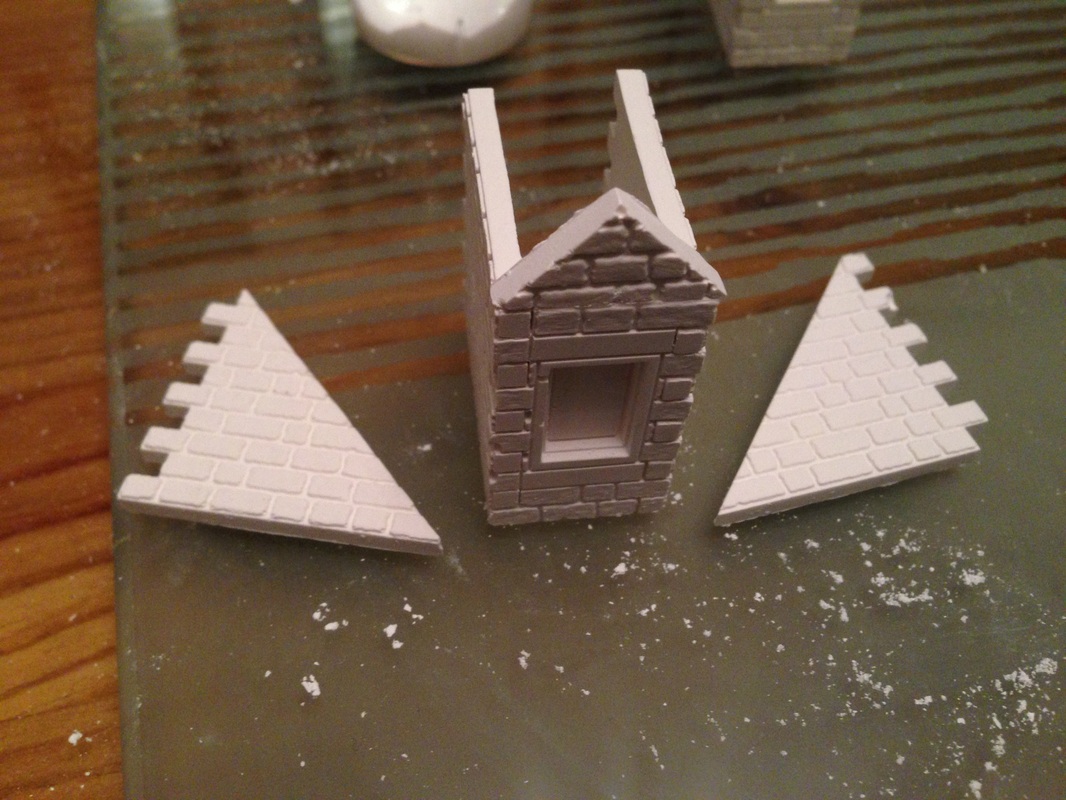
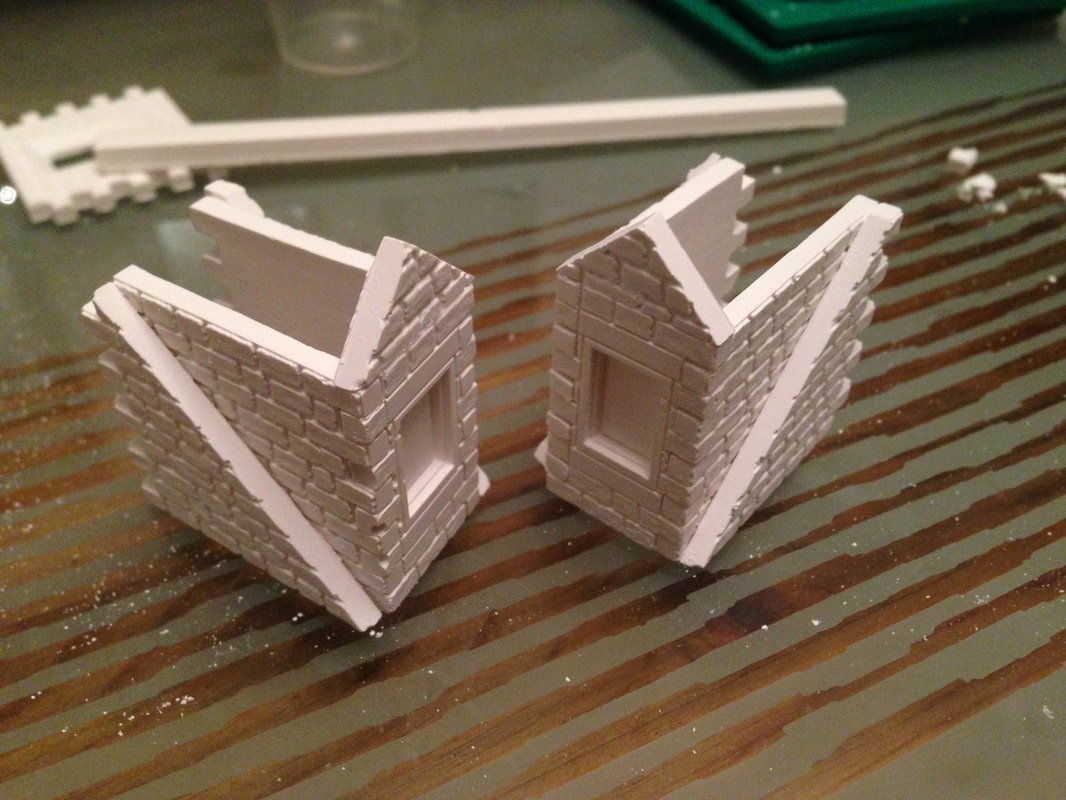
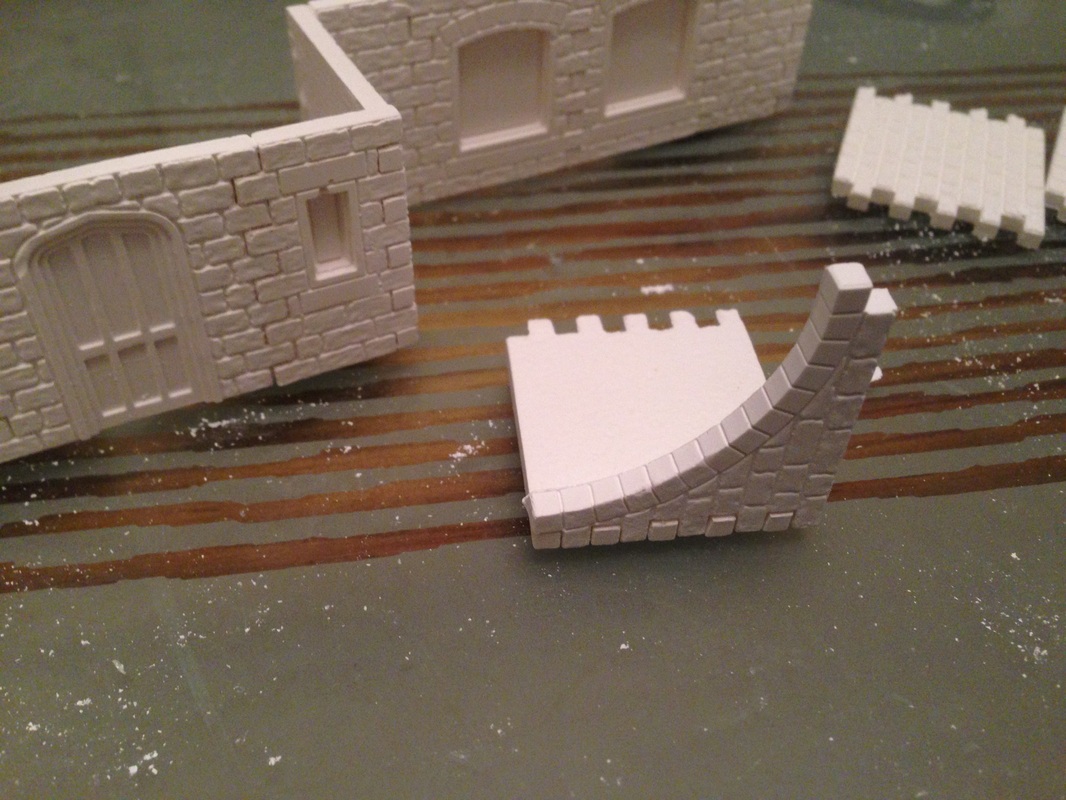
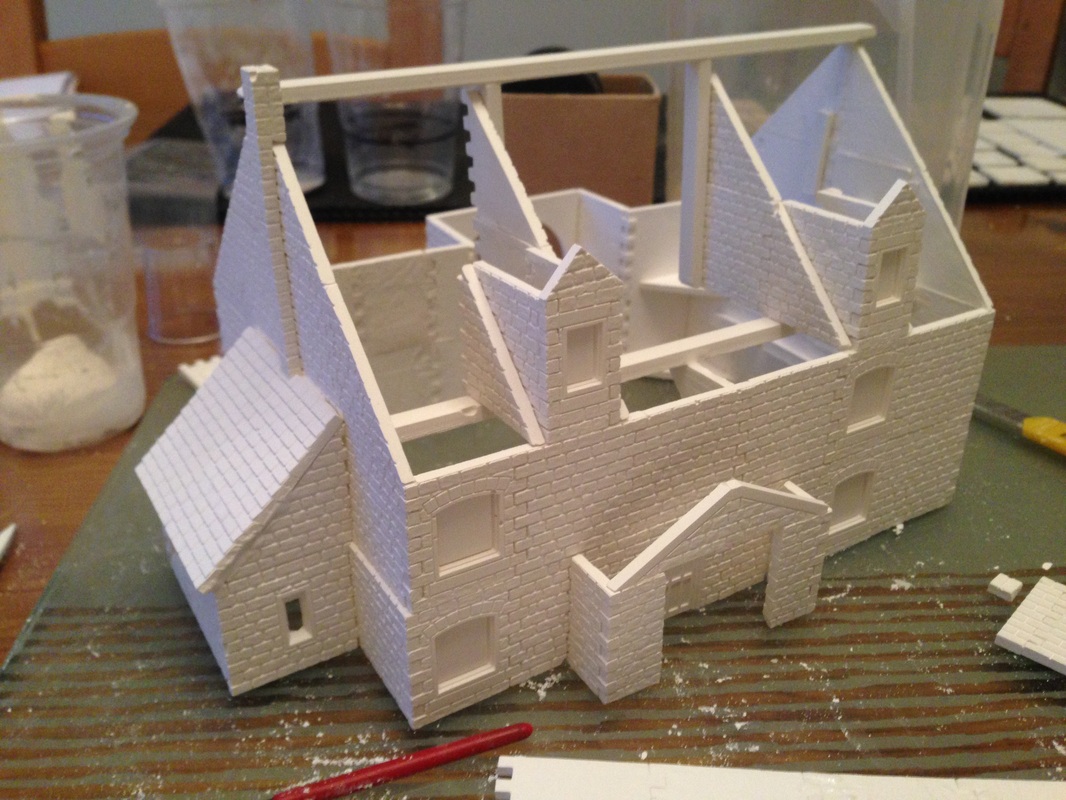
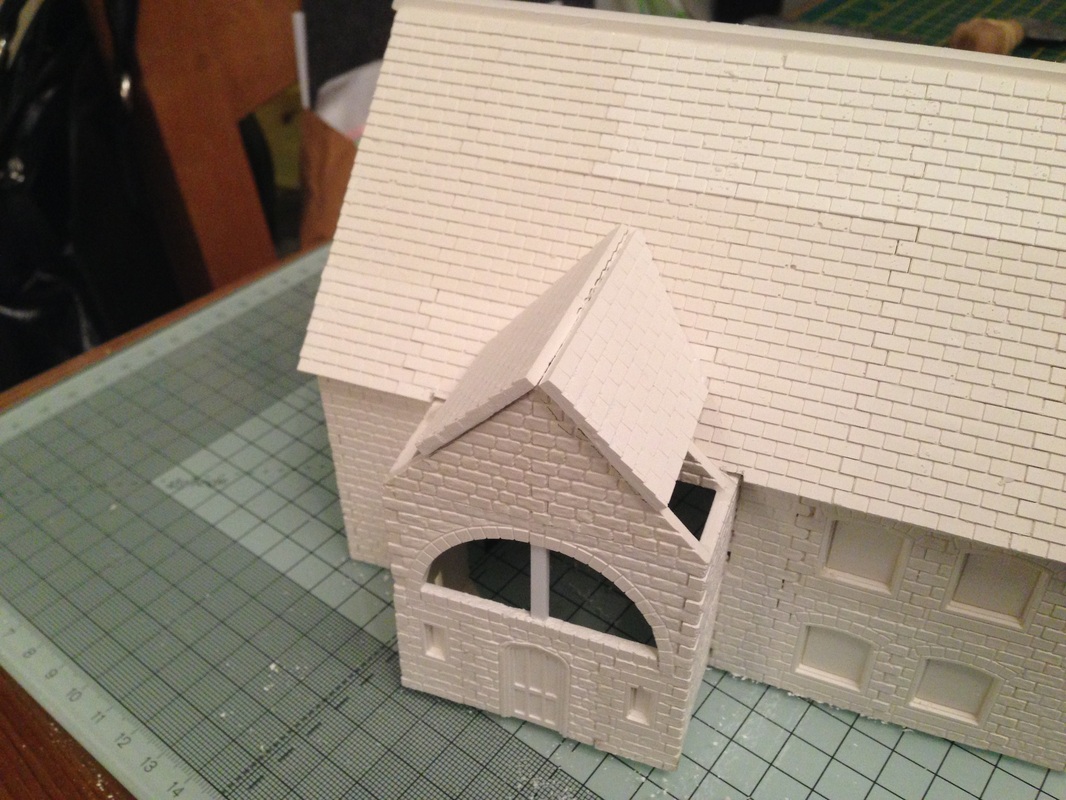
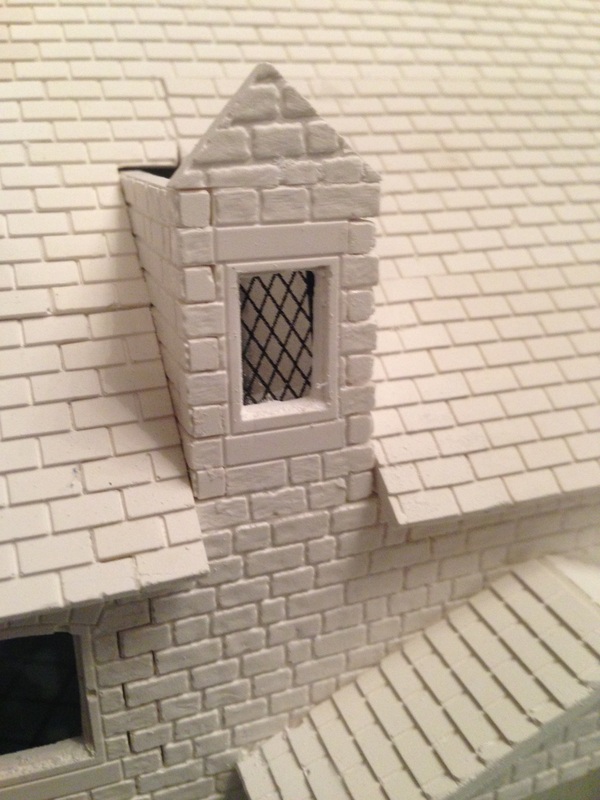
Showing here are the parts we need to make the attic windows, you will notice I am using beams for support, as you can see in the 3rd image, I use a plastic RSJ which i fill with plaster and then extract it to make the beams, see Here if you need more information So lets glue the cast together, trim down a normal stone corner for the apex, you will have to file it intil its exactly the right width, just glue them on and you should have the makings of the windows Here I am adding the standard Linka roof slopes to each side of both windows, this will be to support the main buildings roof as you will see later in the project Just align them into the corner so all the sides are perfectly aligned. Now you can see I have cut a beam to length and fastened it to the main building. its easy to align, (level with the side casts and level with the cast joints - so in the corner) just click on the images to zoom in. Then glue the new Attic windows in place by aligning the from edge with the front of the building, I have aligned th right hand one dead centre with the windows below, but the left window is just placed wherever you wish. |


|
Part 4 added 08th Dec 2013
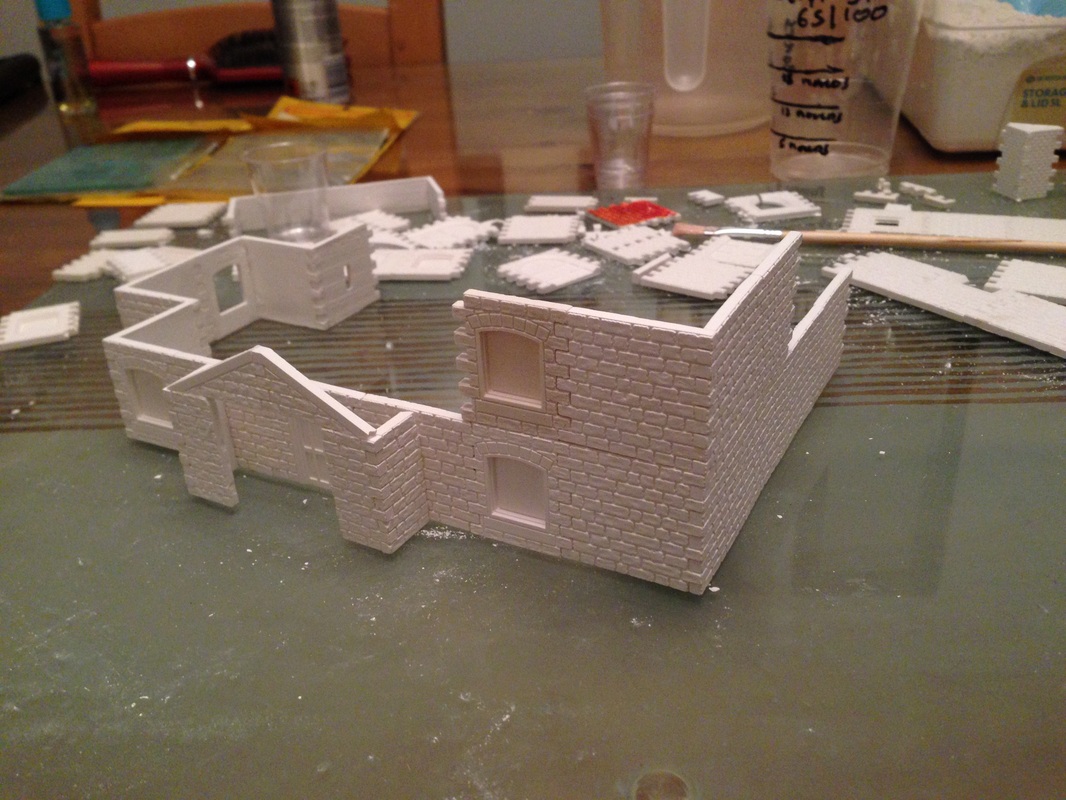
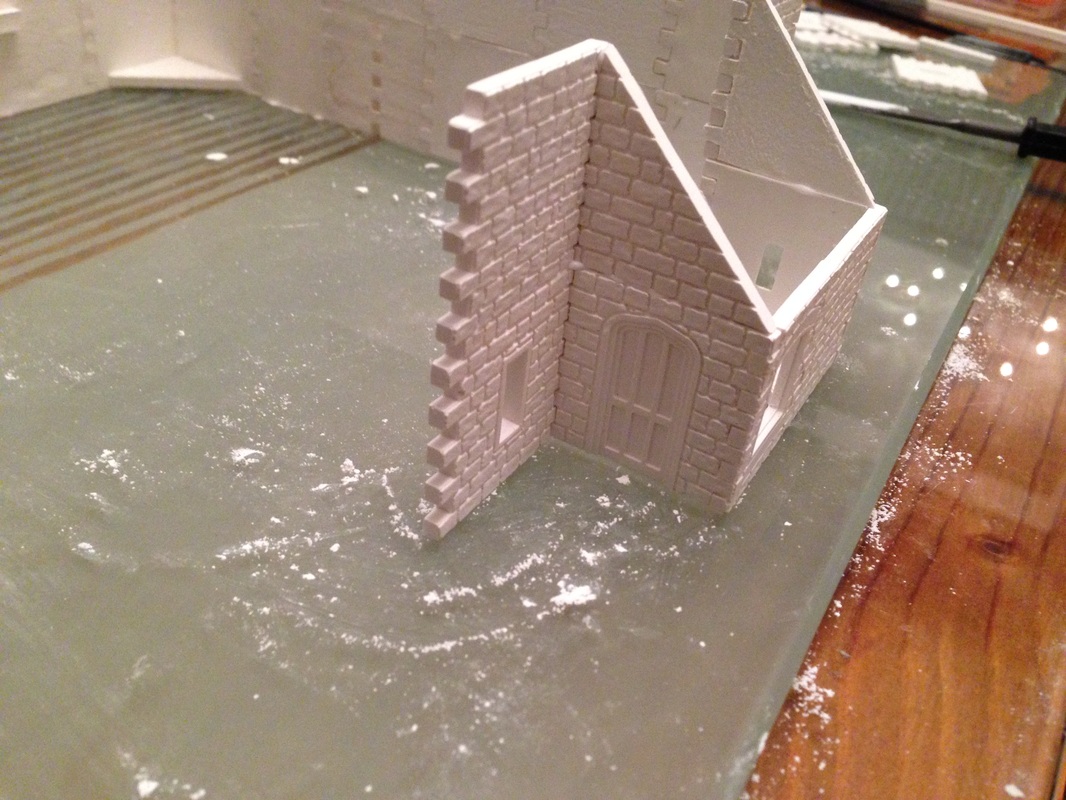
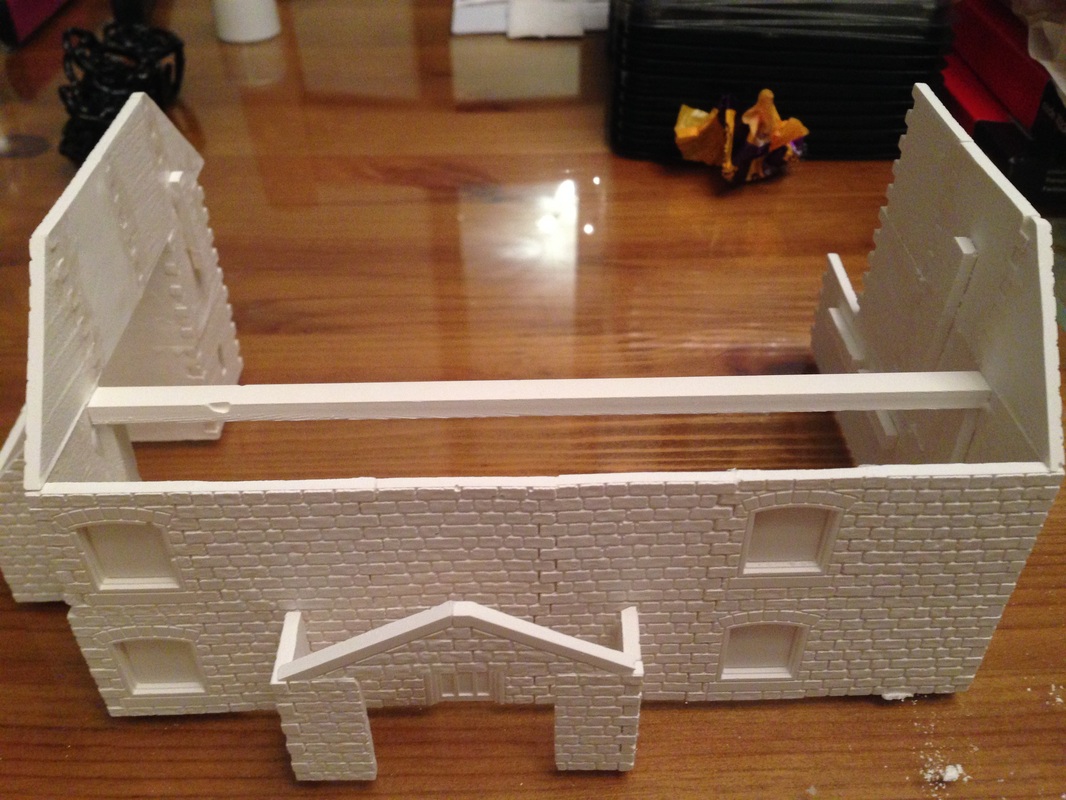
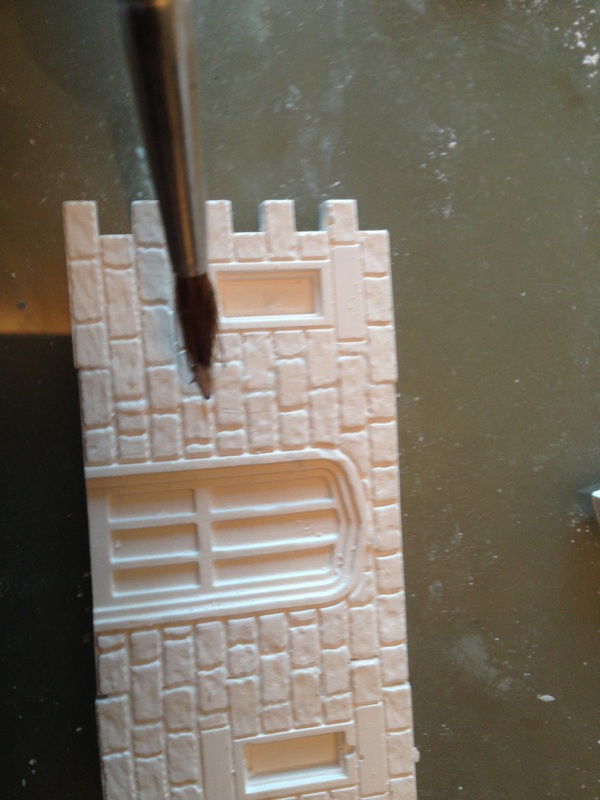
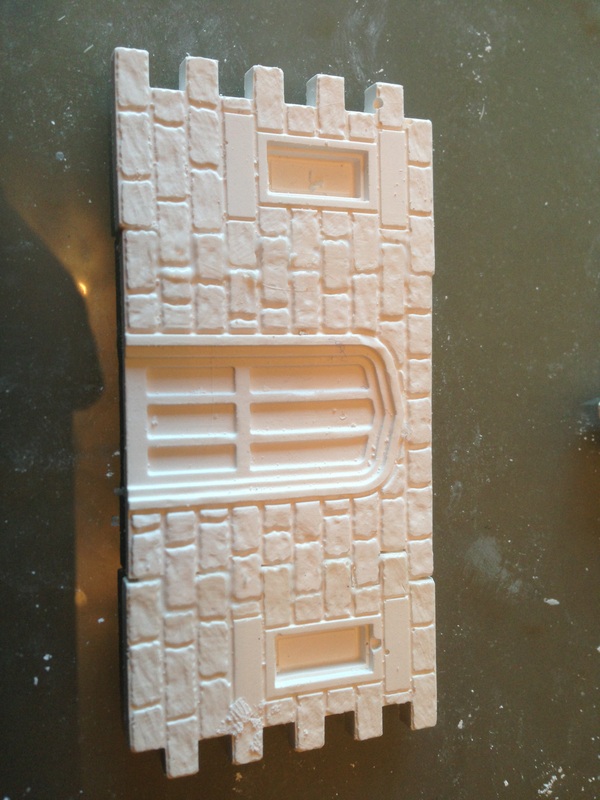
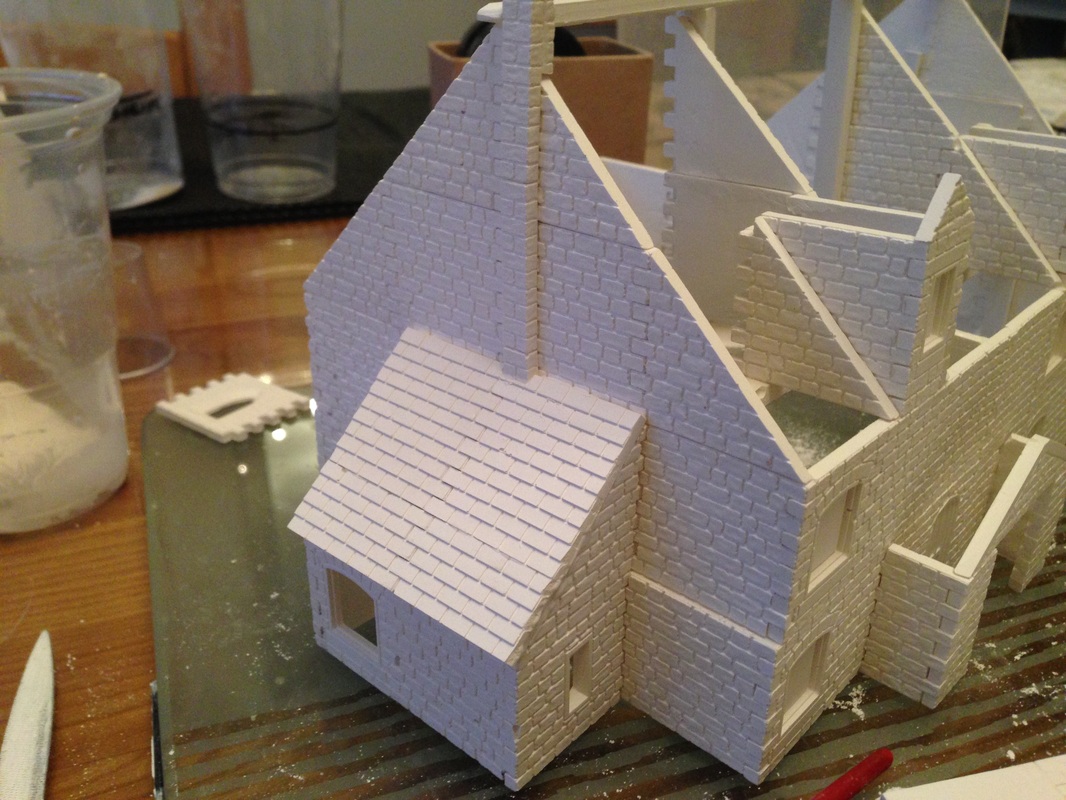
So now its on to the back of the building, in the first image I am just filling in some small cracks with a little PVA glue, when its dry it will be clear so you will see the crack appear again, but this will totally disappear when the paint base is applied
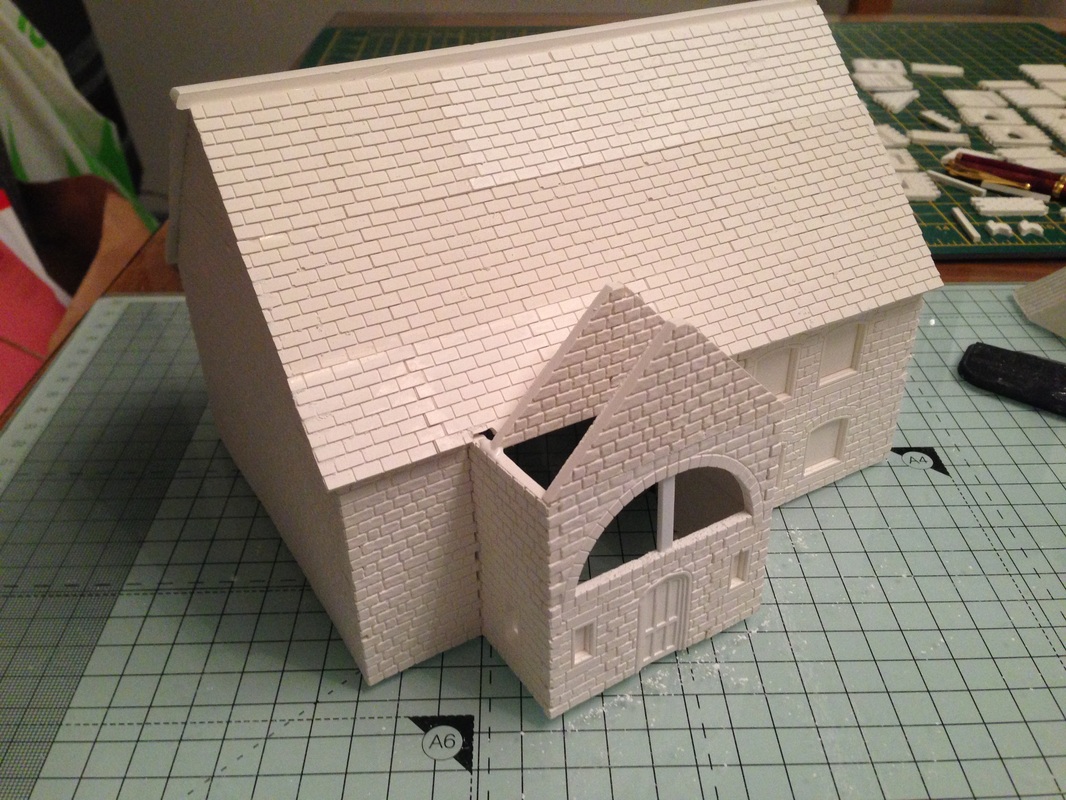
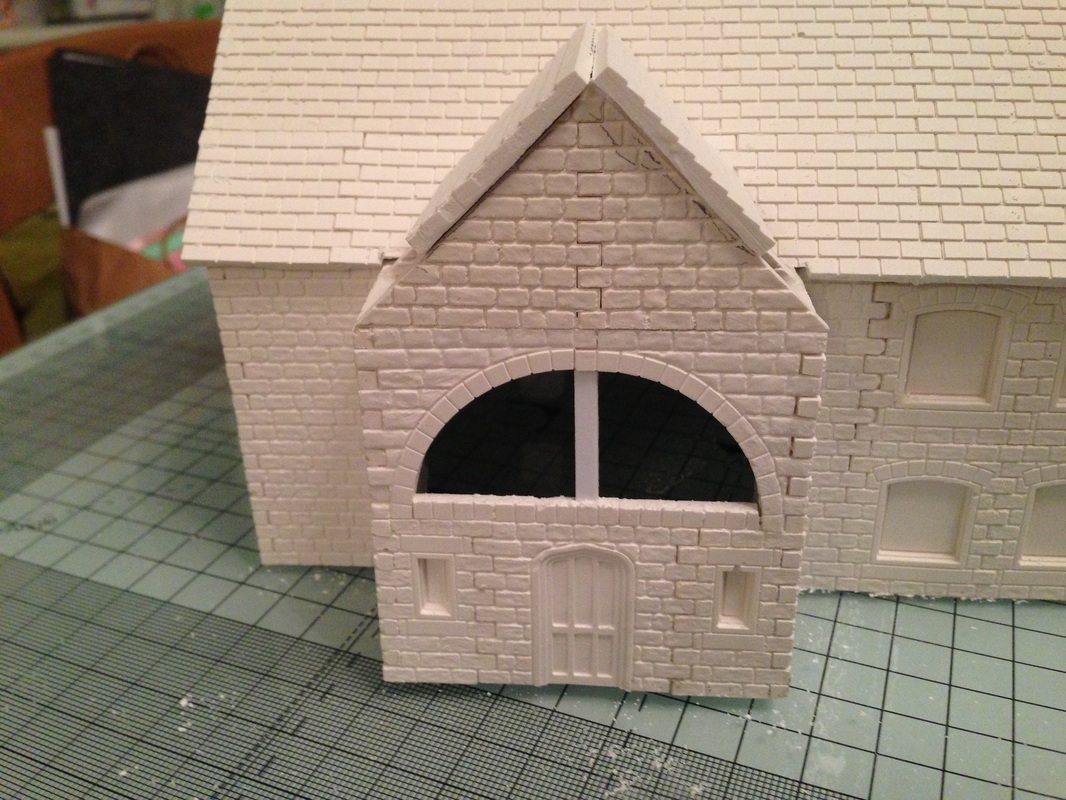
As you can see I am working my way around the back of the building, all the casts I am applying to the Linka model are self explanatory, the curved half round window was me just getting creative, you could just as easily add normal windows or plain stone casts if you want the look to be a bit different
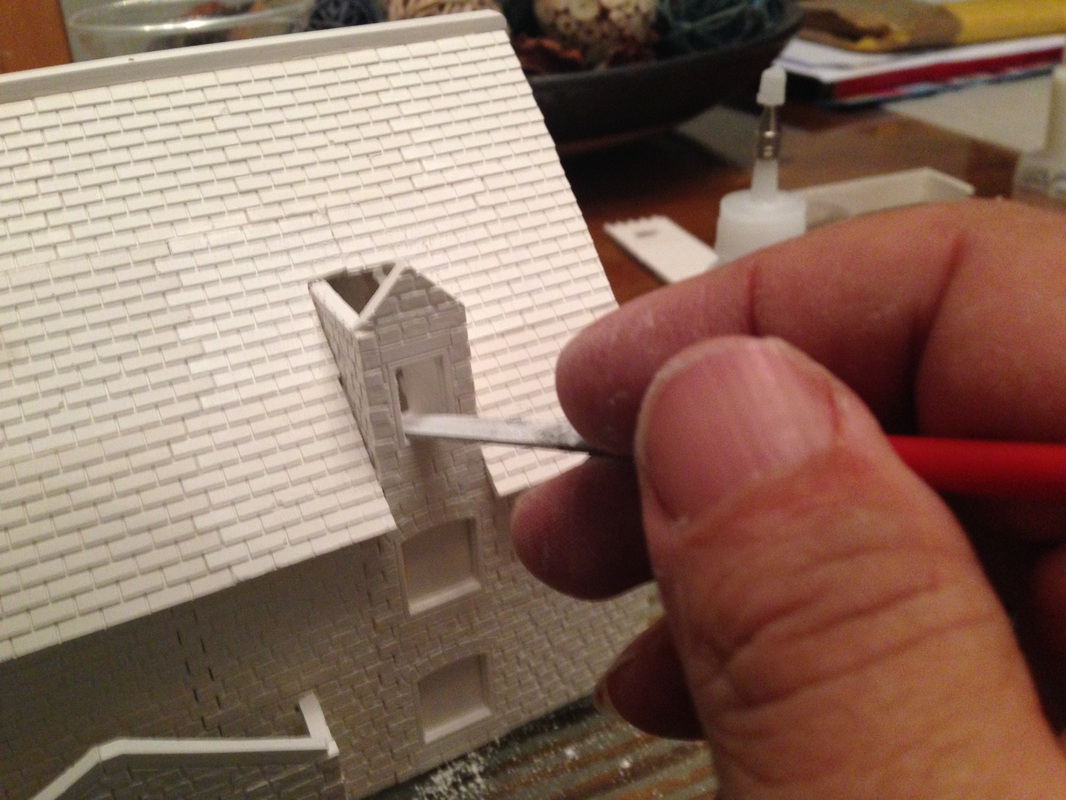
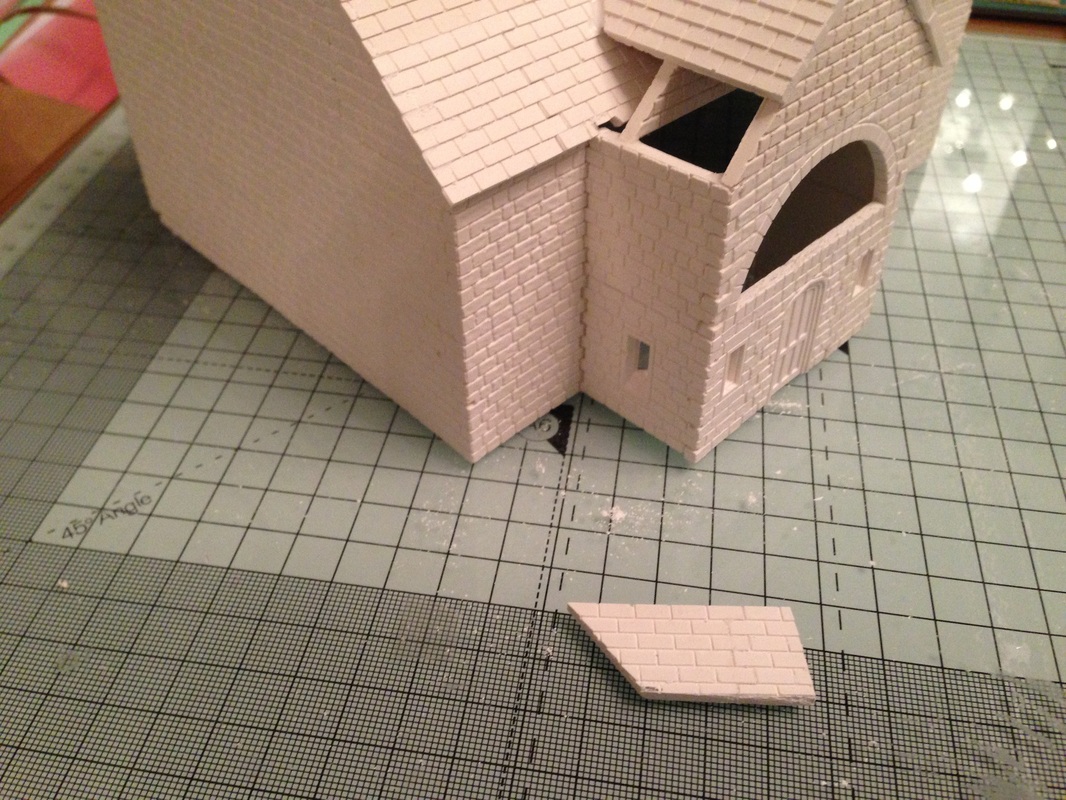
Here you can see that I have put on the small roof section, I used a small needle file to cut around the chimney, I would suggest you use a file and not a knife, its much safer and you can just keep filing away until you get a perfect fit I don't really use the small roof end pieces, I just make a long length, cut of the fingers and cut the long piece to length, it look neater and with less joints. I always use a glass surface and always glue the casts together and lay them face down on the 100% flat glass surface, after a minute or two just carefully slide the glued casts up the glass in case any glue has got on the glass, to stop it sticking.
Finally you will notice there will be a small butt joint in the middle of the back of the dormer window, thats og as the apex roof on the dormer will hide the joint and it make the roof easier to do it in pieces rather than try to cut around all the obstacles. |
|


|
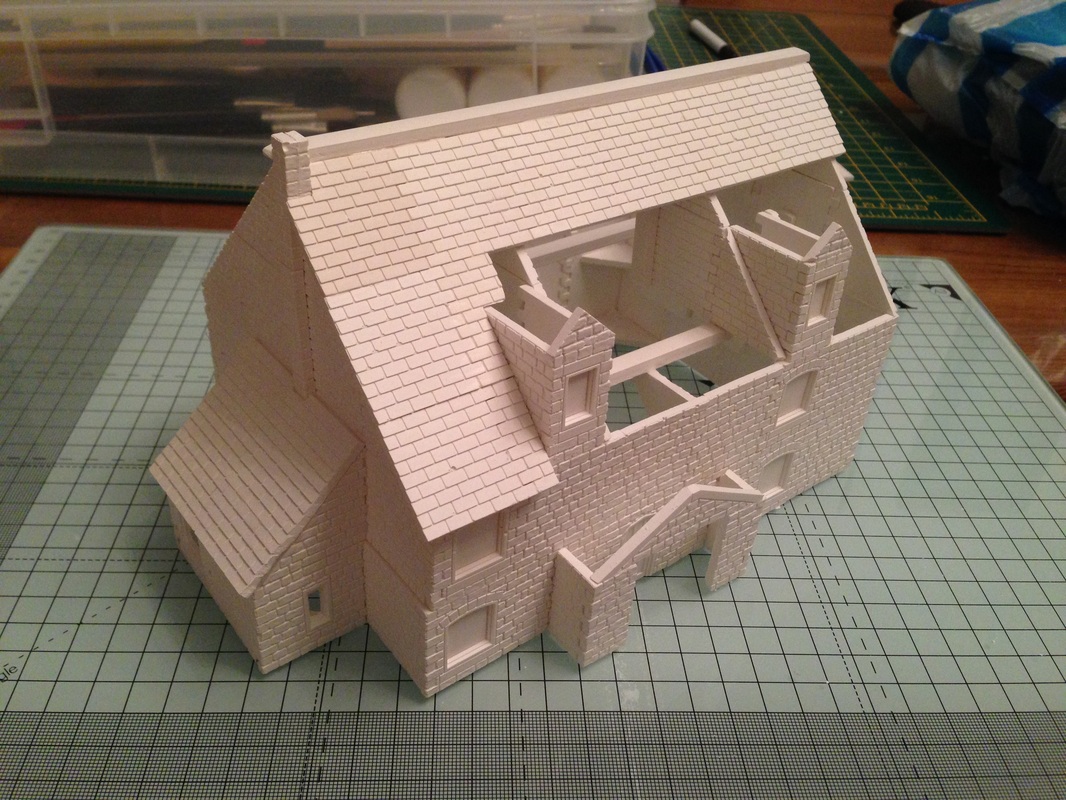
Part 5 - Added 18 December 2013
|
Note, Remember you can click any image for a close up view
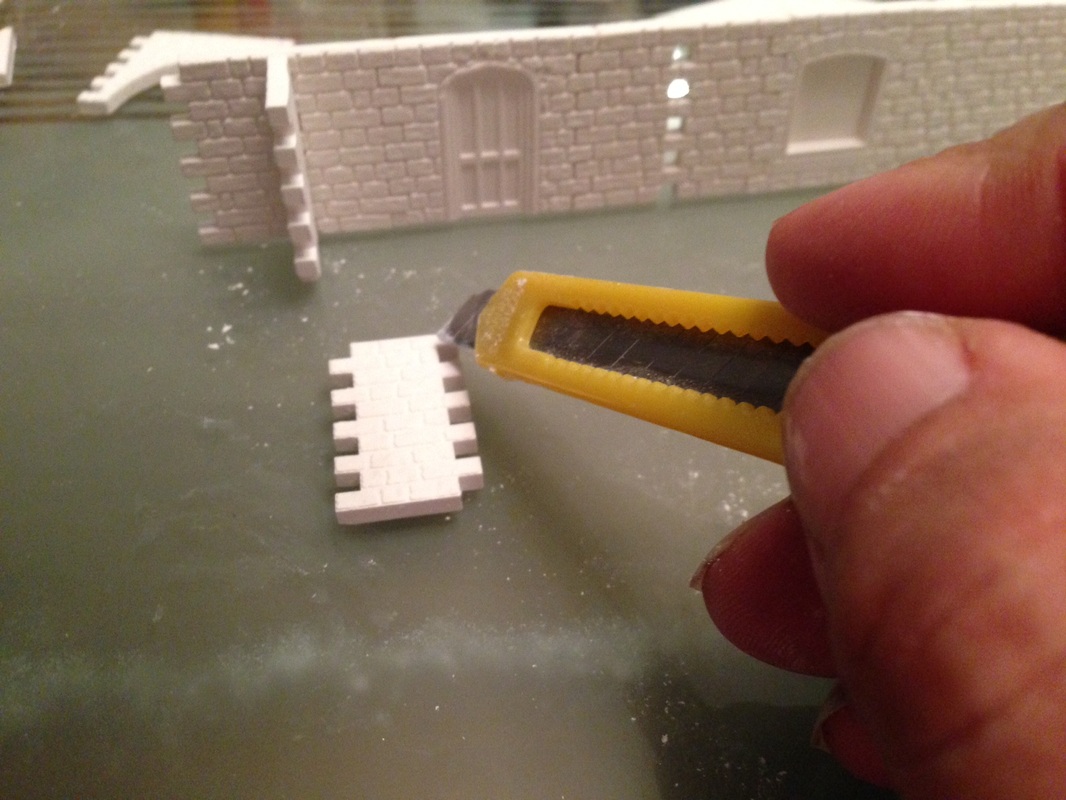
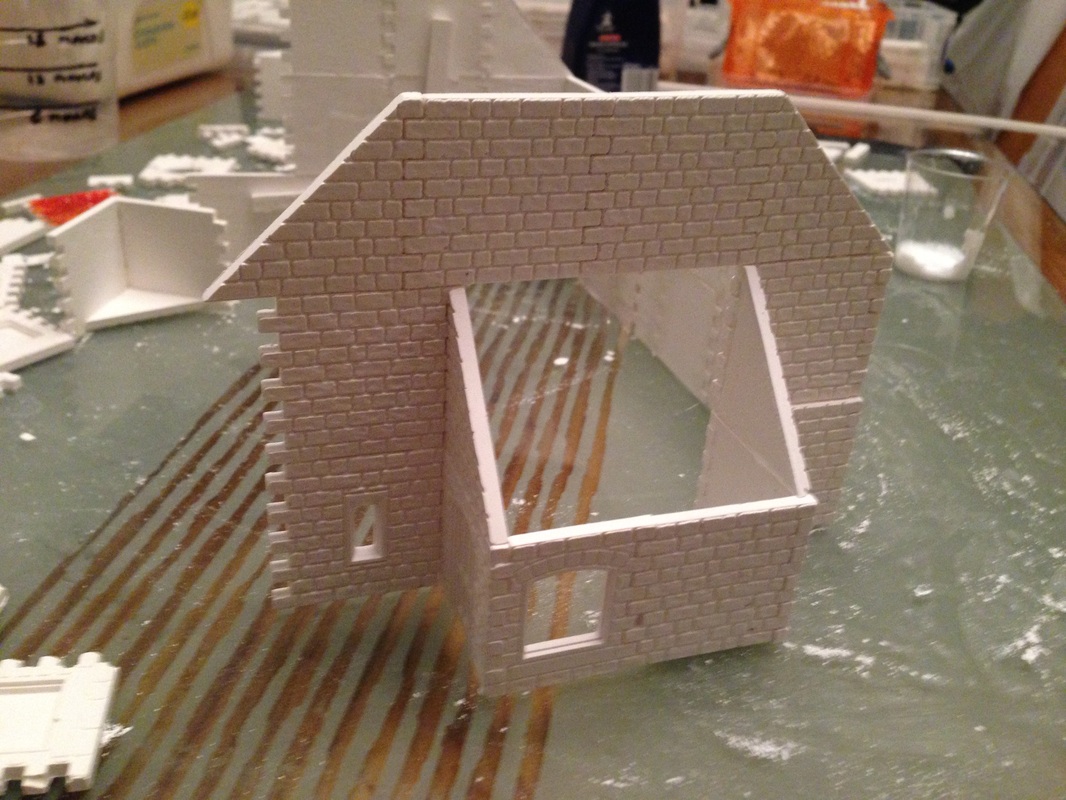
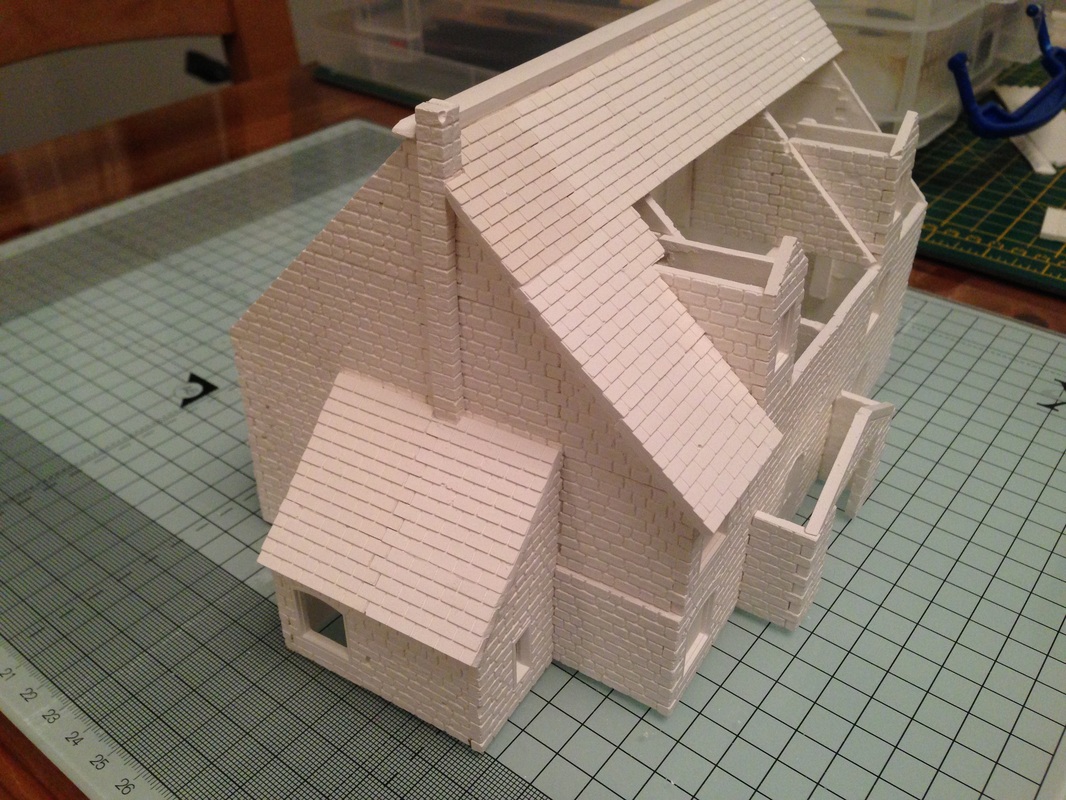
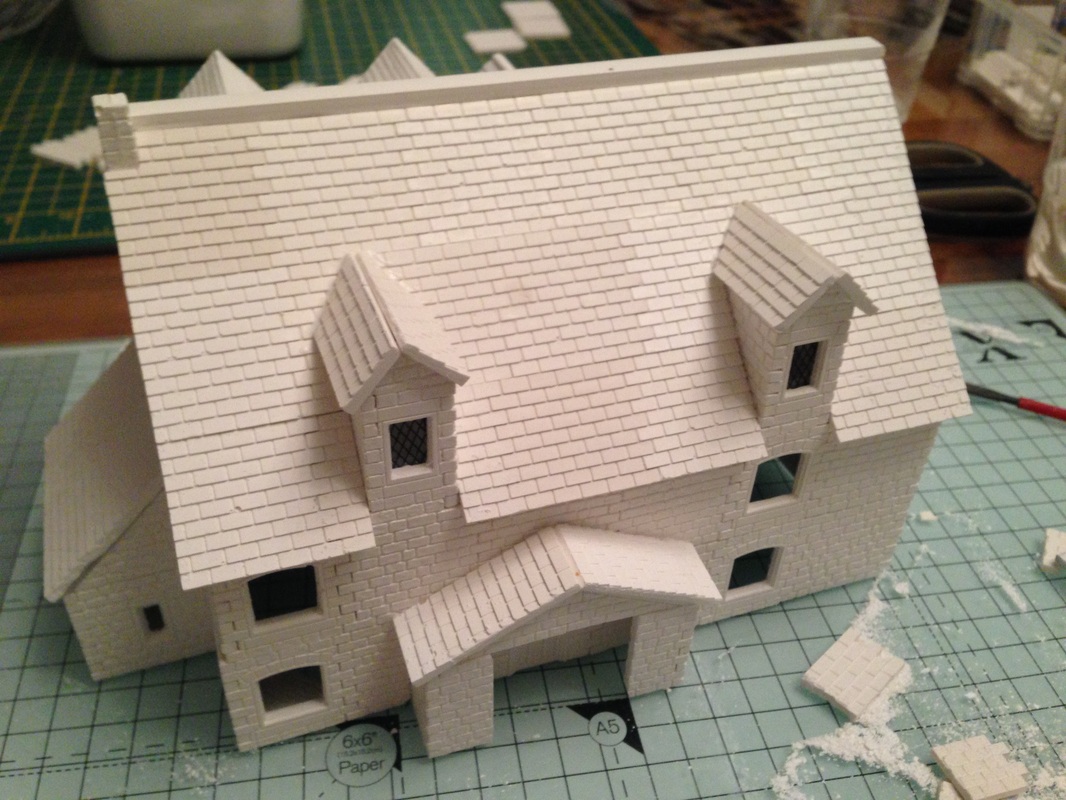
In the first image you will notice the roof section on the Glass, it is 3 roof casts glued together, DON'T forget to line up the tiles from the row above so they are offset as I have made that mistake so often and had to make the piece over again, I suggest you use a small tile saw to cut the corners out, its much harder with a knife and it tends to break, so just saw it out, best thing is to practice on a single cast if you have not done it before.
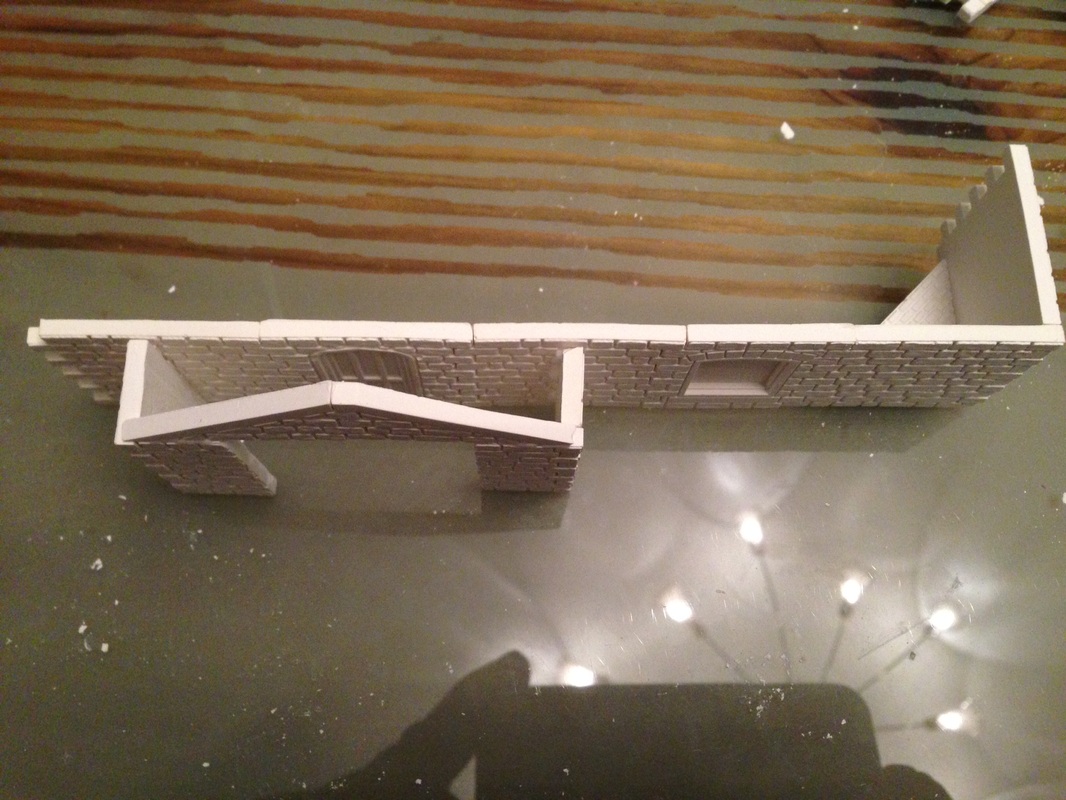
When I have all the roof in place and it is fully dry, I then cut out the windows, you are unlikely to break the cast if you cut the windows out at the end, just take your time and use a scoring effect, work your way around the inside of the window and just keep going, it will soon give way, then file the rough edges, in image 2 you can see I have cut out all the windows on this side of the building
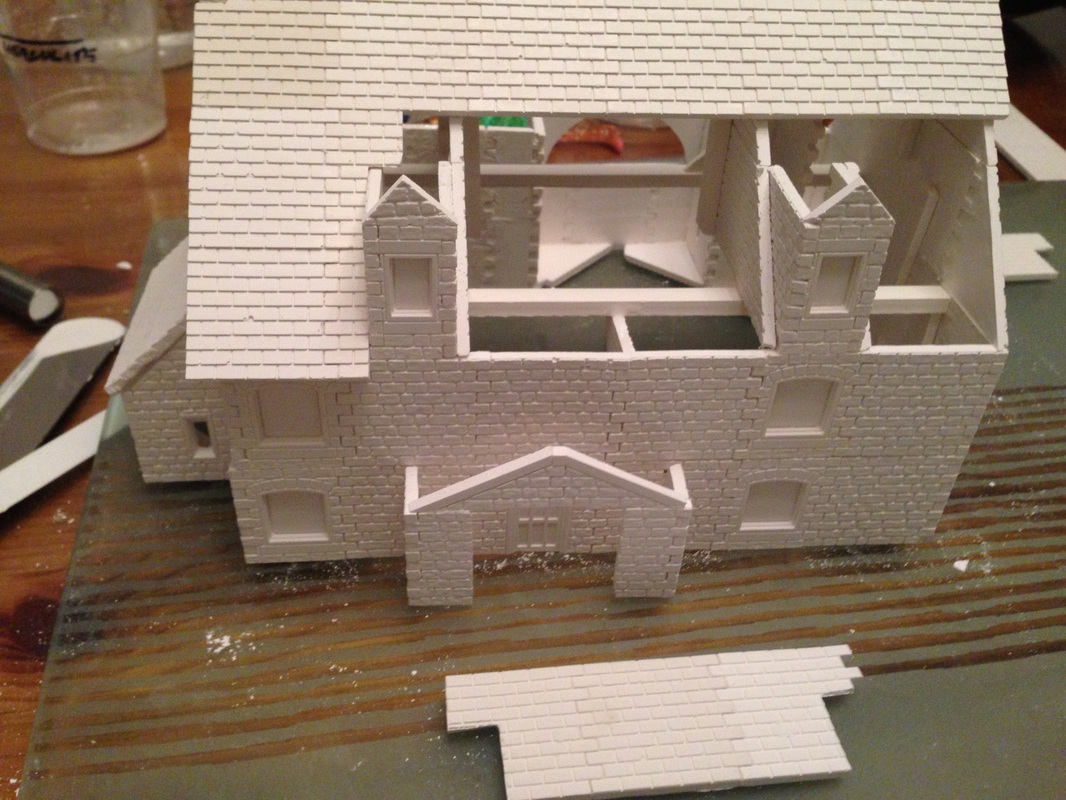
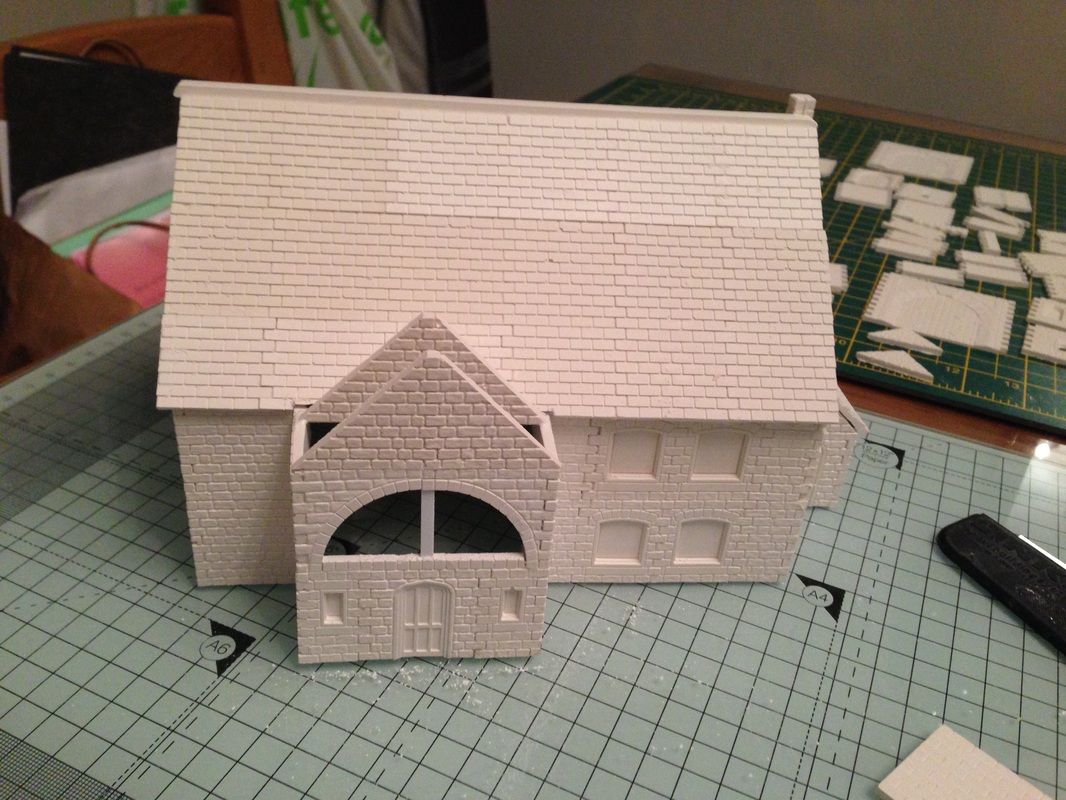
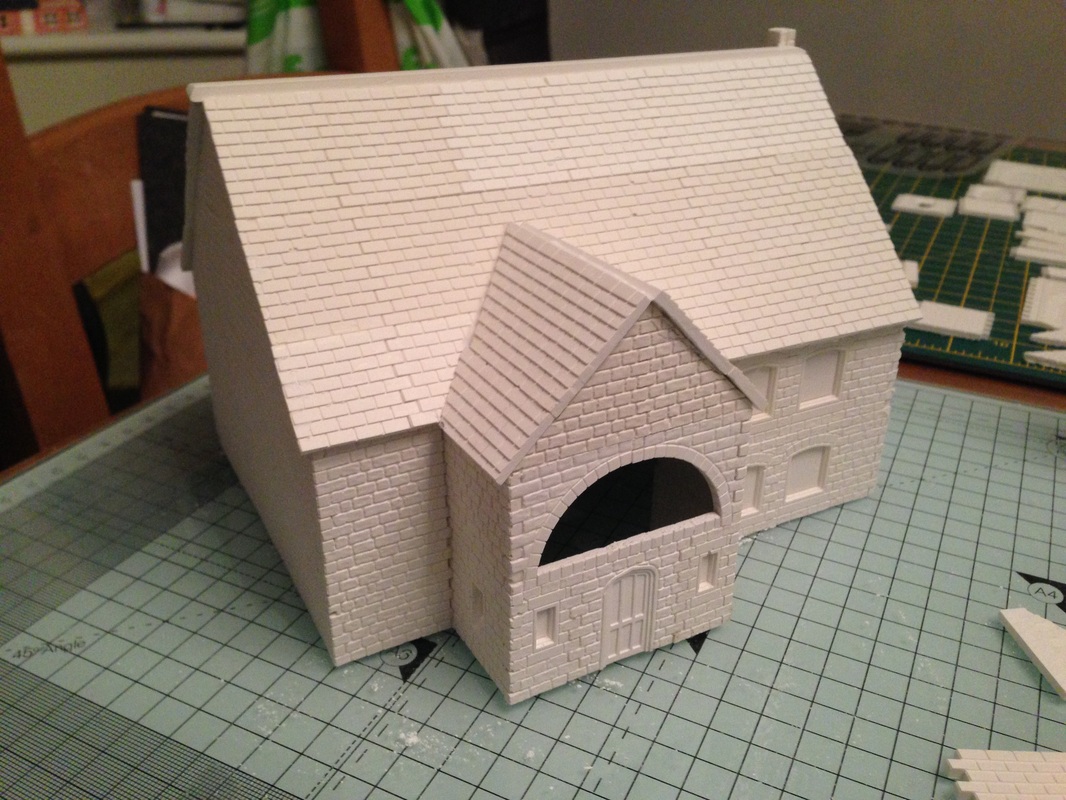
Now I have switched my attention to the other side of the roof, It is much easier so I will not bore you with the step by step, just work your way from the top down in full lengths, Finally I have added the roof apex over the entrance, You will notice I have added one behind as well, it will make the next steps easier and also keep everything symmetrical.
The roof on the rear roof apex is being added here, you may want to make a cardboard template of the piece first as its easy to do then just lay it over your cast and mark the cuts with a fine pencil, I cut slightly larger and finish with a small file to get a good fit.
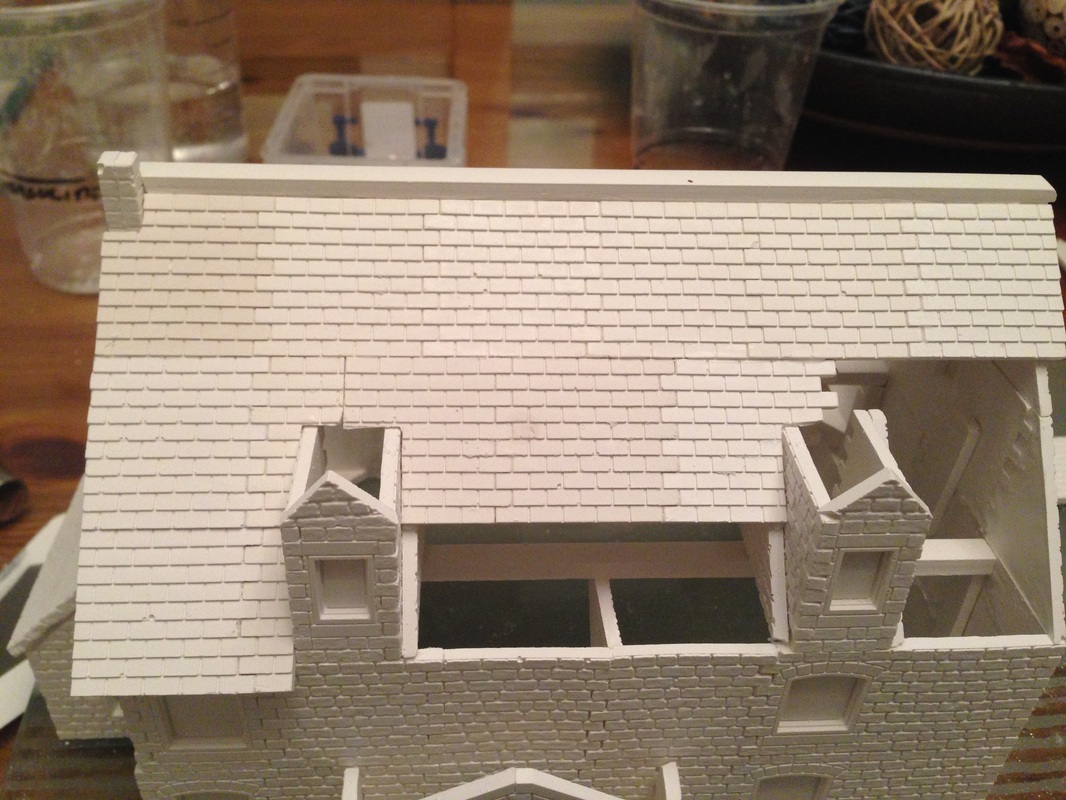
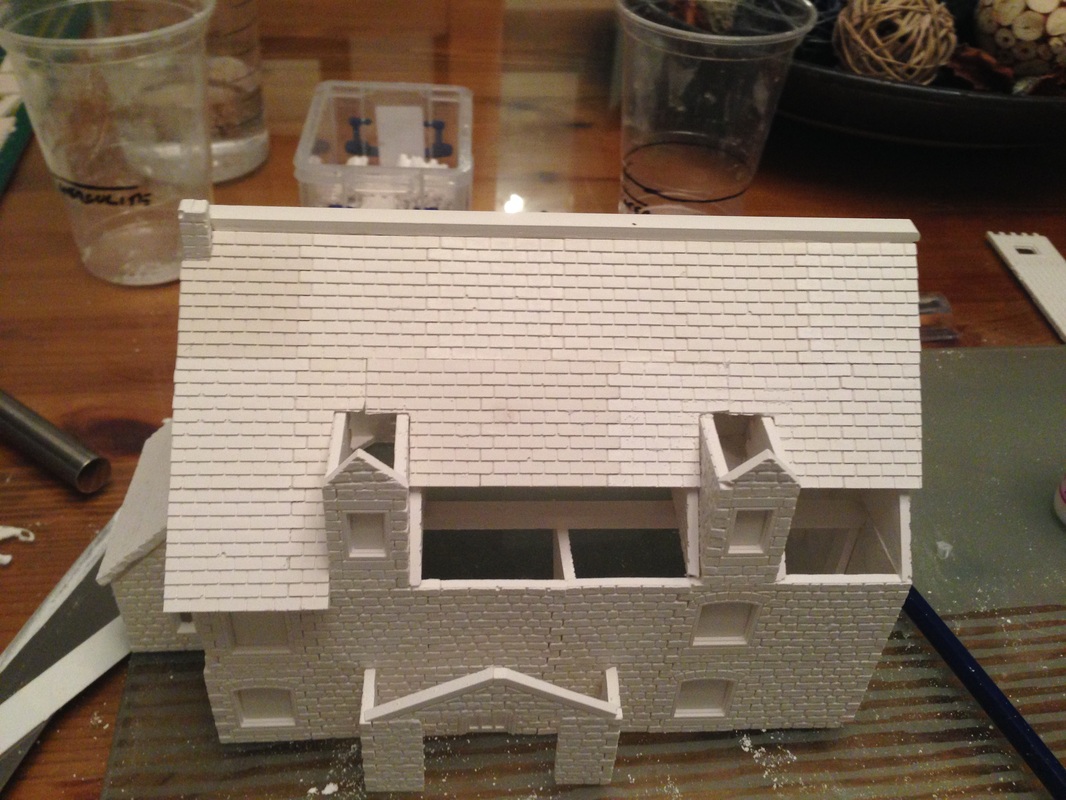
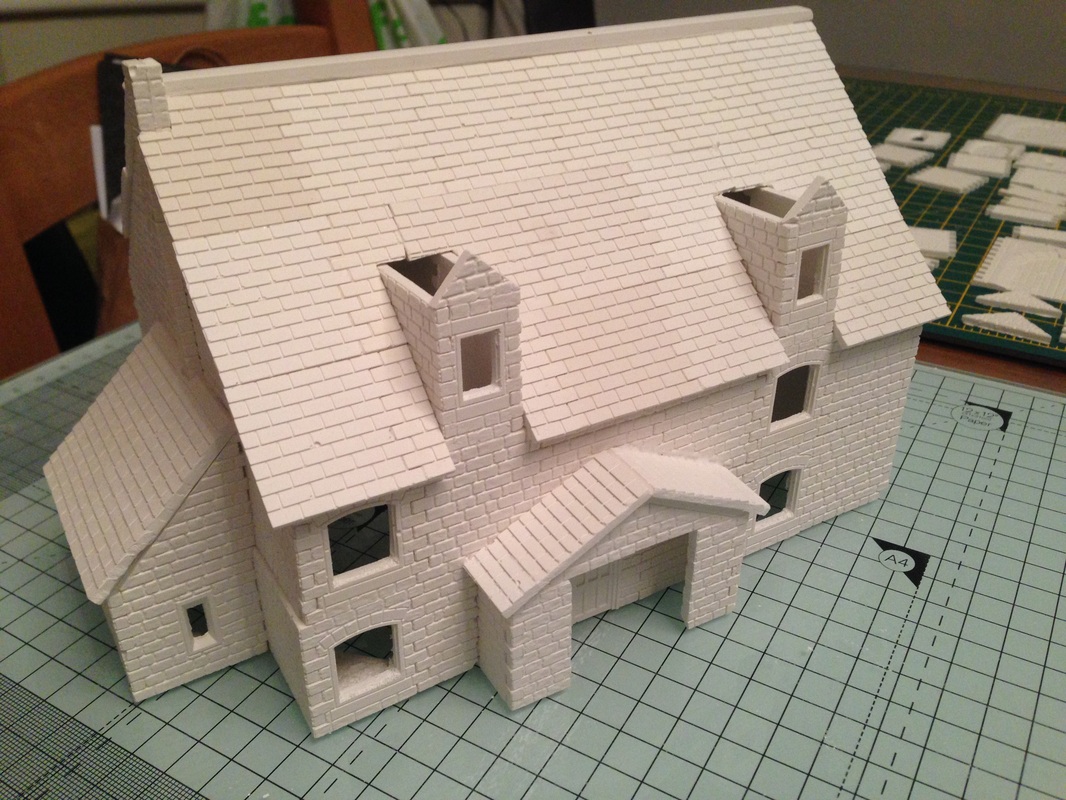
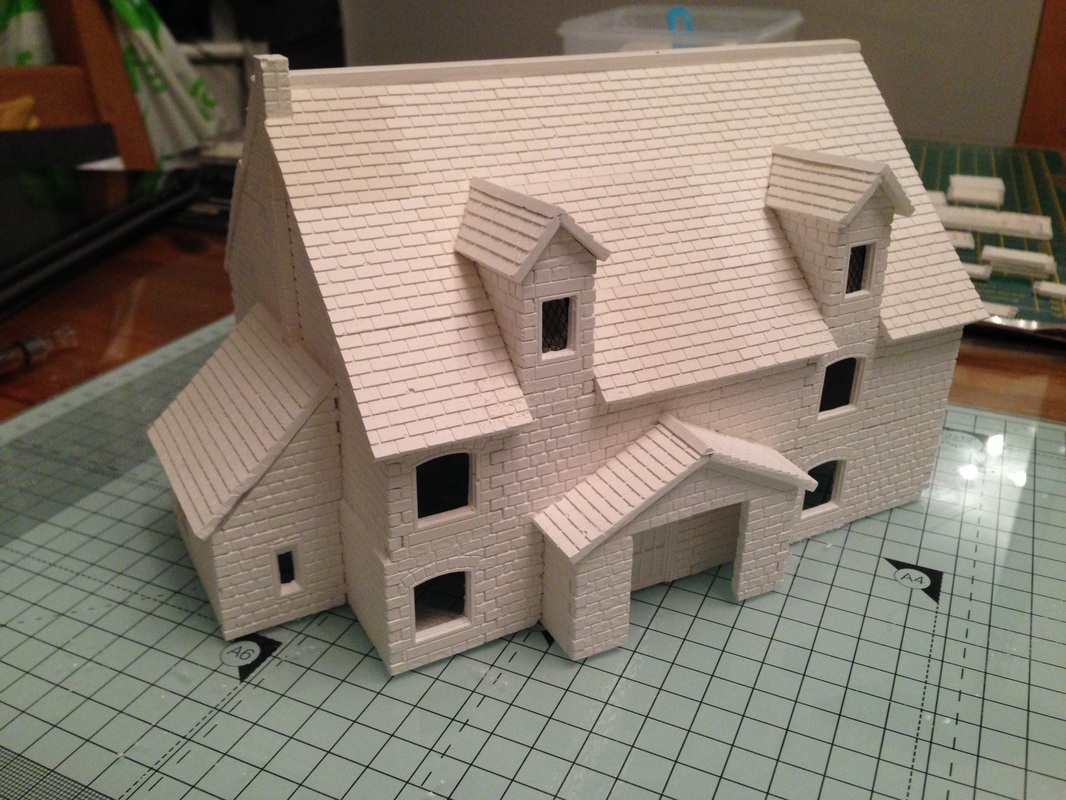
You can see that I have glued on two dormers, you can leave them off if you like but I think they look nice and complete the building, If you don't have the mould to make these which at the time of writing this article you still cannot buy, just use the contact me page on this website and I will be happy to cast them for you as long as you pay the postage costs.
The image on the right is now the front of the building, you can see I have put the windows in as it will not be possible once the Roofs are in place Finally just finish the two roofs on the from dormers as can be seen here, then add the little roof cappings, let everything dry and you can then use a small needle file to tidy any rough edges. |


Painting
Ok now we have the model all made the next job is the painting and finishing, If you want to continue I am covering this in the special workshop Painting your Full Linka Model so just click the link and follow the progress
Ok now we have the model all made the next job is the painting and finishing, If you want to continue I am covering this in the special workshop Painting your Full Linka Model so just click the link and follow the progress