Painting Your Full Linka Model
The Model here is featured on this website in a step by step guide showing it being built, this workshop carries on with the painting of the model and completing the Christmas house 2013 if you want too see how it was built just for the link here

|
Painting the Linka Xmas house
I do not profess to be the best painter by any standard, so this workshop is just a way to get you started or provide you with what I have actually done here to finish this Linka Model. I am sure there are many enthusiasts and experienced modellers out there so please feel free to share your experiences, what works and what to avoid, the forum is here to help so please use it freely So lets begin. |
|
|
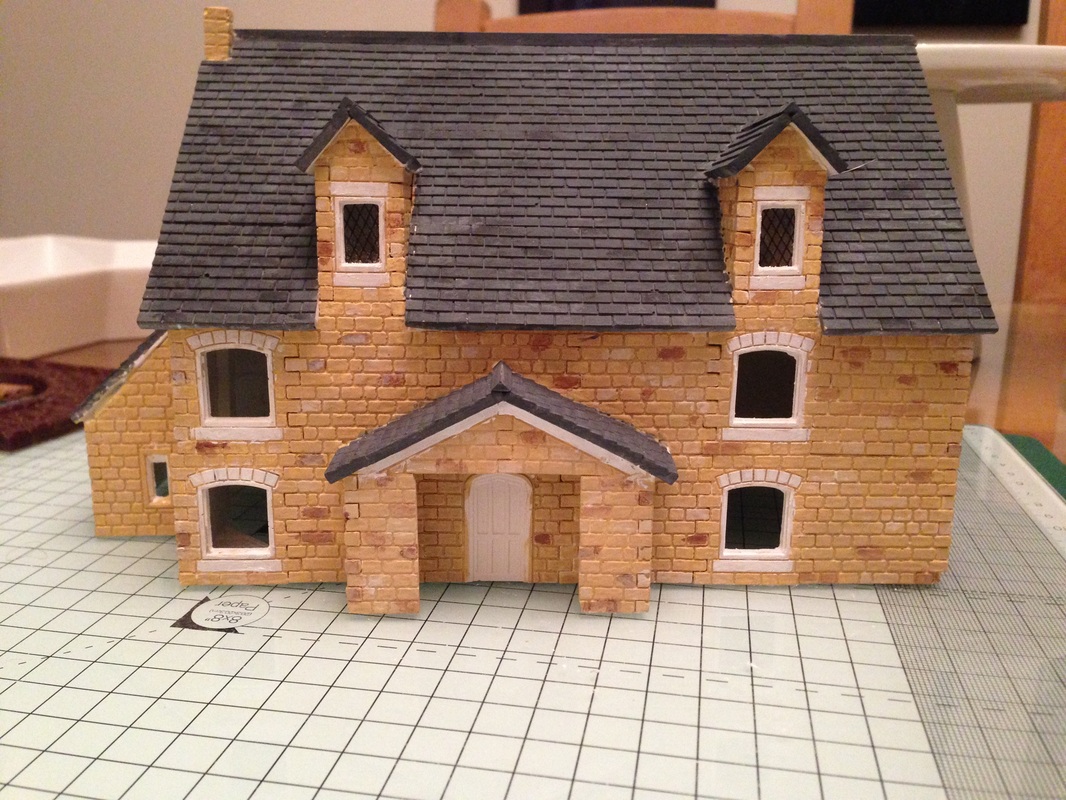
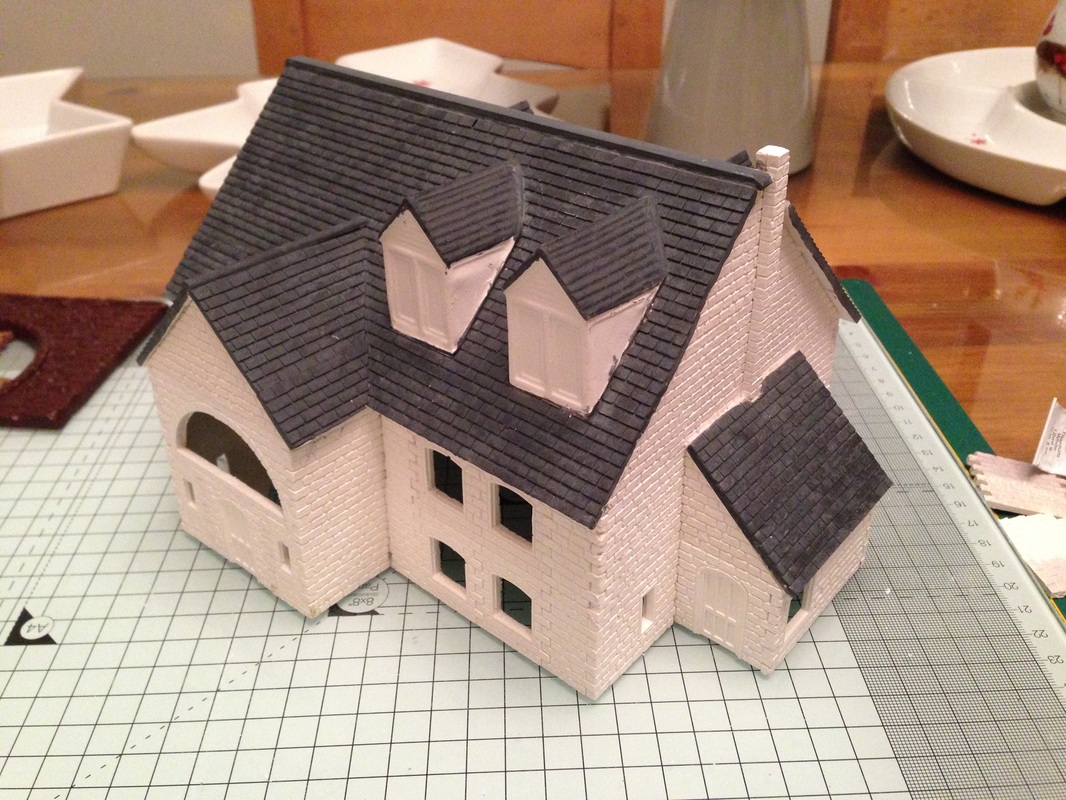
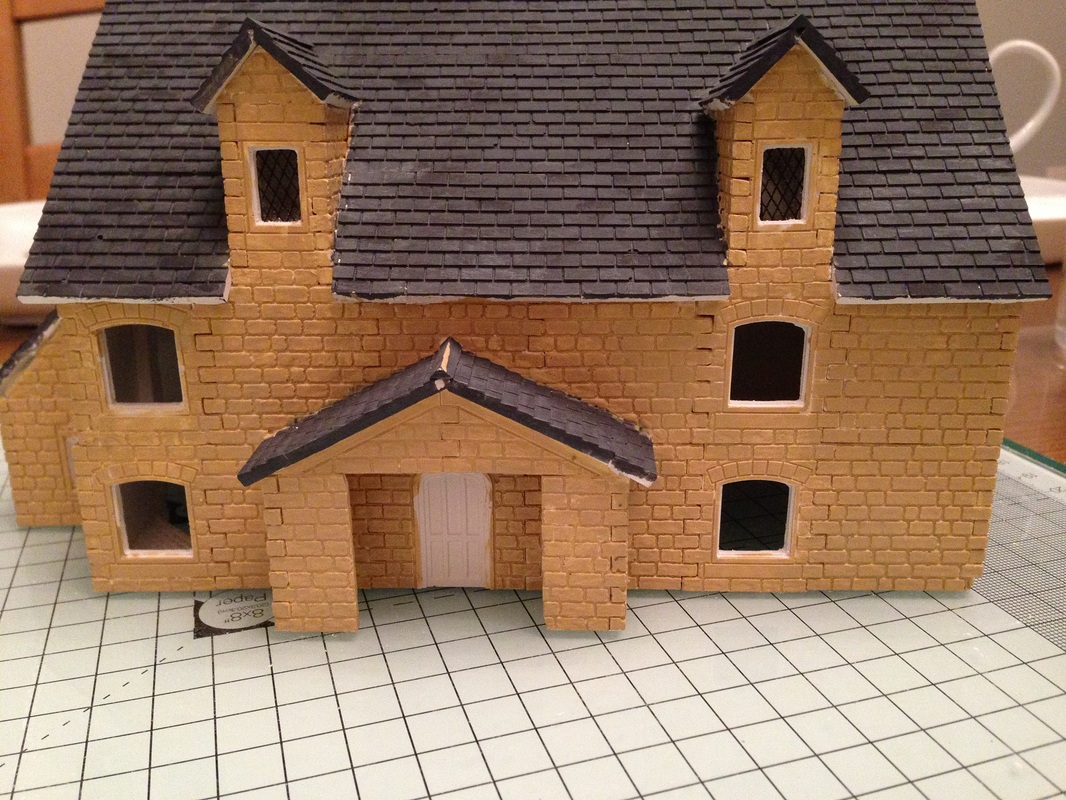
You can start on either the roof or the walls, I prefer to do the roof first, as it is the darkest colour, not only that but if you drip any paint it does not matter as the walls are still waiting to be painted so I use a top down approach.
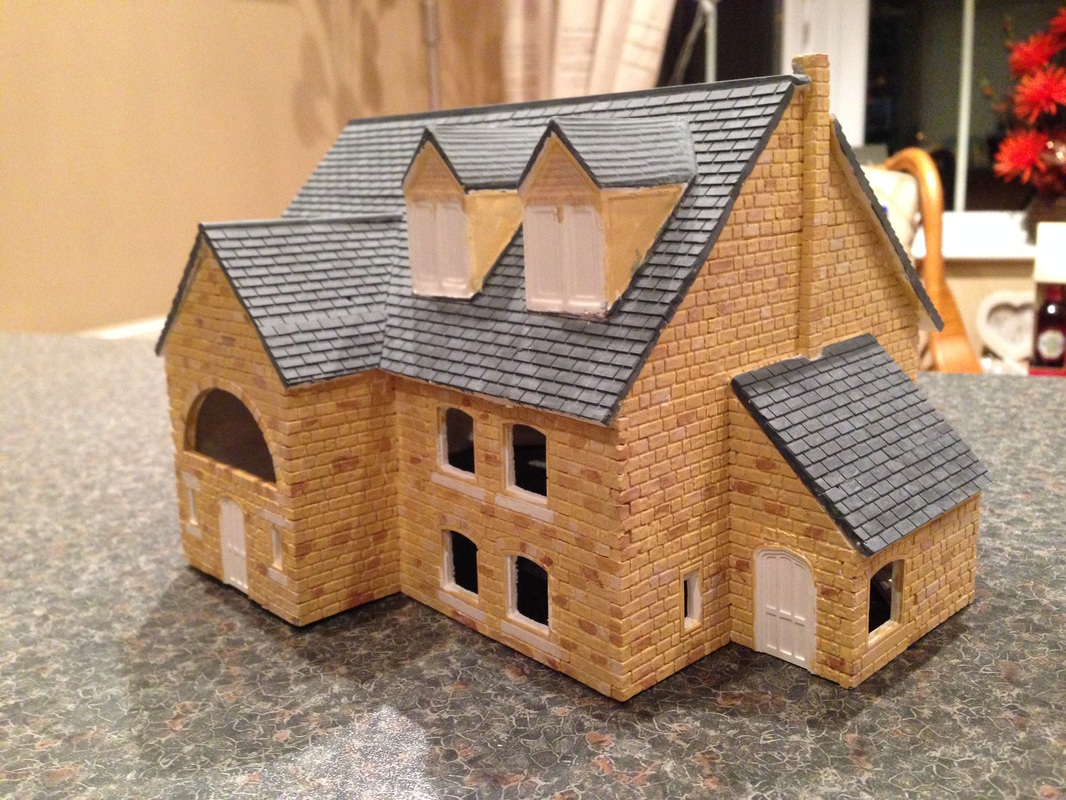
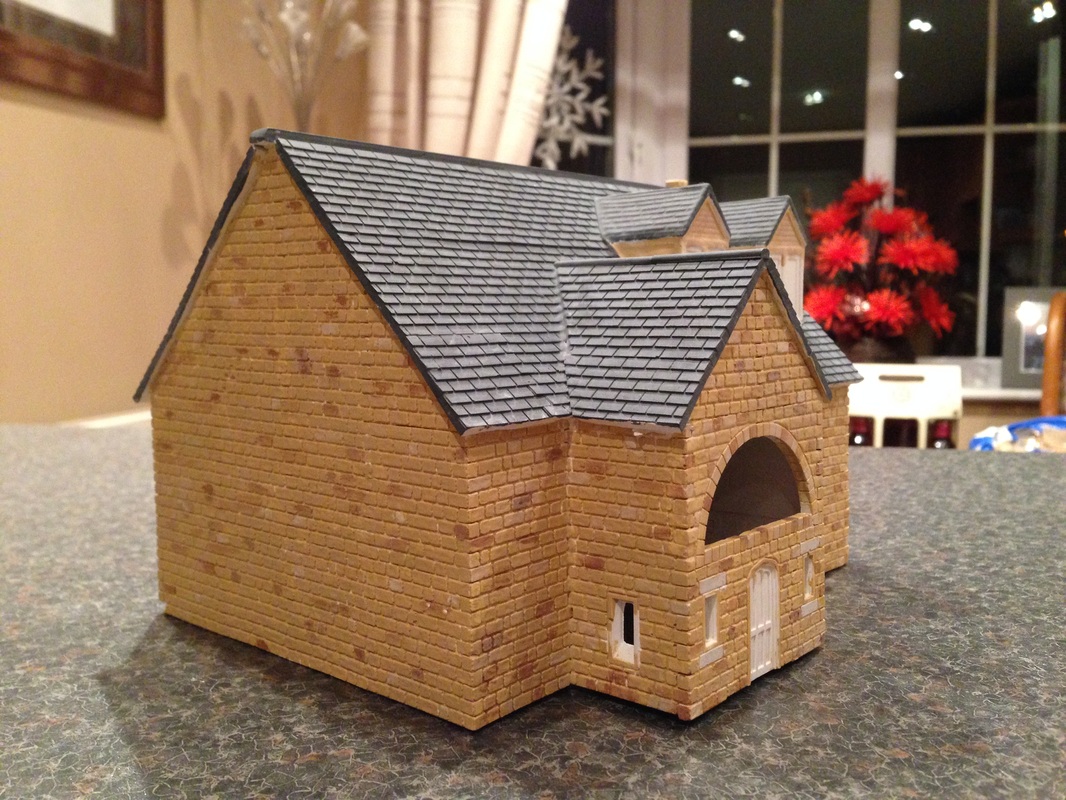
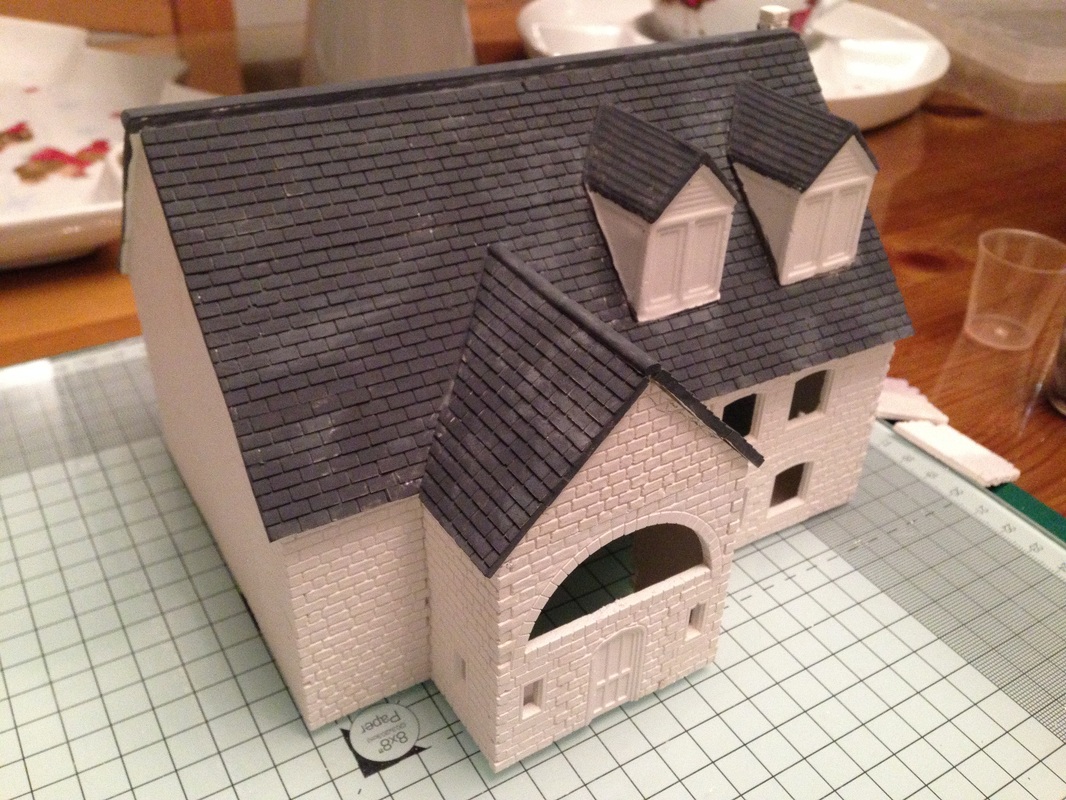
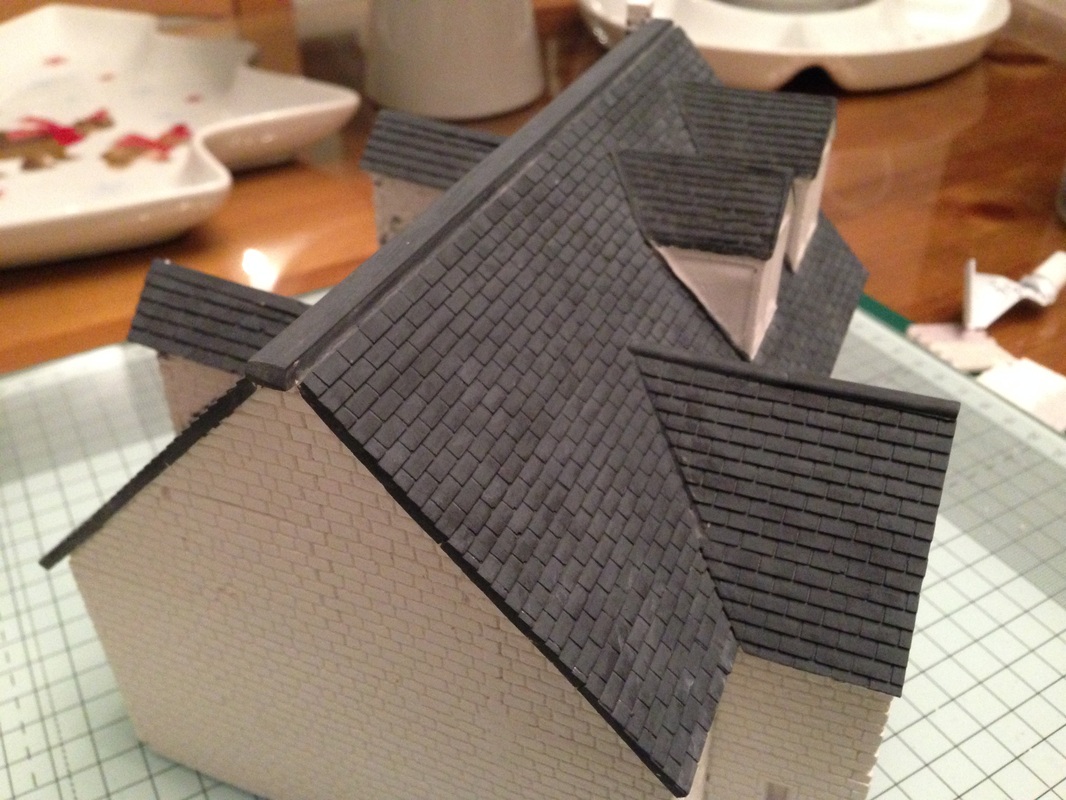
I decided I would use a grey slate finish, and I like to paint with Acrylic, I used a small shot glass to mix my paint then try it out on some spare casts until I find a shade I like. the first thing I did here was to mix a small amount of black with quite a lot of white, Actually its best to start with a lot of white then keep adding tiny amounts of black until you get the shade you think is best. then add about the same amount of cold water as you have paint, because you want to create a wash otherwise it is too thick and you will lose detail. Paint over the entire roof with your wash, then you can just add a tiny amount of black and start to colour individual tiles all over the roof with the slightly darker shade, you can keep changing the shade a number of times and keep going around the roof painting in the tiles so you get a more weathered and random look. |

|
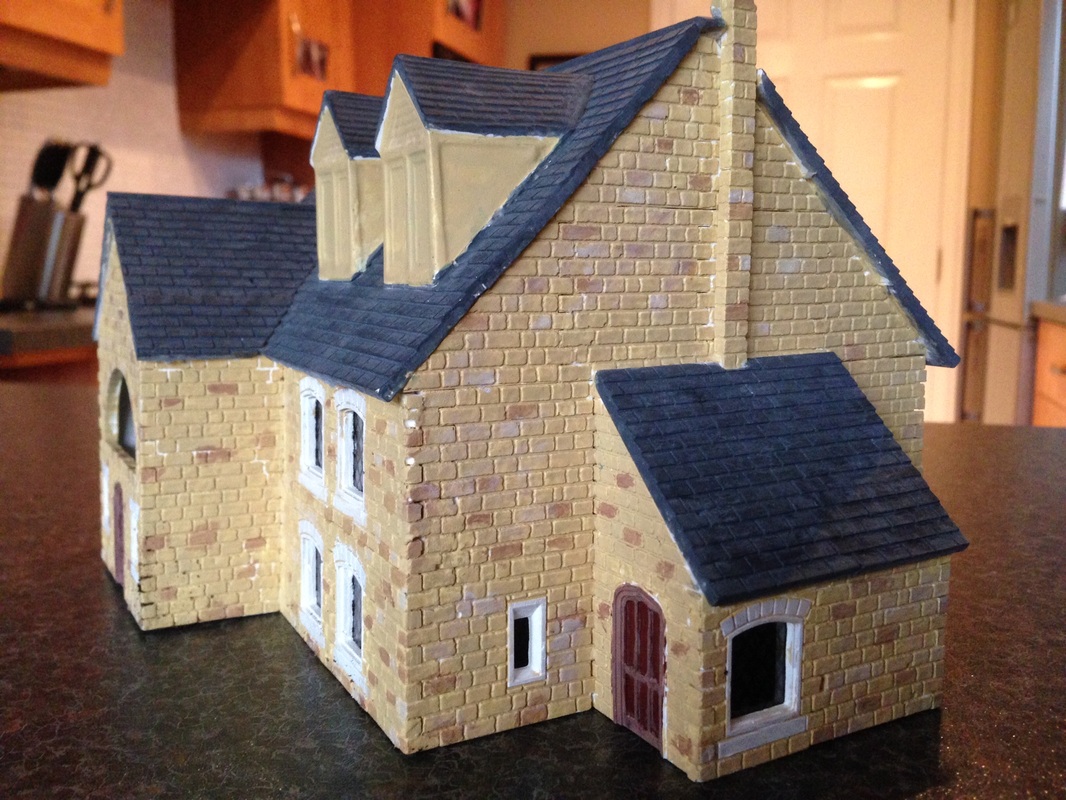
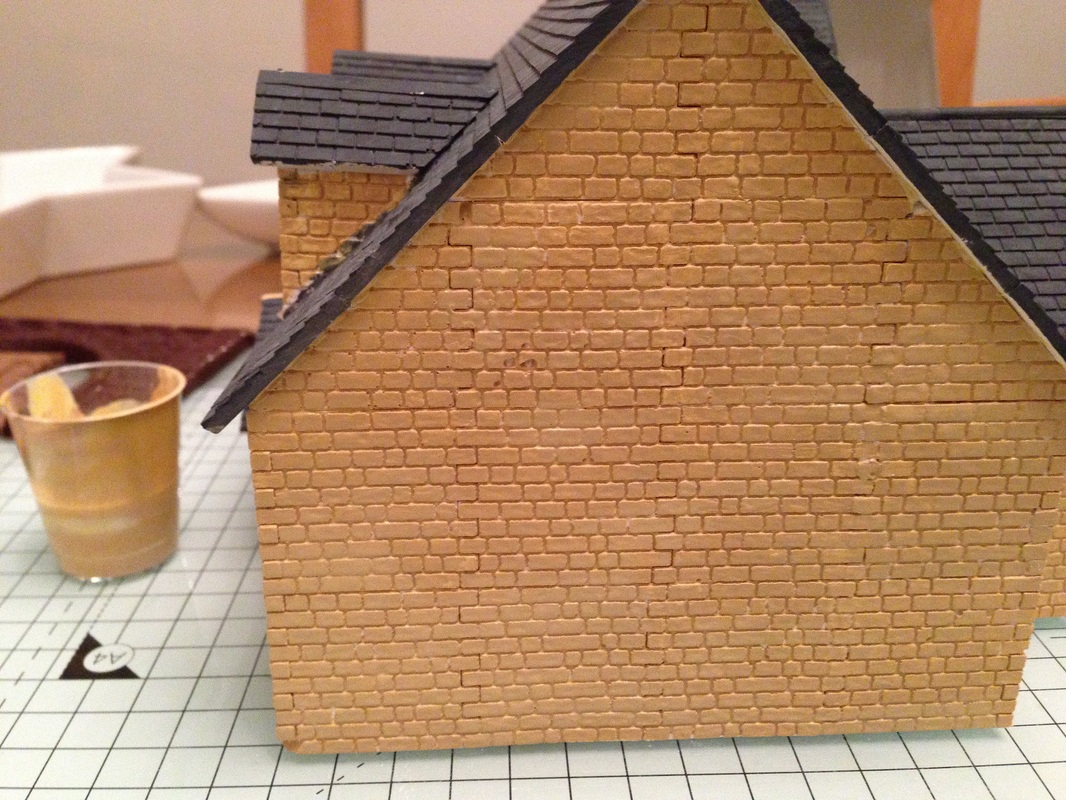
It took me a few attempts to mix the right colours and shades for the walls, so you need to ensure you are completely happy with the shade before you start, time spent here will be invaluable.
I finally got a shade that I liked for the first wash, I mixed roughly equal parts of yellow, Burnt brown and white acrylic, then kept adding a bit more white, you can see in the first image to the right that I used a shot glass (Plastic) to mix the paint, one thing I was worried about was I needed enough paint to complete the model and I knew I would never get the exact colour again so to give you a good guide, the shot glass was about half full and I had more than enough. Again you need to a about as much water to what you have paint as you need it to be more of a wash. Now just work your way around the building and apply your wash, you can keep going around and filling in all the white cracks that just seem to keep appearing until your happy you have all the walls painted. Al the images to the right show the first pass (Wash around the Linka House) |
|
|
|
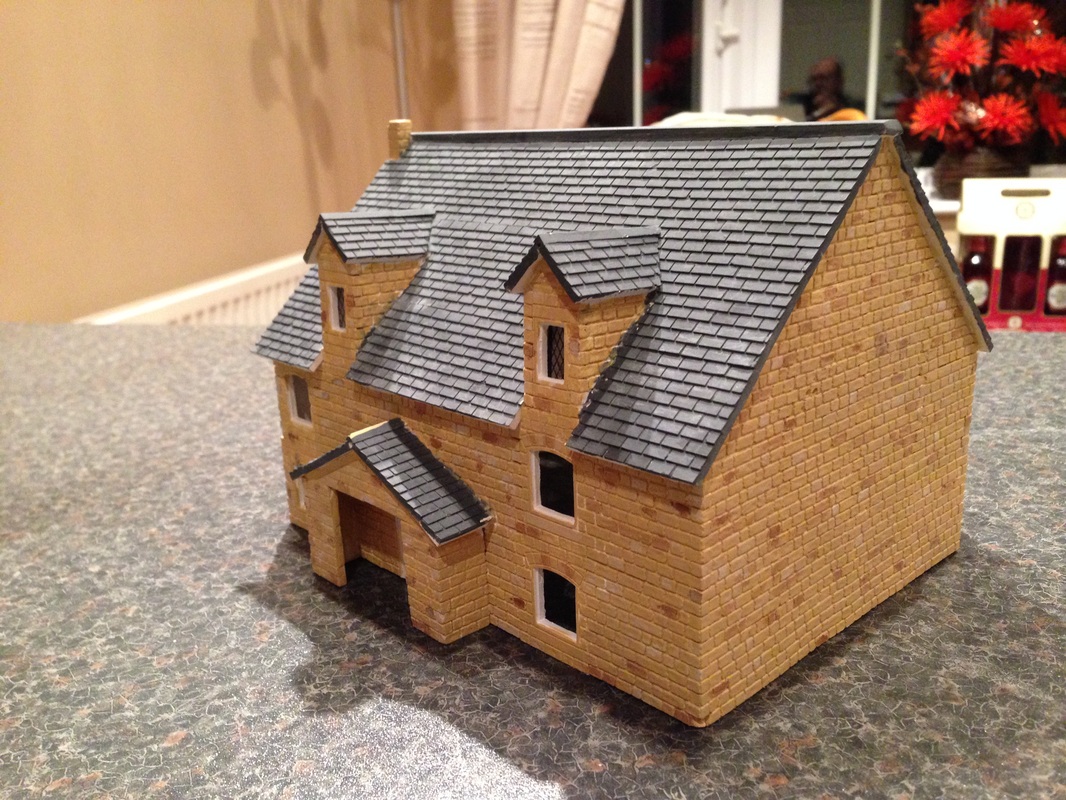
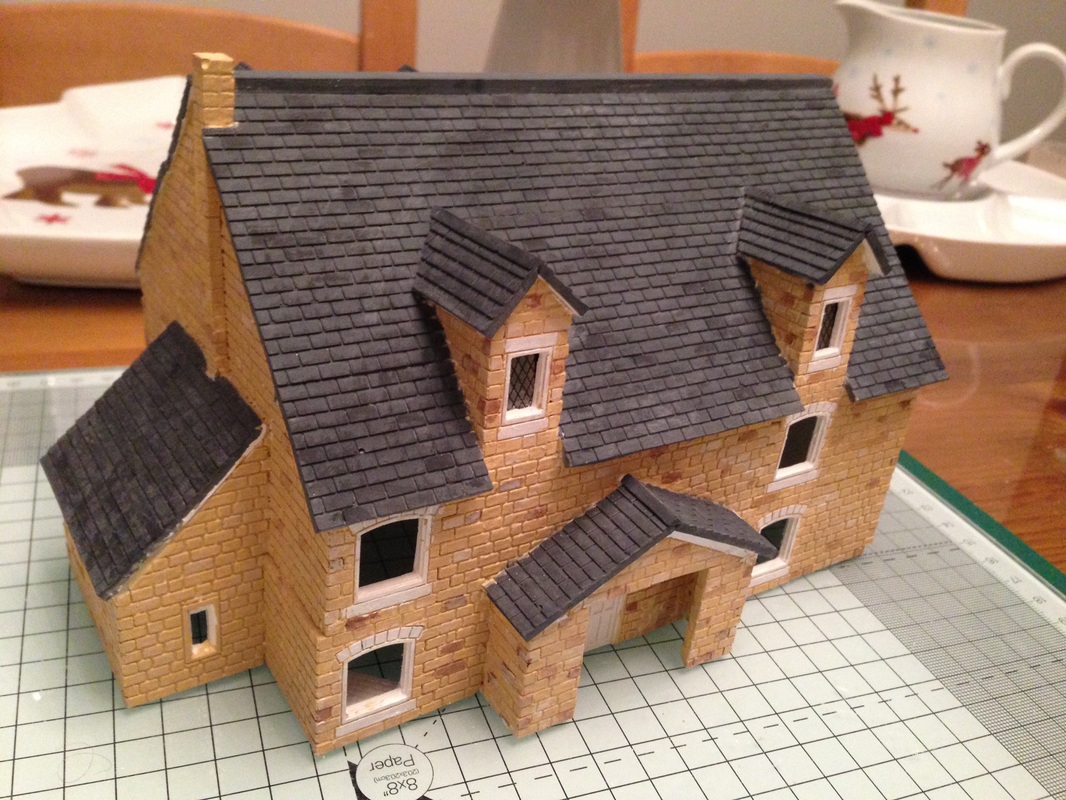
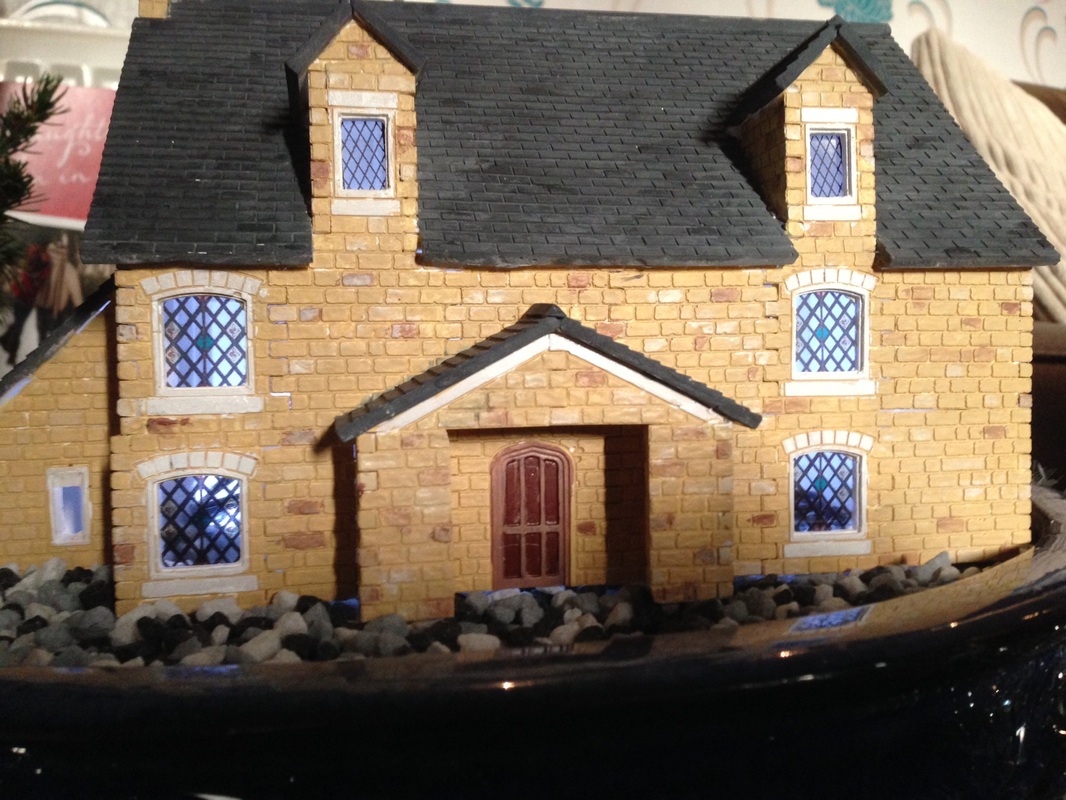
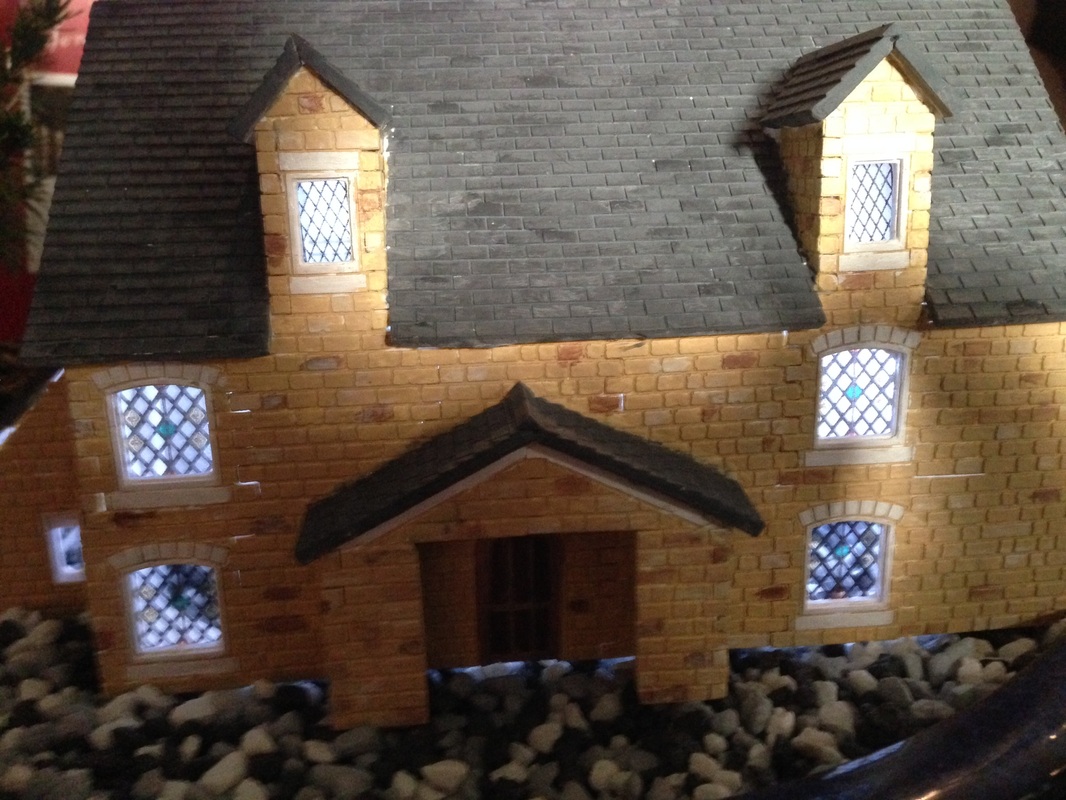
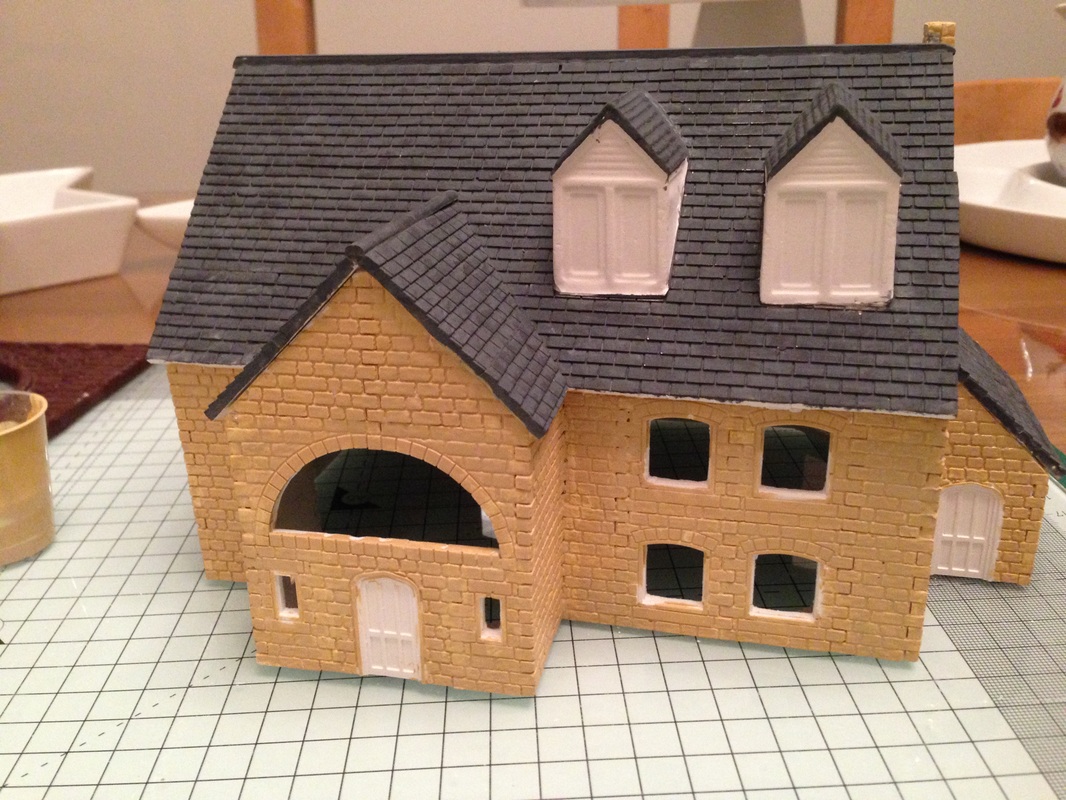
If you click on the images you will see I have now started working my way around the building, painting the odd brick in slightly different shades, its ok to paint some lighter and others darker, you may need to do the whole building several time until you achieve a look your happy with.
I just add a little more colour each time and sometimes add a little water so that the paint is transparent and starts to show the shades through. 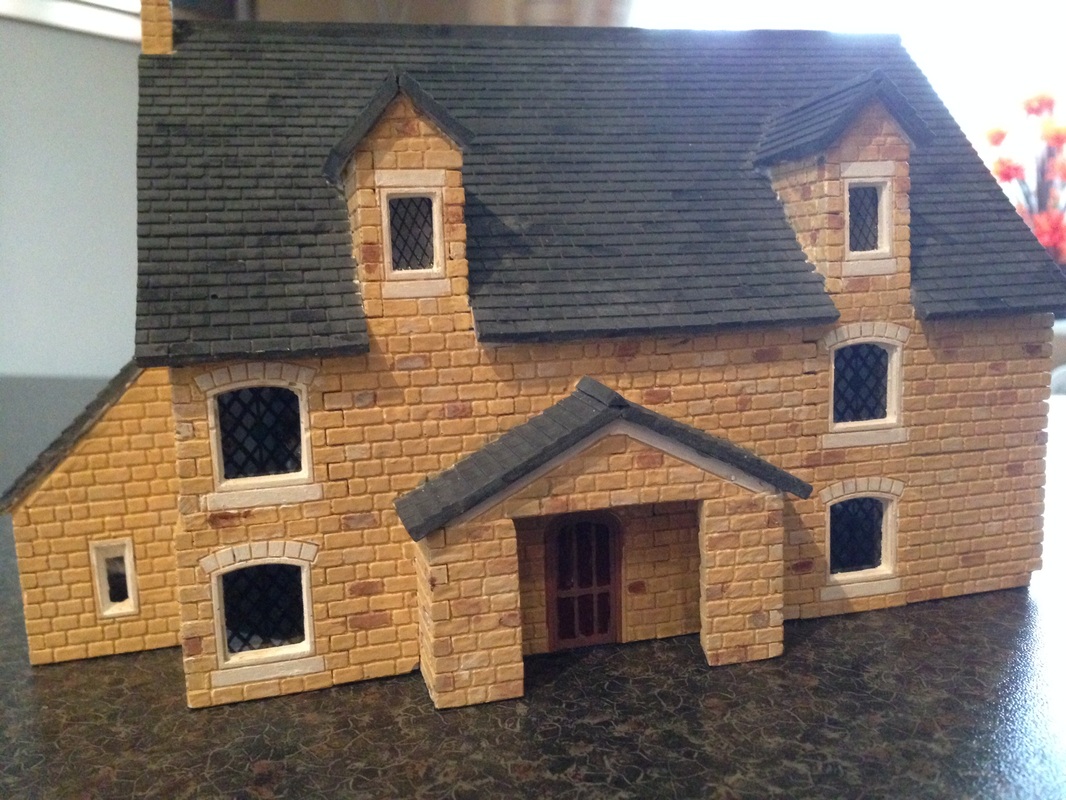
above you can see I have painted the door, I use a full acrylic paint here, no water added, you will need a very fine good quality brush and a steady hand but you can achieve really good results.
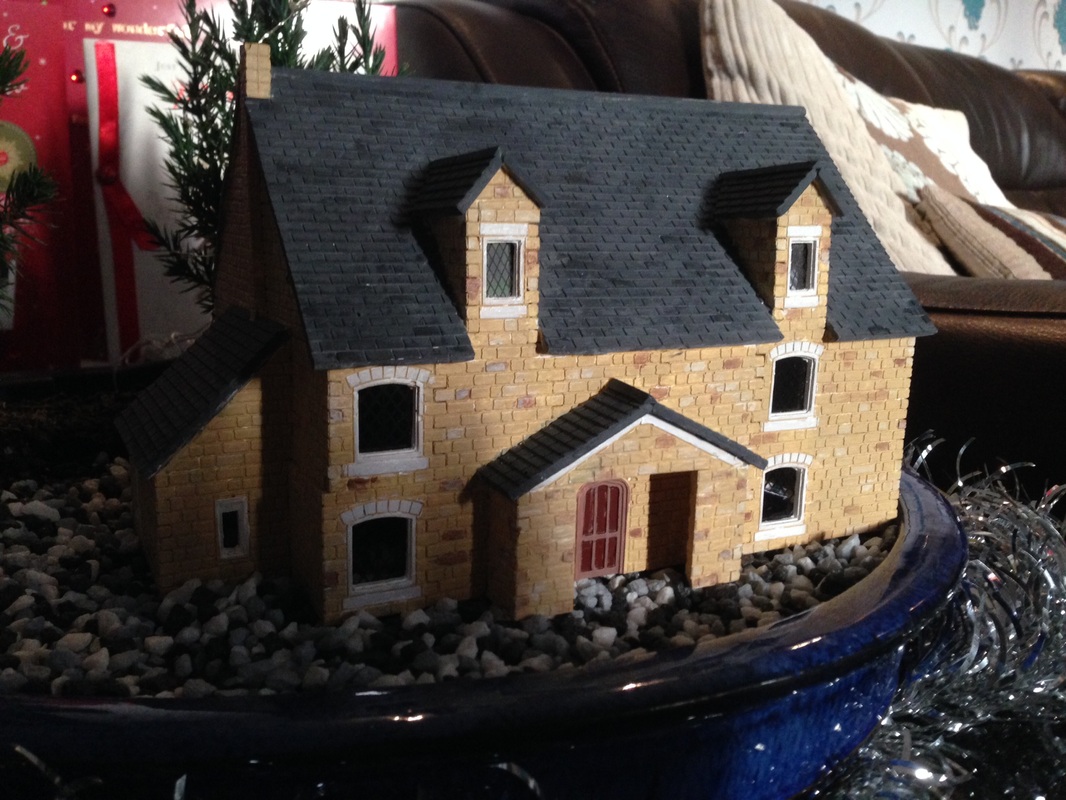
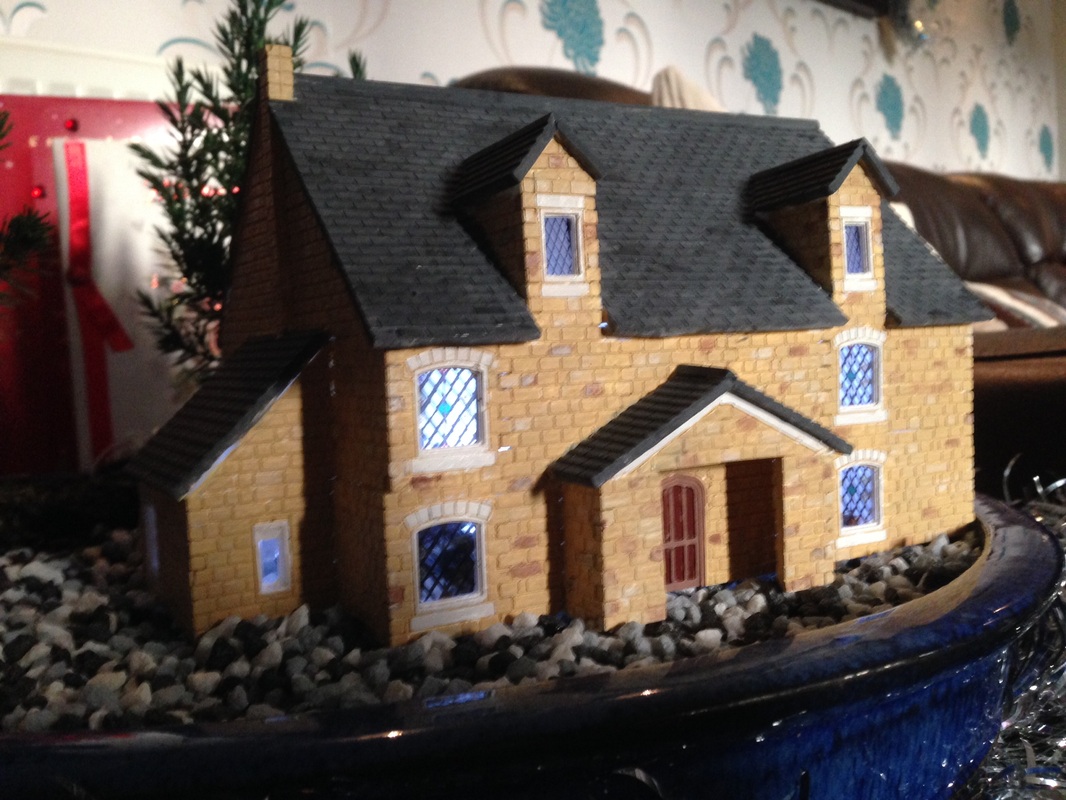
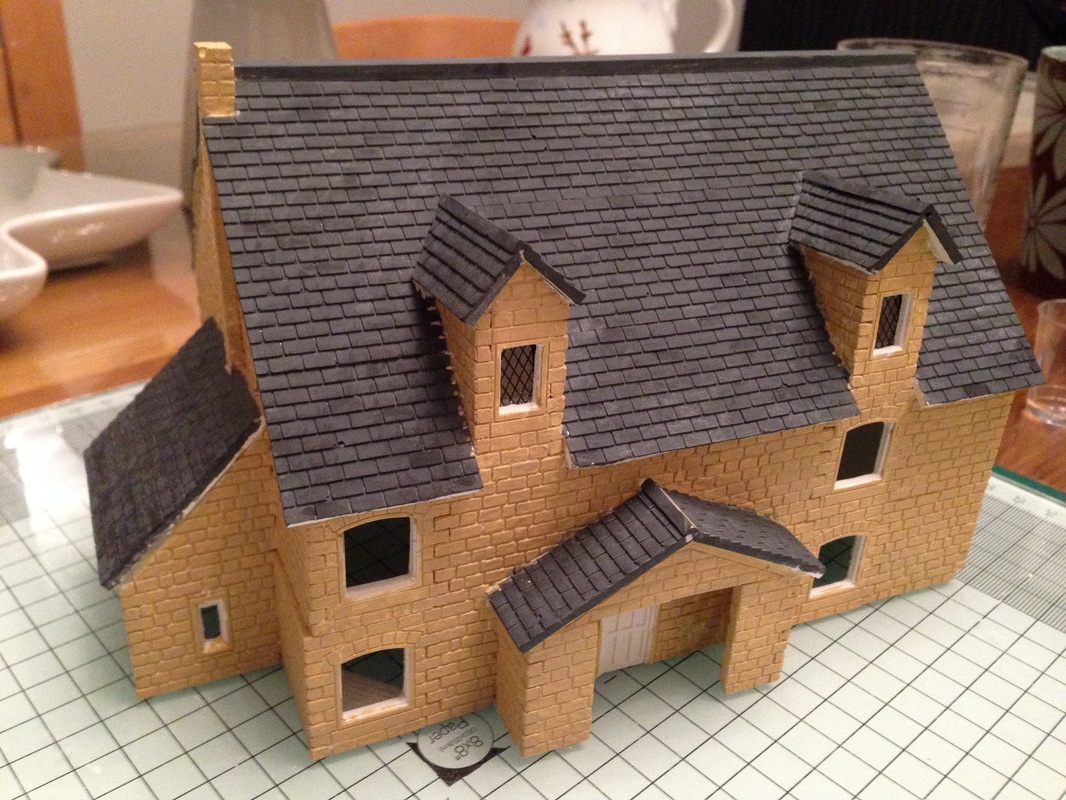
I have also added the leaded windows which I make and sell on eBay if you don't want to make them yourself. The remainder of the images are just a number of different views, I added a few small real christmas trees to a large pot and put some lights inside the house to give it a cozy look, after all it was christmas so it just made for a great little scene.
The rest is up to you. Project Completed 23-December 2013
If you want to see how this model was built just click here
|