
CUSTOM LINKA COMPATIBLE TILE MOULD MAKING |

|
This is the first of a series of how to's on making custom Linka compatible tiles, in this article I will go through the customisation of Tile designated 160 on old mould R4 or new mould B4 which is the large brick arched window. When you examine this tile and a number of the other Linka tiles they have a small step at the edge of the window aperture this is to locate a plastic window insert, which are unfortunately no longer available. So we shall go through making a new tile with the window insert as part of the new tile, and in the process make a mould for the separate insert. One thing you must remember I am like you a hobbyist who wishes to share his knowledge and experience so treat this information as such. Things may not go as I have described, this can be due to different materials environments, whatever, but don't be discouraged by things not going as you planeed, go make a cup of tea and ponder over it. All will work out in the end.
|
Brought to you by timbologist

Completed 18-11-2013
|
Photo 1: Shows the original tile as taken from the mould and any flashing removed with a fine file. For this type of job I use tiles made from a Polyester Resin in my case a product sold as Builders Bog, but also known as Automotive Body Filler, the reason for this is its stronger than plaster and ready to work in about 20 minutes. Its fairly easy to work with files knives etc. You can clearly see in the Photo 1: the step on the inside of the widow aperture where the plastic insert sits. |

Photo 1
|
|
What I will do is cut the window aperture out to the outside of the step with a sharp knife then dress up the aperture with a fine file, the widest file that will fit in the aperture is best as you will get a straighter edge. I use the the step line as a guide to where to file to. Photo 2: shows the tile with the aperture cut out to the step line.
|

Photo 2
|
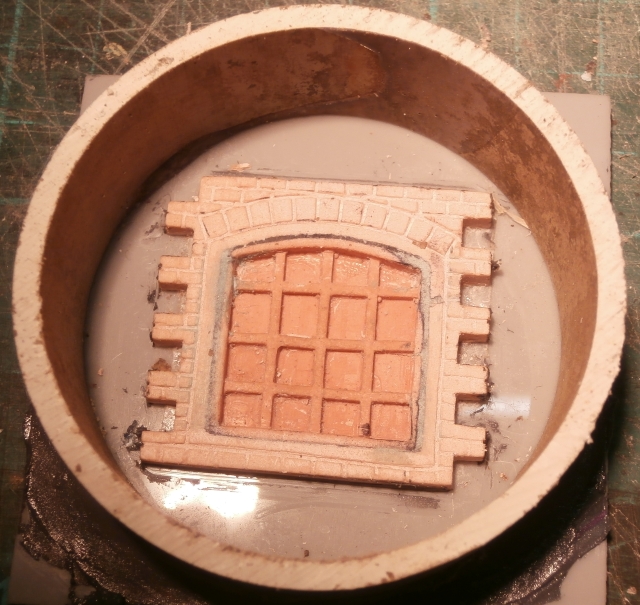
Photo 3: I have cut out a piece of acetate to fit the inside the back of the aperture so that the tile and acetate lay flat on the graph paper, I have used 2mm square graph paper. At this point the tile and acetate are not attached to the graph paper, this is so that when the boarder of the window frame is placed in the aperture the tile can then be moved to centre the aperture over the graph paper to add the glazing bars. This method uses the aperture of the tile as form work to make the window insert.
|
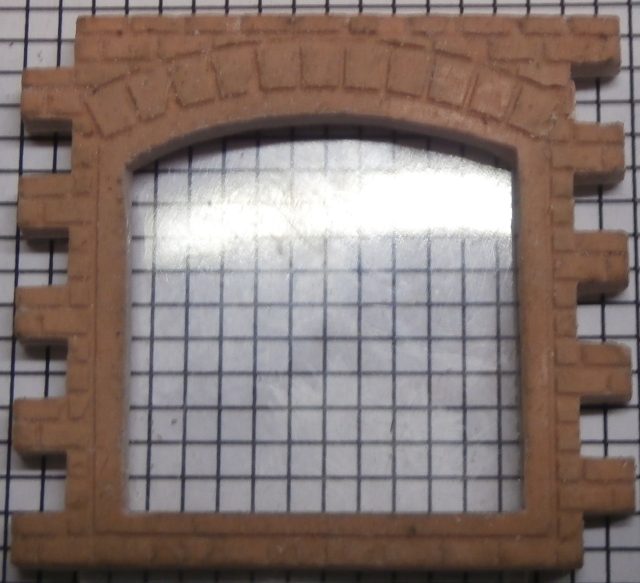
Photo 3
|
|
Photo 4: Shows the window insert complete (this photo was taken later with a different tile hence the not good fit, had to make up the photo) the window insert was made from the border frame from 0.040” x 0.100” plastic strip, the top arch was heated slightly so it formed the shape easier. The glazing bars are 0.040” x 0.040” plastic strip, and the whole thing assembled with MEK. One thing you need to decide at this point is where in the tile you want the insert to sit regard to the front of the tile as this will determine what width border material is used, and where it will sit in the finished tile.
|
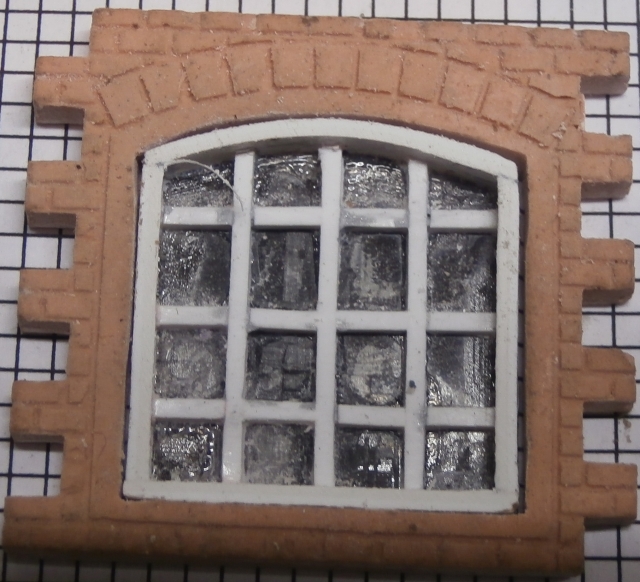
Photo 4
|
Photo 5: shows the window insert removed from the tile and affixed to a piece of perspex ready to cast, the tile is affixed with double sided tape, and the outside is filled with plasticine that has been mixed and thinned with turps to make it easier to get it into any gaps between window and perspex. I Used dentist tools to apply plasticine.
|
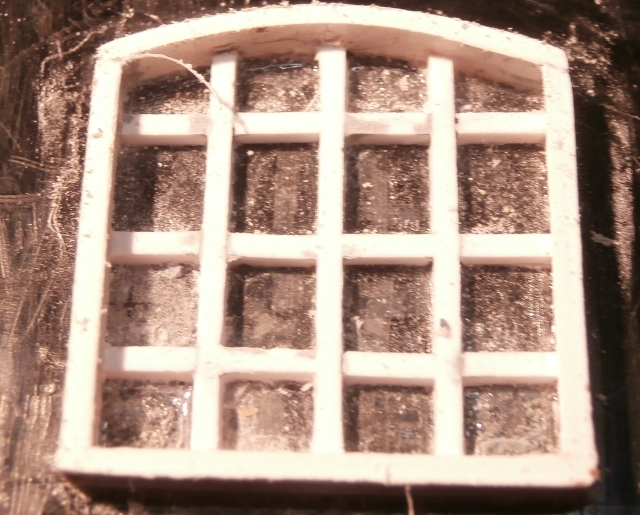
Photo 5
|
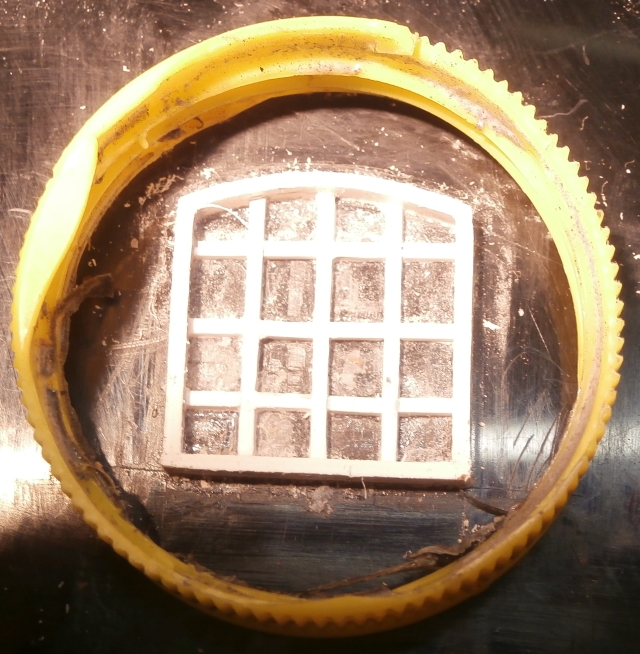 Photo 6 Photo 6
Photo 6: The containment ring has been placed around the window insert ready to make the mould again this ring is sealed with Plasticine, any shape is ok for containment, just use whatever you fell is about the right size.
|
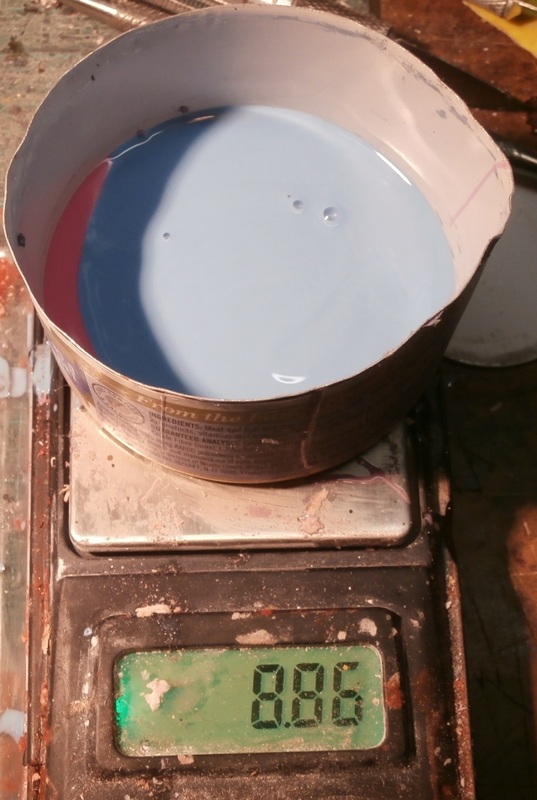 Photo 7 Photo 7
Photo 7: The mould compound ready and ready to pour.I use a product by Smooth-On called OOMOO 30 Tin Cure Silicone Rubber, this works fine. on some of the larger moulds I use Latex. But we will go into that in another How-To. When pouring the mixture make sure you pour away from the window insert, pour onto the perspex backing so the mixture makes its own way across the window insert. When complete you need to bring any trapped the air bubbles to the surface, the instructions say that vacuuming is not needed but I find you need to get all the air out as small bubbles seem to attach themselves to the pattern in the corners of the glazing bars, these are easy to remove on the cast part.
This mixture takes about 6 hours to set, just follow the product instructions |
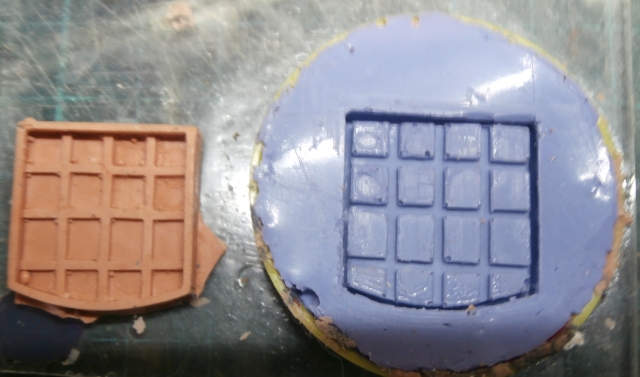 Photo 8 Photo 8
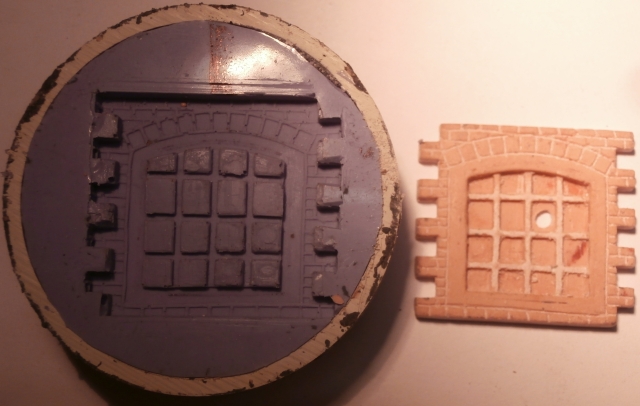
Photo 8: shows the finished widow insert, if you are going to make different inserts and not use many of each you can just stop at this point. Or you can continue on and actually make a mould of the tile with the insert fitted . Most of the process is the same as what we have just been through except we now fit the insert to the tile, fill any holes or gaps between insert and tile then go and make a mould of the assembly.
You need to decide how you want the insert to sit in the aperture, some windows I have used with the 2 front surfaces flush and others I have set back about 1mm. This depends on the look you want.
|
|
Notes on using the window inserts
On using the window inserts, I find that sanding the back of the insert to remove most of the excess material before putting into the aperture so that it just starts to break through, this will give the best look as the glazing bars are the same size as the pattern. You need to be very careful as these inserts a very fragile, depending on what you make them out of. Smooth-on make a range of products called Smooth-Cast I have used Smooth-cast 300. But most of my casting I use bog (also known as Automotive Body Filler)
On using the window inserts, I find that sanding the back of the insert to remove most of the excess material before putting into the aperture so that it just starts to break through, this will give the best look as the glazing bars are the same size as the pattern. You need to be very careful as these inserts a very fragile, depending on what you make them out of. Smooth-on make a range of products called Smooth-Cast I have used Smooth-cast 300. But most of my casting I use bog (also known as Automotive Body Filler)