Step By Step - Building the Tudors - Project 01
This project (my own first ever Tudor) was started in December 2014 - following the design and introduction of the new moulds it was now time to get down to business and begin the building process - The difficulty is because it is so new there is not much to look at and inspiration has to come from looking at old (real) buildings and using a lot of imagination.
I decided that as Xmas was only weeks a head and because I knew I would have quiet a lot of time, I thought I would look at building a shop fronted building. I spent ages just making lots of the Tudor casts, so i have plenty of stock. Some of the moulds where cast with normal Tuffcast but the fine windows where much better to extract using the stronger casting material which I put on the YoutTube site and on this website in the tutorial section.
I decided that as Xmas was only weeks a head and because I knew I would have quiet a lot of time, I thought I would look at building a shop fronted building. I spent ages just making lots of the Tudor casts, so i have plenty of stock. Some of the moulds where cast with normal Tuffcast but the fine windows where much better to extract using the stronger casting material which I put on the YoutTube site and on this website in the tutorial section.
|
|
Starting the Build
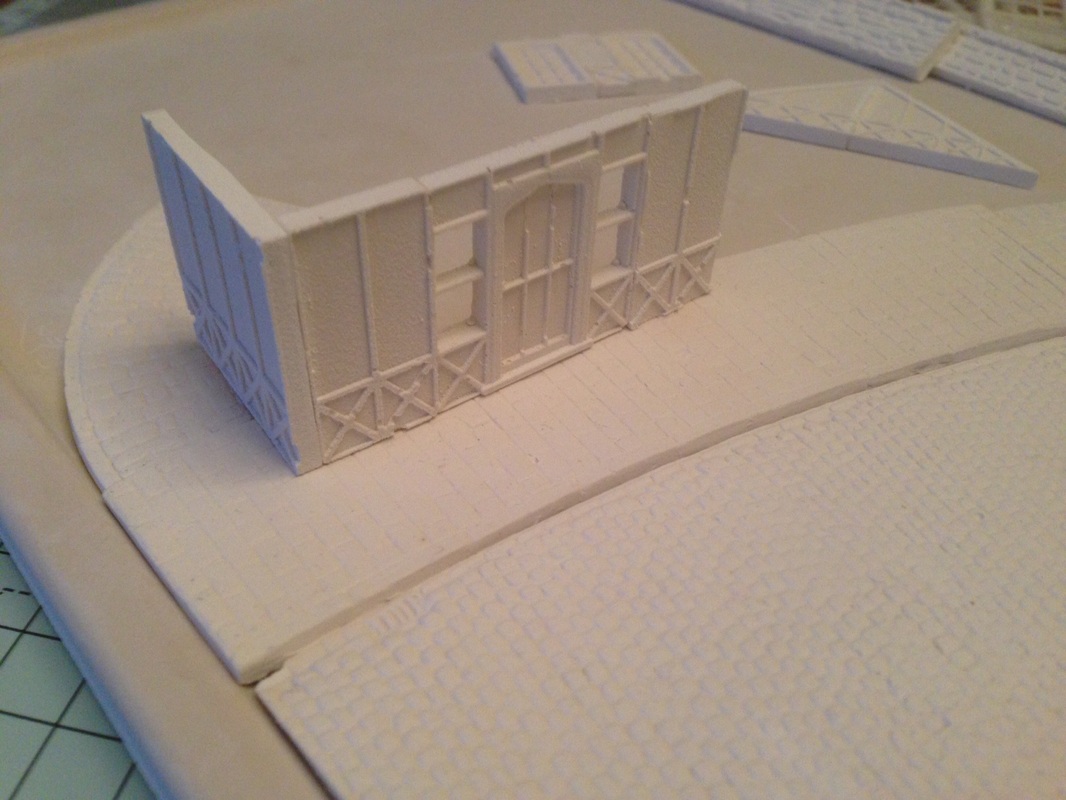
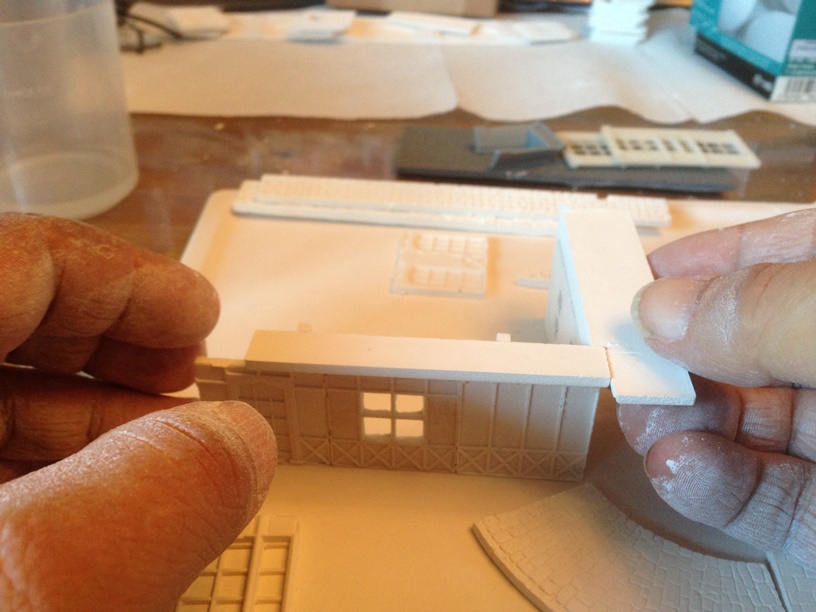
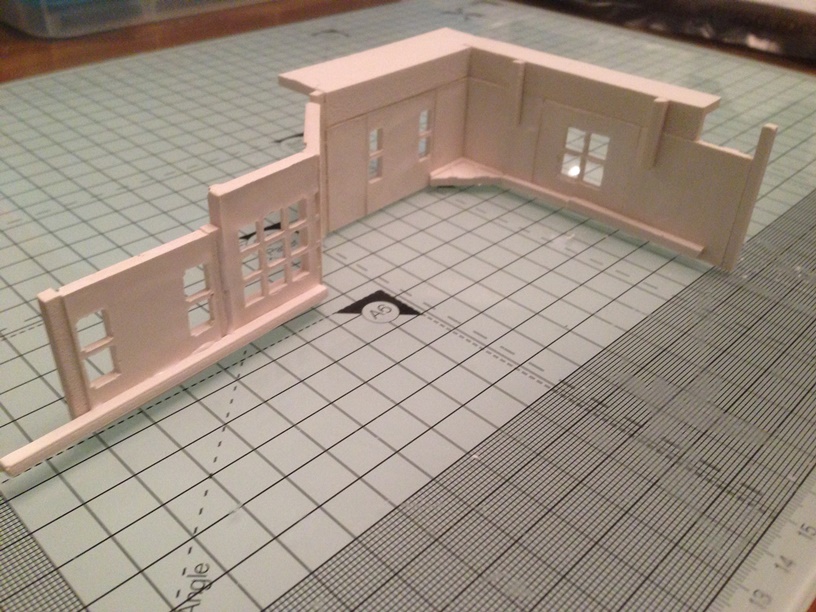
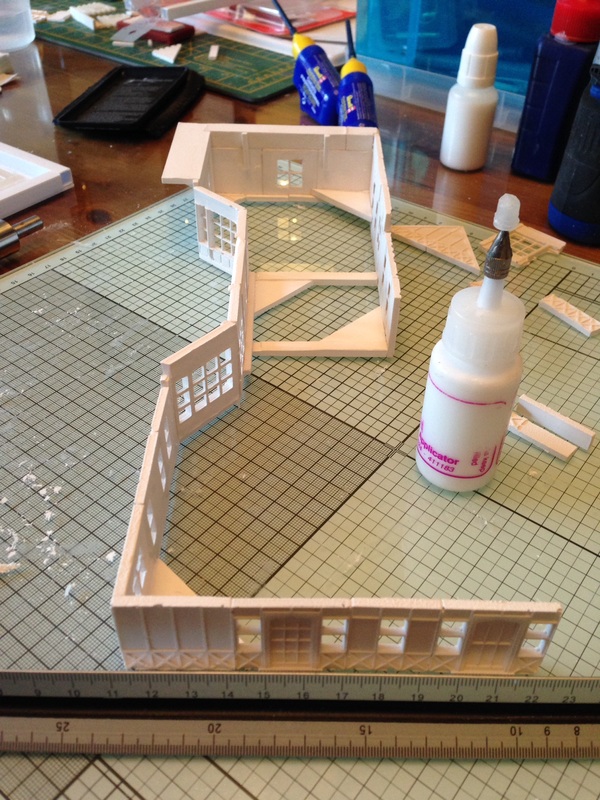
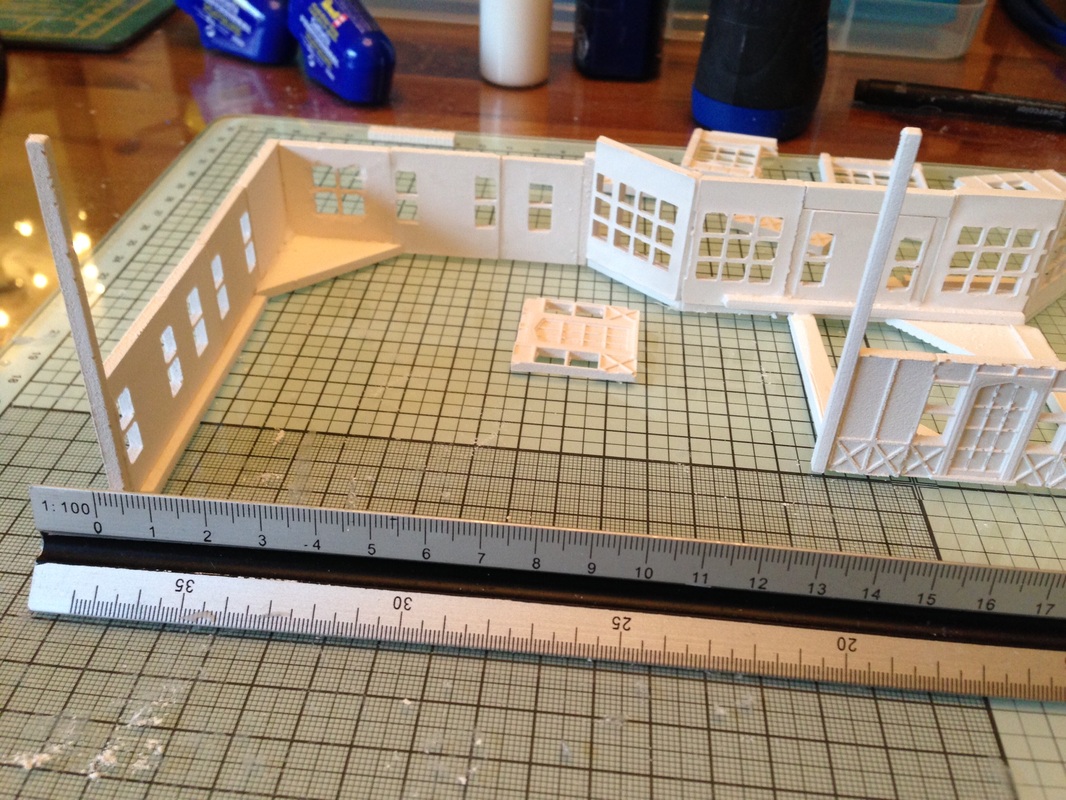
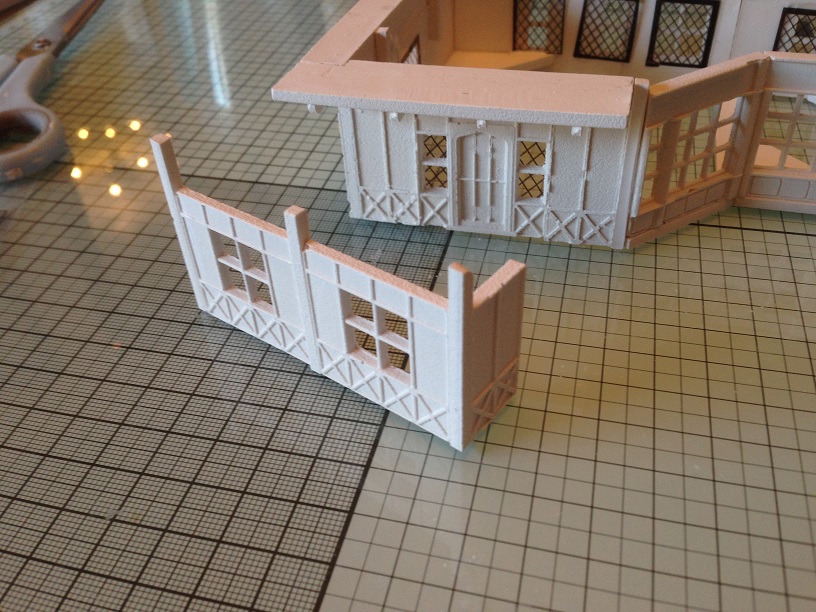
So time to start putting a few pieces together, Top Left, you can see I have started on the left front corner of the building with just a few panels fron the TT-01 mould and put in a door. I used a corner piece on the base to make sure the building is square. Then I added a few more casts to the left side, Keeping the building area flat down on the glass, just to ensure everything stays in line until the PVA is dry. As I wanted to create a building with a shop incorporated I decided the Victorian shop front would be perfect for the job, but it would need to be cut and shaped for the effect I have in mind, and it needed a proper Tudor door in the middle. So I set off casting a few up so I could experiment. its not easy making this up out of your head but all in all I think the effect is quite reasonable |


|
Beams and Details
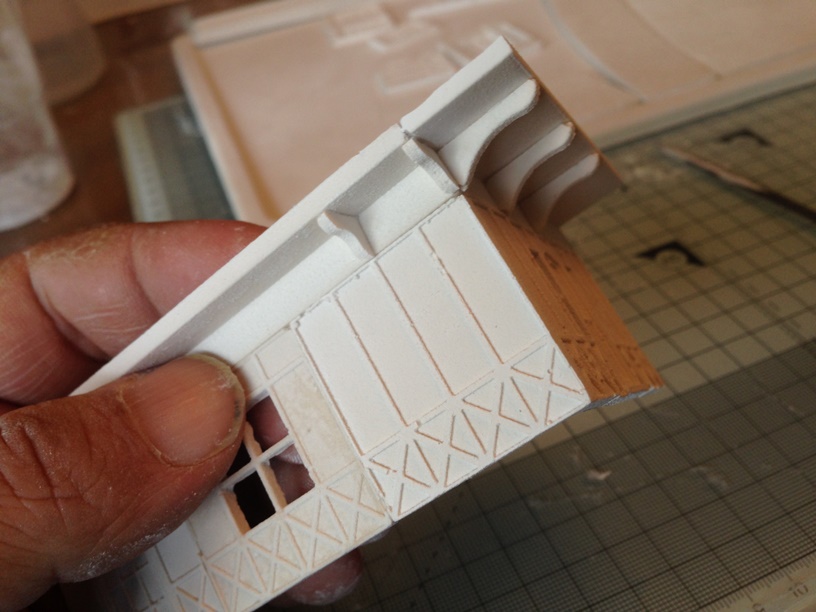
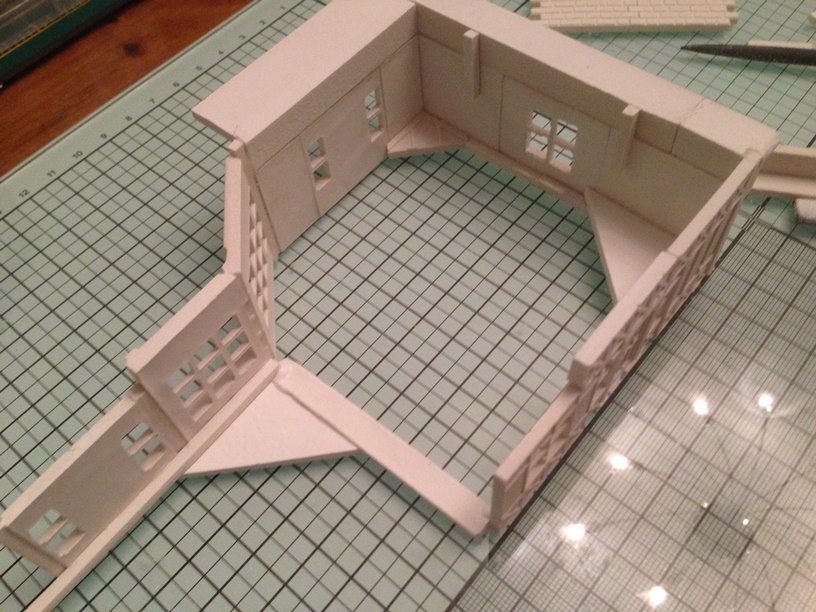
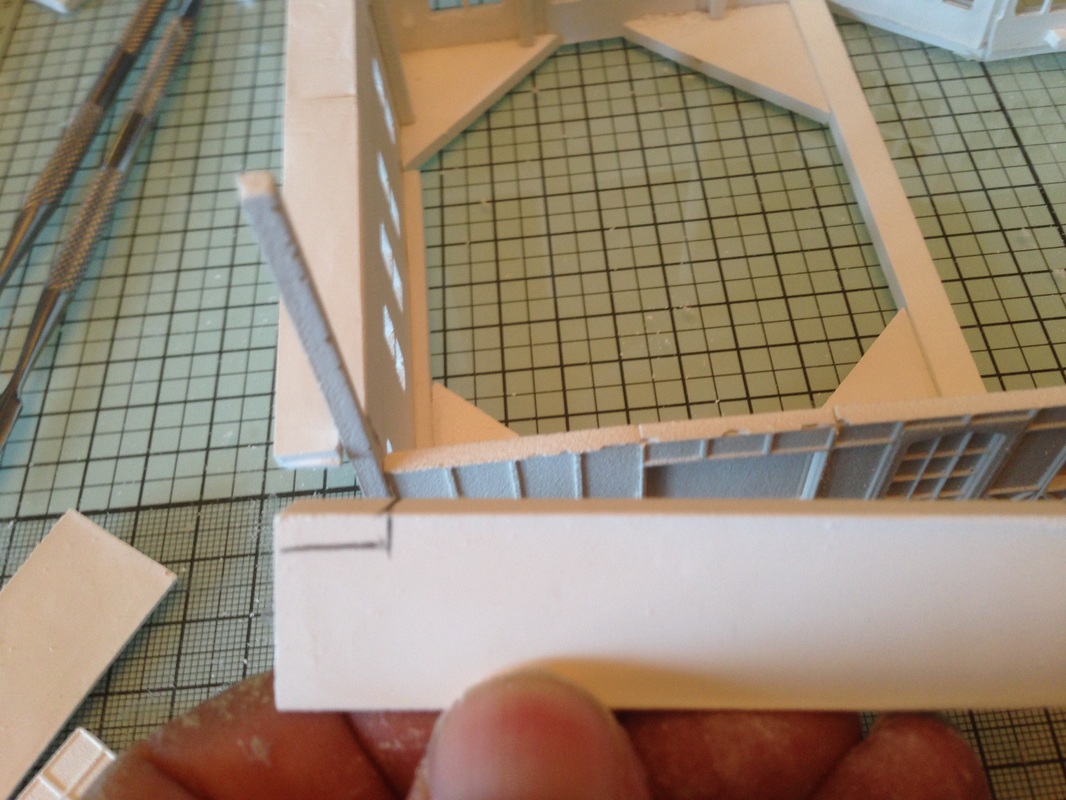
Right, this was the bit I had been waiting for, How to add those beam overhangs. it was a fairly simple task and went much better than I had thought. I used the square edge of my glass to keep the beam in line with the building (Face down as always) and just glued a few small battens to add some strength. Then came the corner, I could have made a mitre join but to be honest this worked just as well. I had to mark what i needed to cut away and I did use my cordless Dremel for the cut, just because it is quicker. Then I glued the piece in place as can be seen in the last image. I held it in place a little while then laid it flat over the edge of the glass until it was dry. Finally I just trimmed and sanded the corner and went over the joints with some PVA using a fine tip glue applicator. |
|

|
|
First Detailing
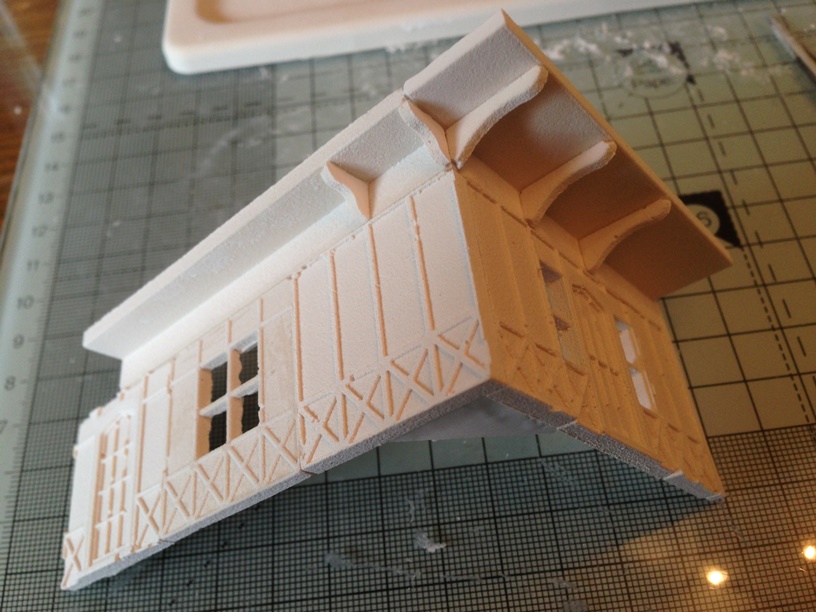
Eager to have something that resembles a Tudor, it was time to add those small timber supports, they are very small and a little fiddly so I used a pair of tweezers to glue them in place, It was only now that I realised the decision to do a square joint on the beams was a good choice as the support covers the joint perfectly. |
|
Starting the Frontage
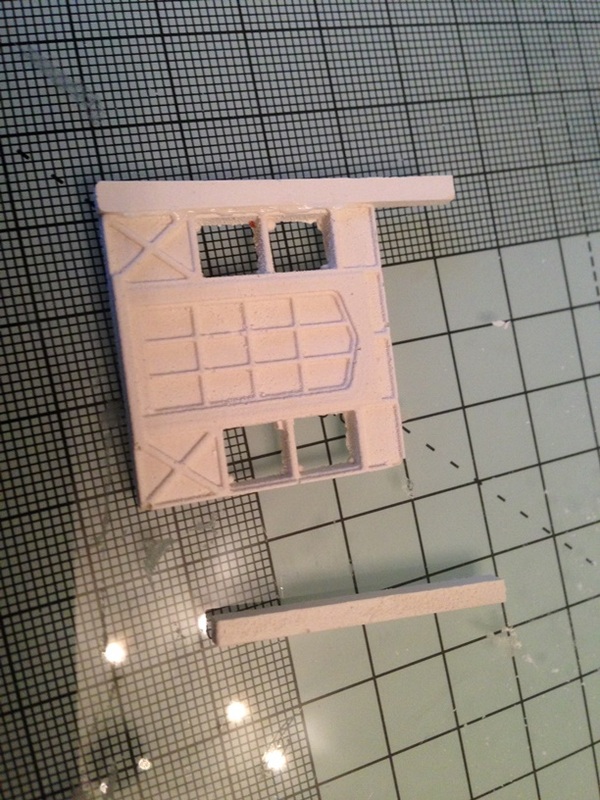
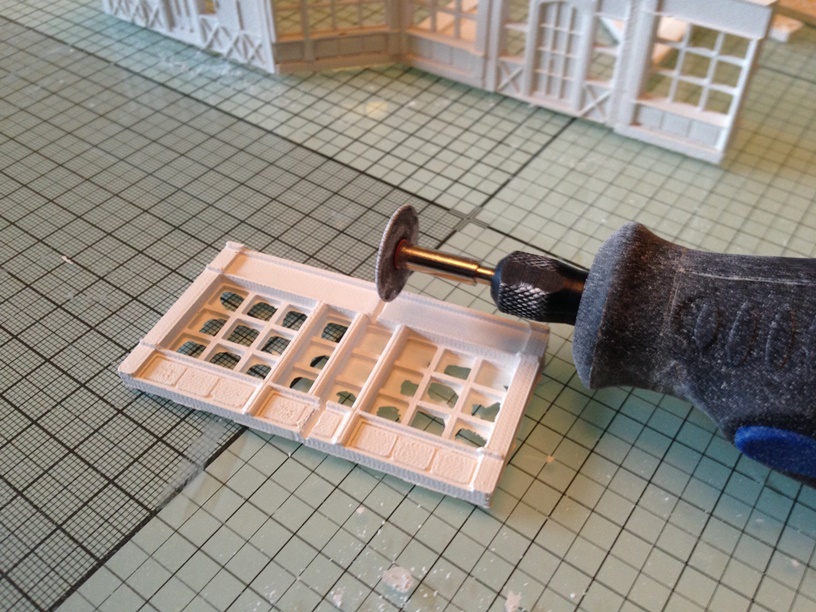
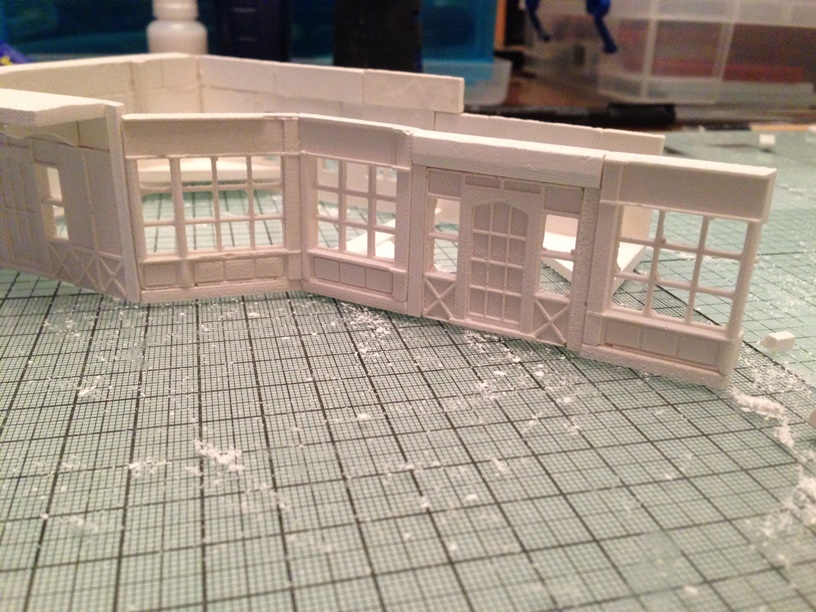
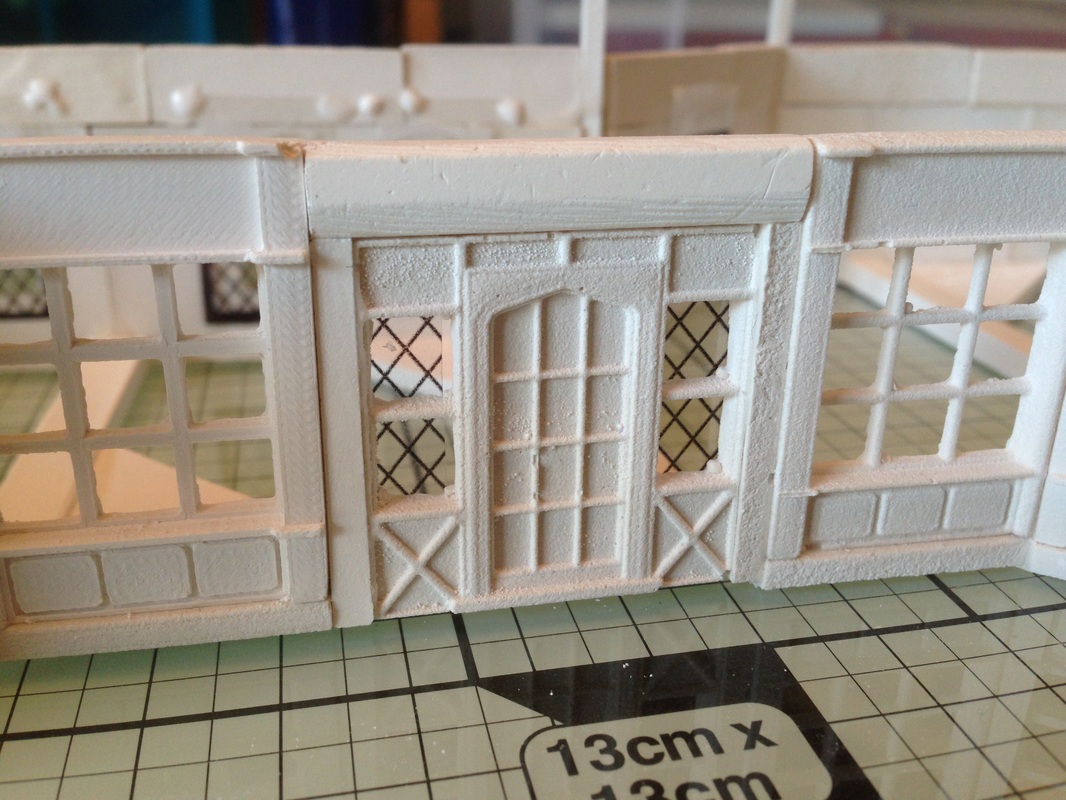
What we have to remember is we need lots of beams on these types of building so I started by adding some of the square beams from the TT-06 mould to both sides of the door, its a good idea to leave the the tops longer than needed and they can be cut off at a later time. Having done the door I proceed to cut the shop front casting. one half of the cut will be attached to the side of the door and the other will be used for the angled part that connects to the building. Note:- if you look at the shop front, I have added a thin beam to the bottom so it raises the frontage up to the correct height (See image 4 and look at the bottom of the shop window) 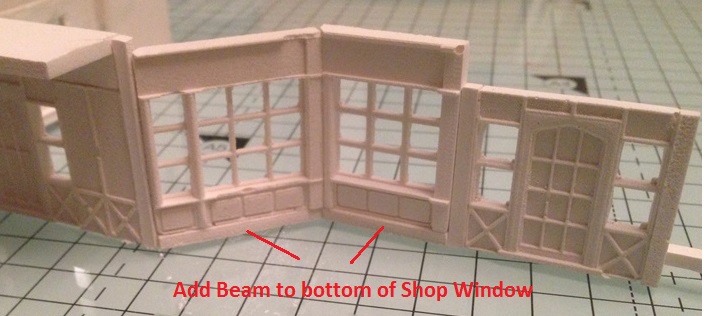
|
|


The build Continues
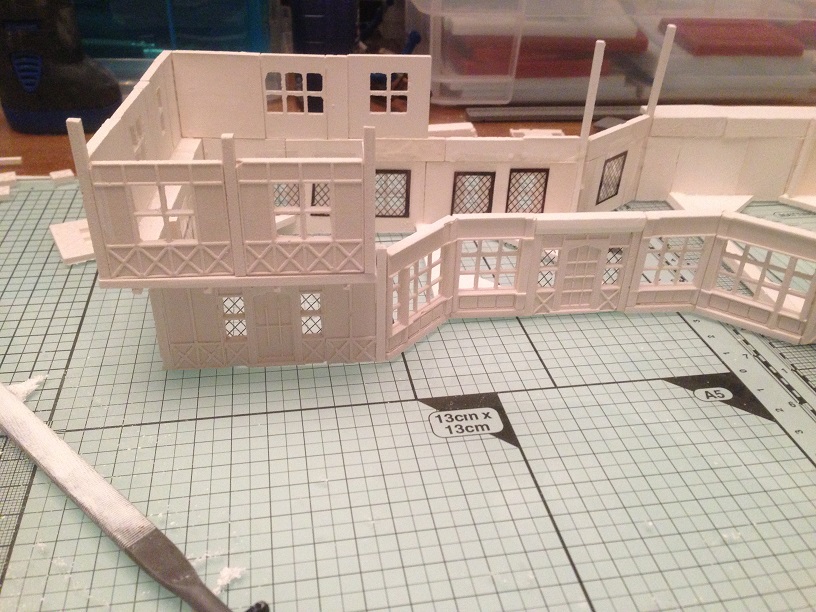
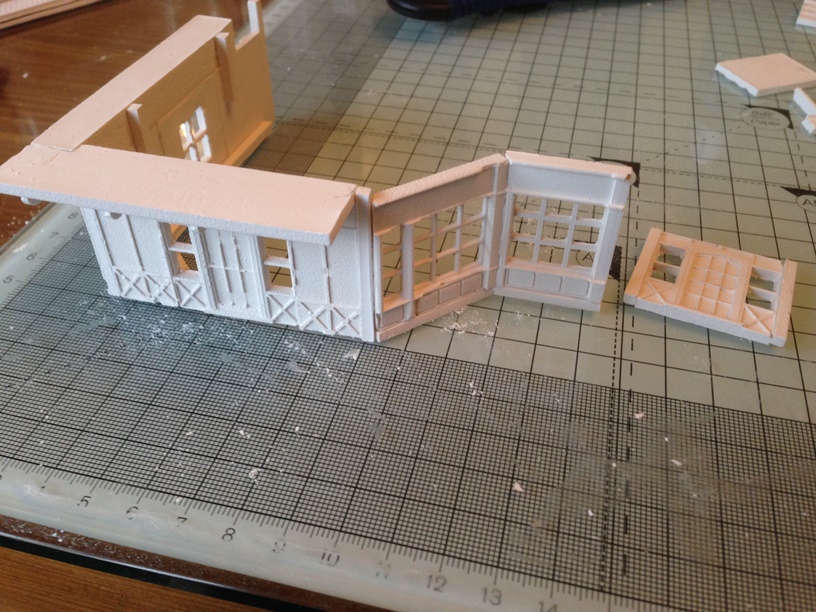
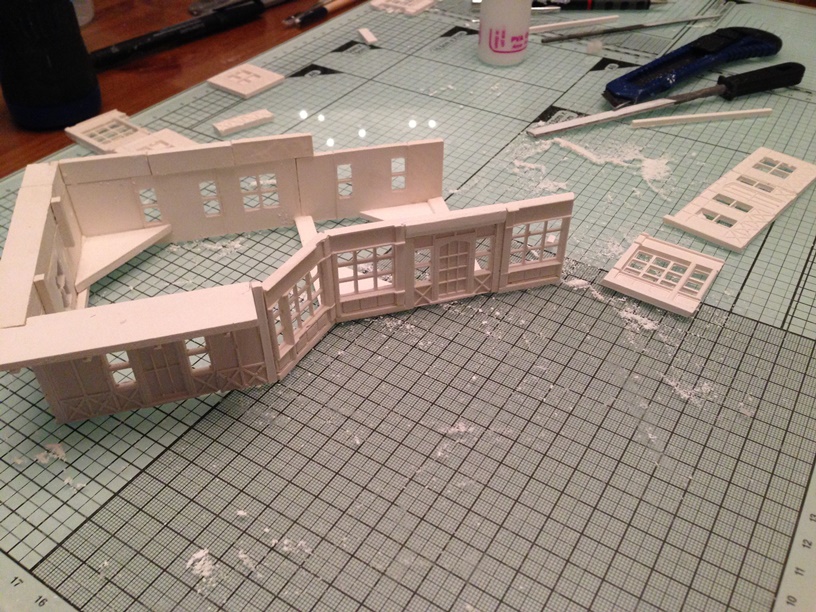
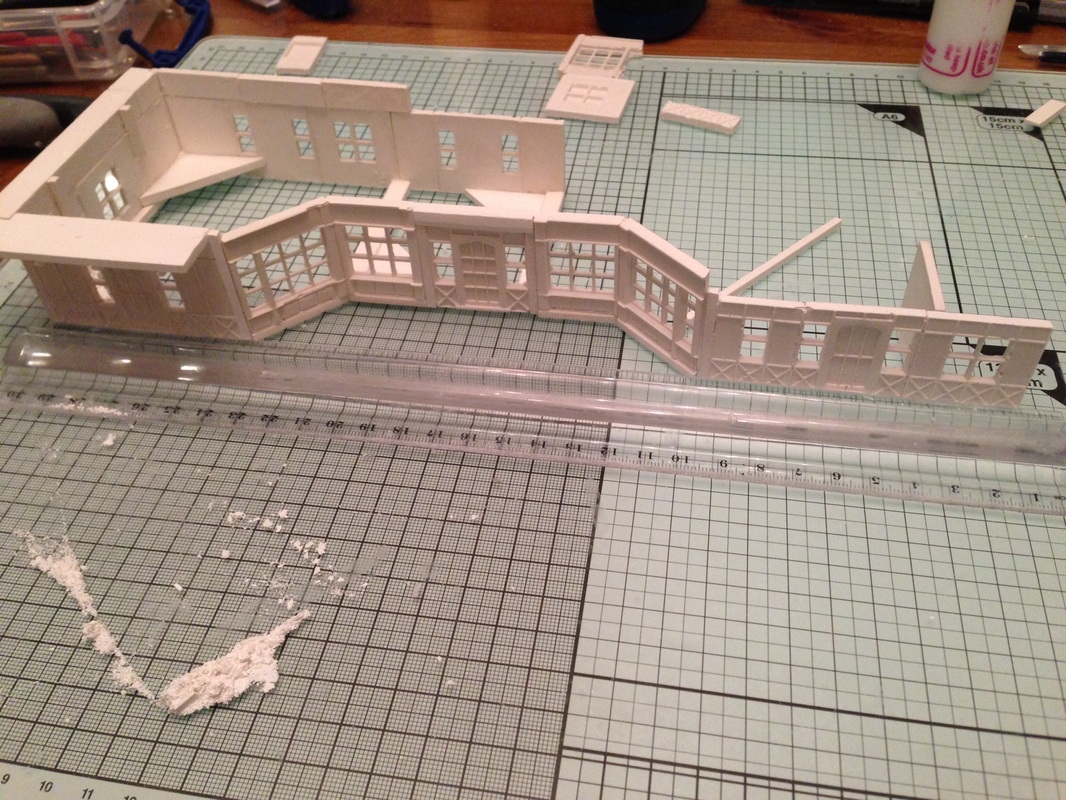
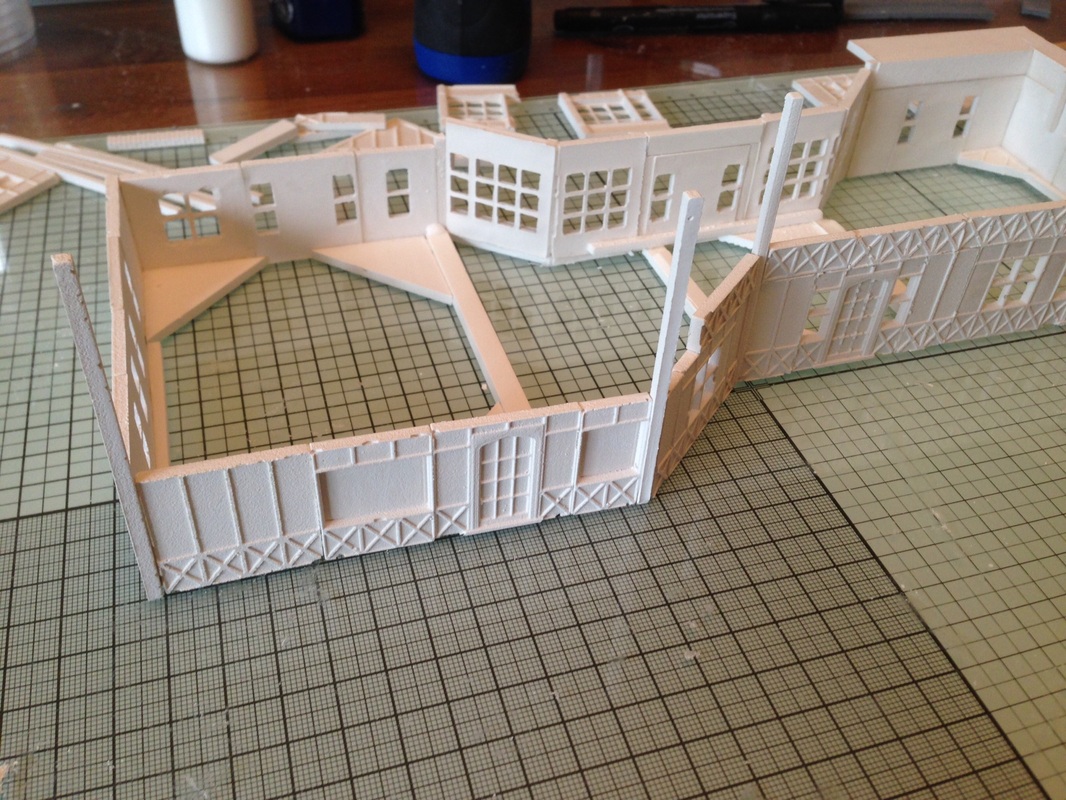
From left to right, the first image shows what we have created so far, notice the straight beam at the bottom of the shop frontage, this has been put on to keep everything straight and again to add some strength,
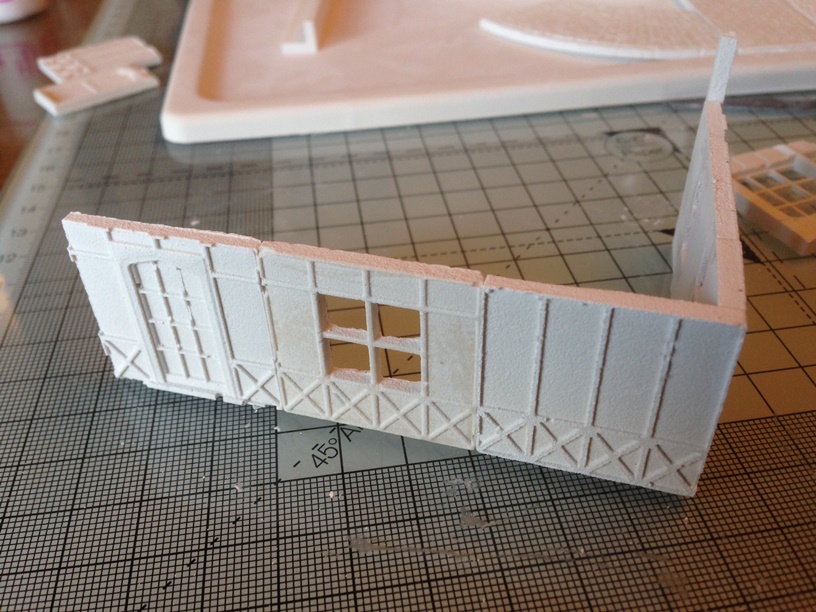
The centre photo shows I have added some of the detailing strips to the top of the back of the building, I decided I do not want the overhang beams all around the building and the back will be fine as it is just continuing straight up.I have added some more panels, windows and a doors taking the build along the back in line with the front length so far.
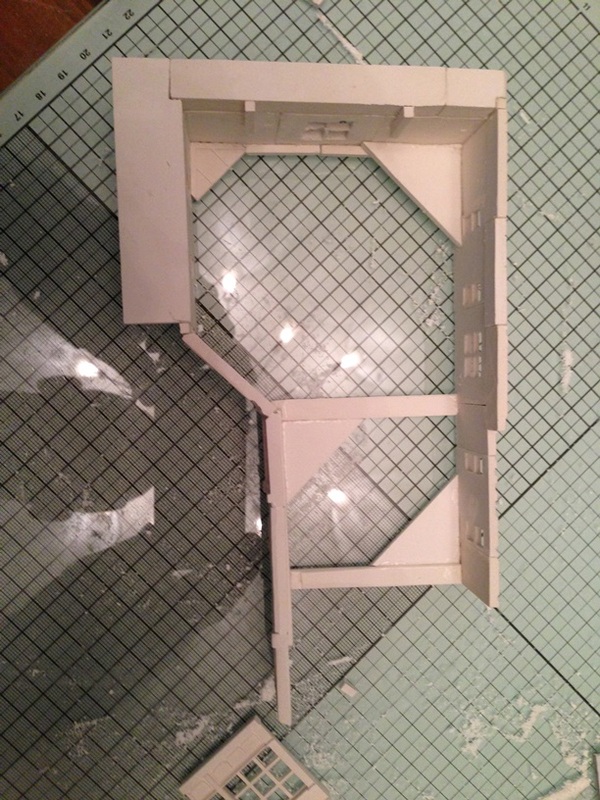
The 3rd image is showing a beam I have put on the bottom to keep the strength of the structur good as well as added a corner joint on the base, again to keep everything nice and square.
From left to right, the first image shows what we have created so far, notice the straight beam at the bottom of the shop frontage, this has been put on to keep everything straight and again to add some strength,
The centre photo shows I have added some of the detailing strips to the top of the back of the building, I decided I do not want the overhang beams all around the building and the back will be fine as it is just continuing straight up.I have added some more panels, windows and a doors taking the build along the back in line with the front length so far.
The 3rd image is showing a beam I have put on the bottom to keep the strength of the structur good as well as added a corner joint on the base, again to keep everything nice and square.

|
|
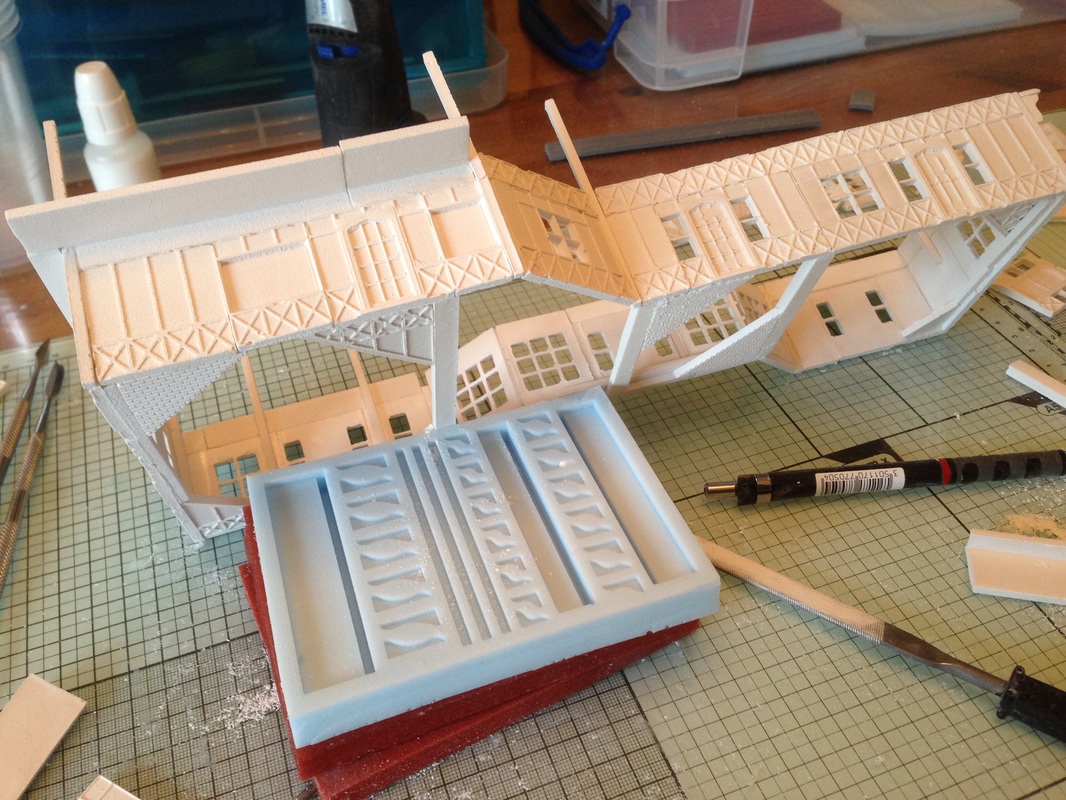
Moving On
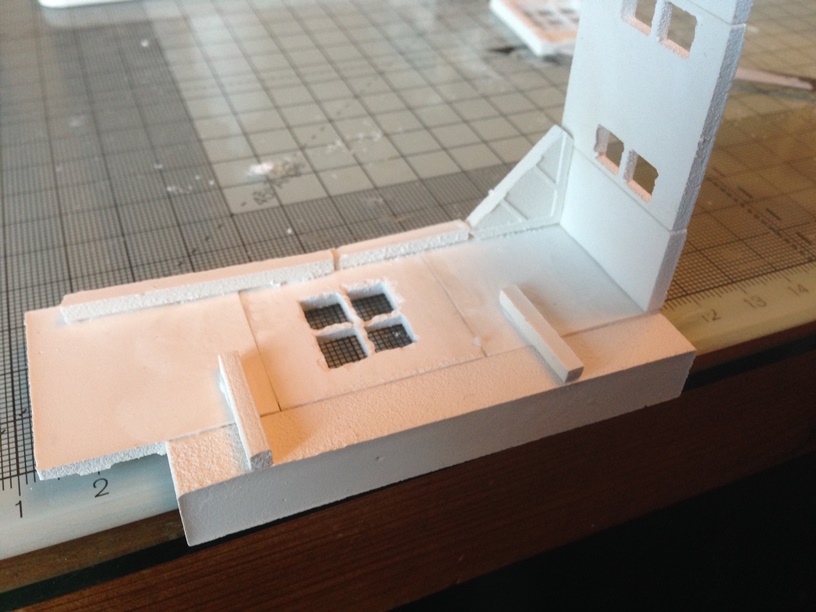
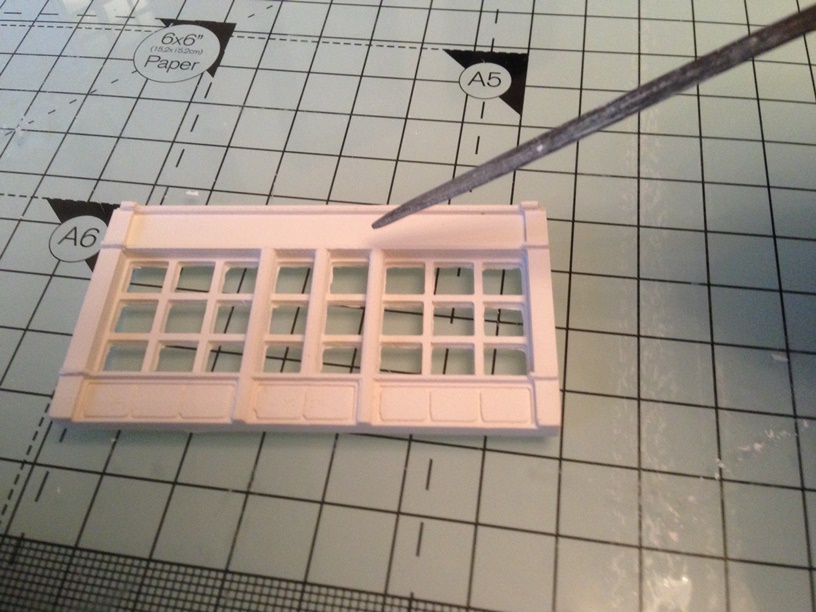
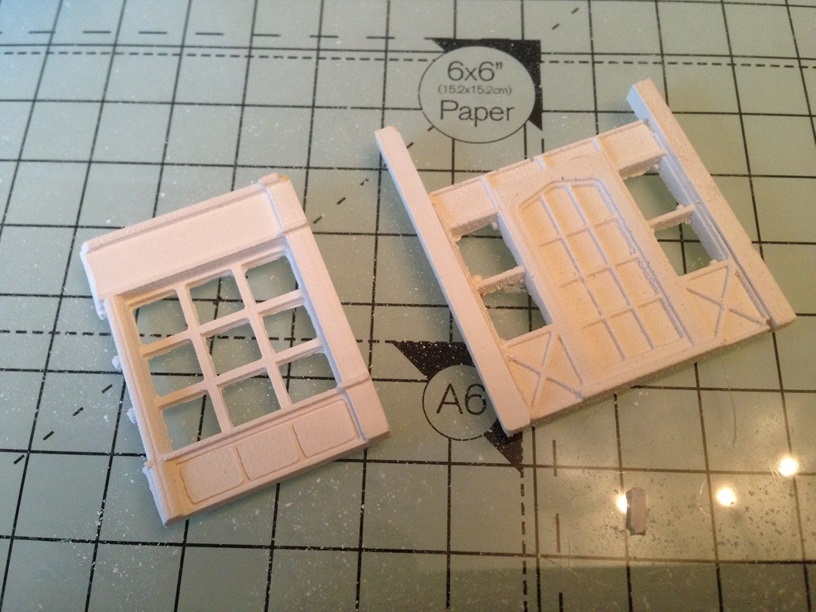
So moving on to the other side of the building, I don't want it to be exactly the same as the right half but it will be something close, still working on some ideas. Again I have used the Dremel to score through the window for the second side of the frontage, in the second and third image you can see I have added the part of the window to the left of the door. The 4th Image just shows a top down view of the floor strengtheners and corner sections So next I will finish the right side of the frontage |
The Right hand side
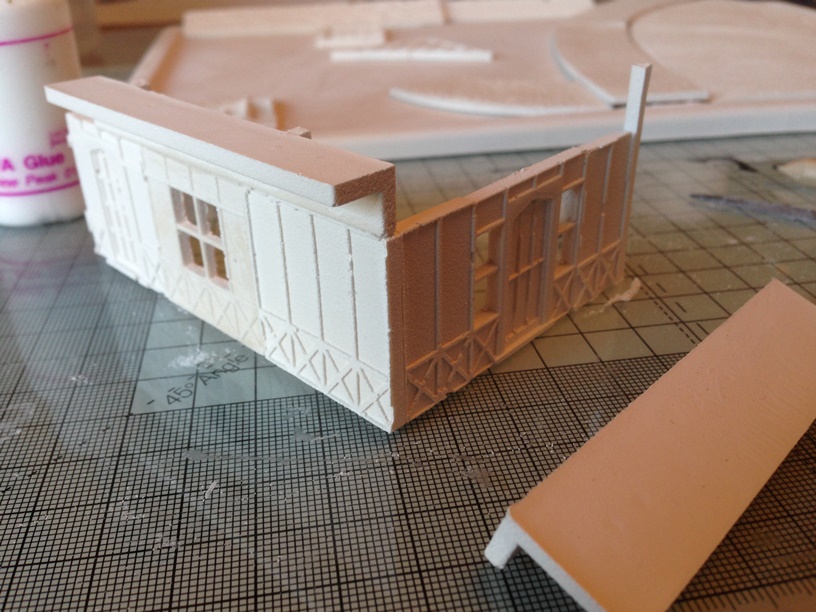
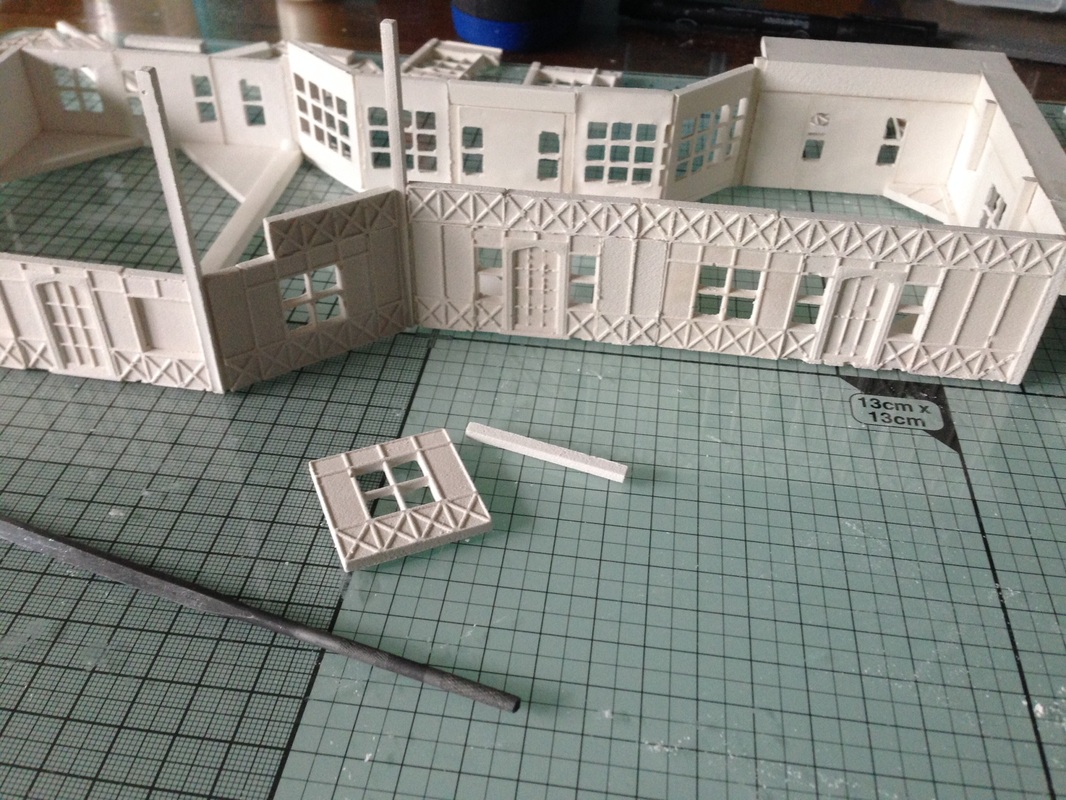
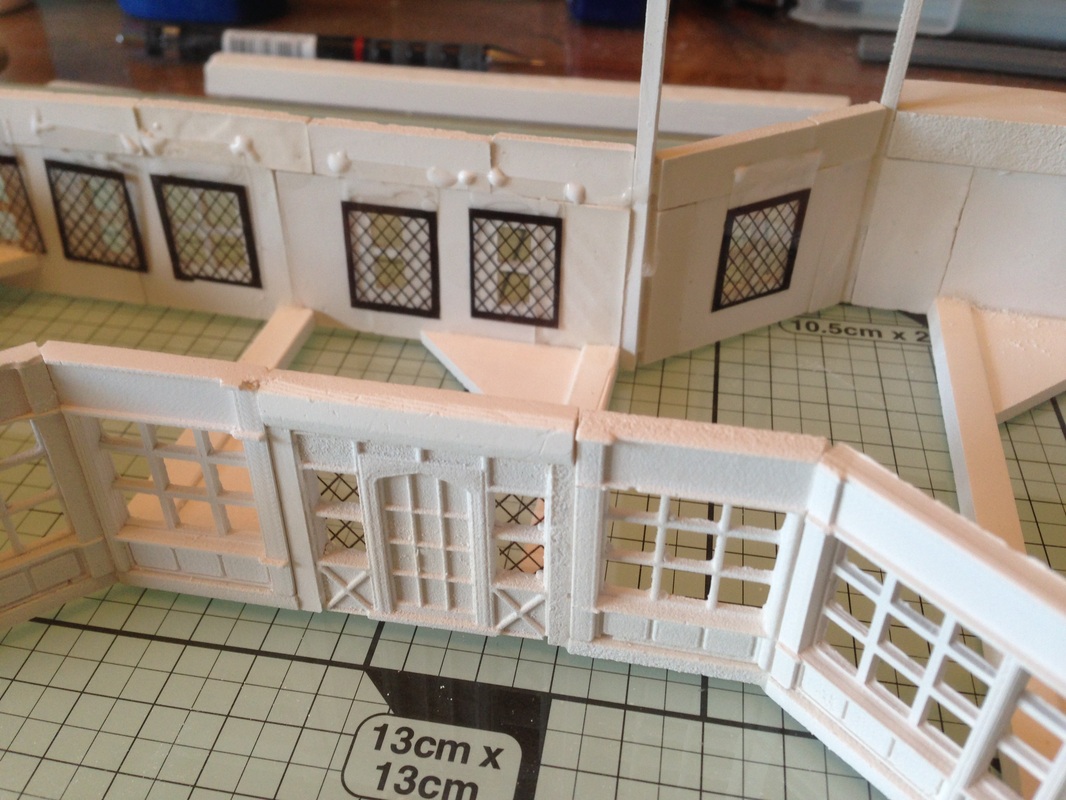
Moving along to the right hand side of the building. as you can see I have chosen to make the front right hand wall a little longer than the left, adding panels, door and a window - then moving down the side wall again I thought it would be good to make this a little longer than the left side -In image 5 ad 6 you can see I have used a different style of window, added a post at the corner joint and finished the connection with an angled wall.
Moving along to the right hand side of the building. as you can see I have chosen to make the front right hand wall a little longer than the left, adding panels, door and a window - then moving down the side wall again I thought it would be good to make this a little longer than the left side -In image 5 ad 6 you can see I have used a different style of window, added a post at the corner joint and finished the connection with an angled wall.

|
|
Finishing the Beams and overhangs
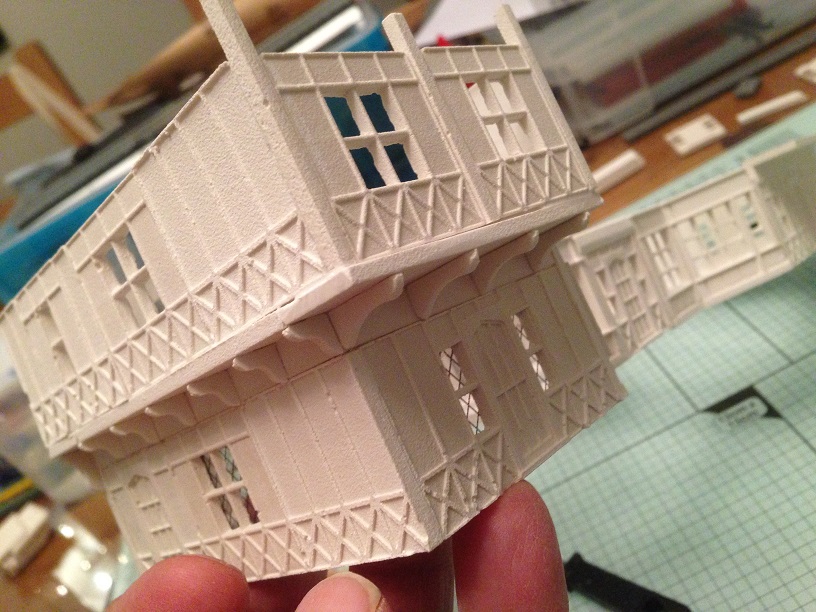
As shown in the first Image I have added a few upright posts, letting them dry before putting the overhang beams in place, the I have cut and glued the overhangs from the TT-06 mould castings Image 2 shows where I will need to cut the corner of the casting, I use a dremmel and then a small needle file to smooth the part before putting it in place. In Image 3 I have tilted the whole building so the overhang beams stay in position until dry and they are resting against the supports I had put in place earlier. Finally I have done the same in the last image and let everything set now, afterwards I have gone around the inside of all the joints with a fine beading of PVA glue so everything is nice and well bonded in place |


|
Windows
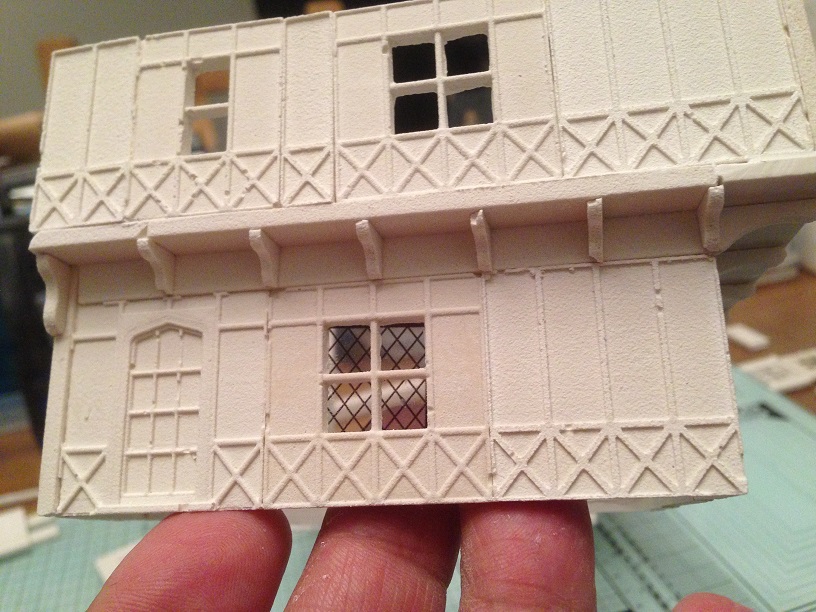
I have decided that it will be easier to add the window (Leaded) to some of the bottom floor areas at this stage, however I was in two minds as to if I should have painted the window frames first - but as I am eager to keep things moving I decided to just put the Leaded acetate in place and worry about the painting later. |
|
|
|
The Next Floor
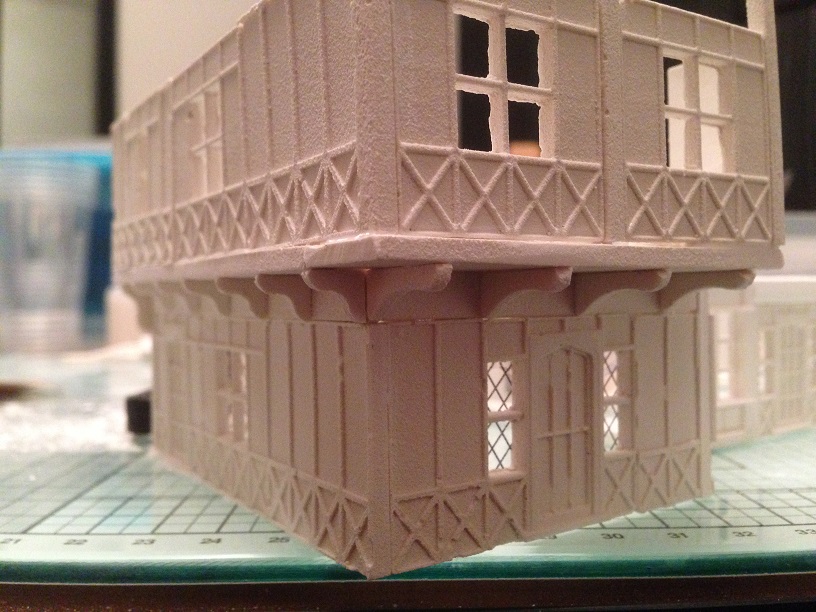
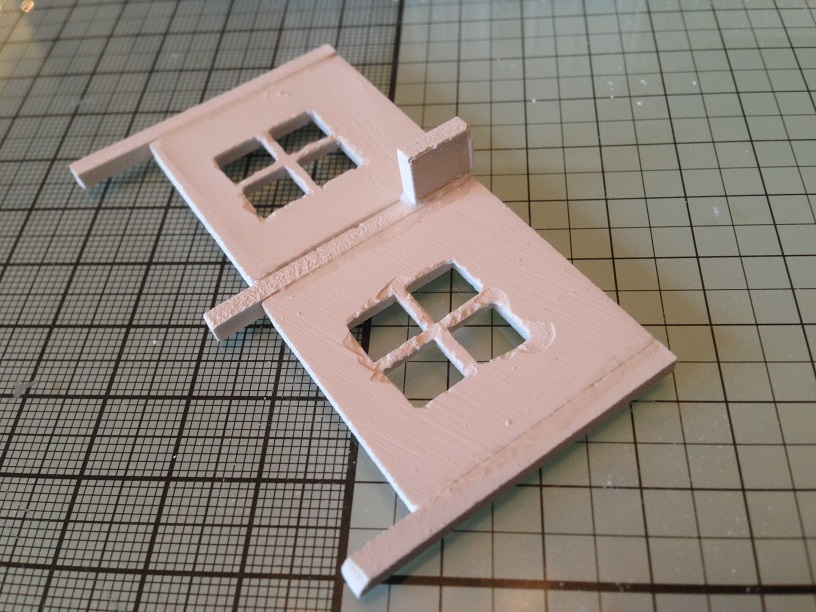
So now it gets a bit interesting Moving back onto the left of the building adding two of the nice square 4 panel windows with a post in between the two tiles and a post at each side works out just about perfect to sit on the overhang beam from side to side. The first 3 images show how I made up the whole section Int he final image I have glued that whole section in place and even added the 4 panel wall section to the left side As always once it is set in place just go around all the inside joints with the fine glue applicator to ensure you have a good strong bond. |


|
|
More Progress on the second Story
All I have done here is to continue around the left side of the building by adding more tiles and following the the edge of the ground floor. All you need do is decide which style of the windows that you wish to place |