Members Pages - James J Eagar |
|
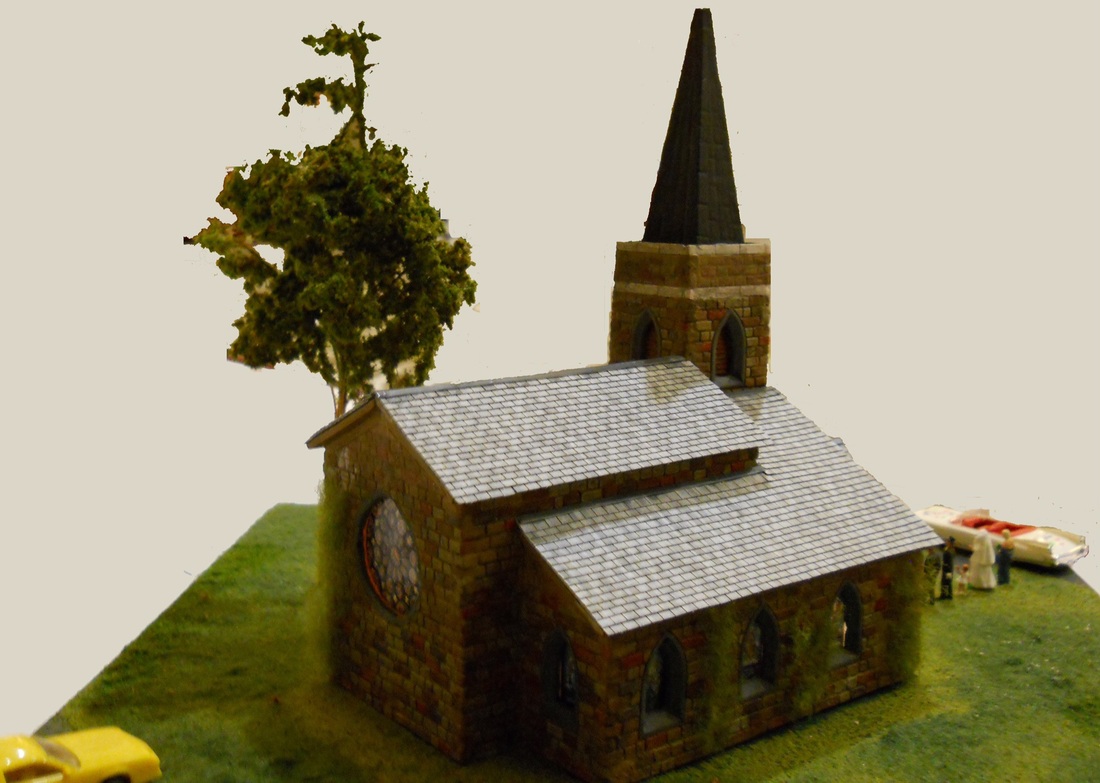
The Finished Model
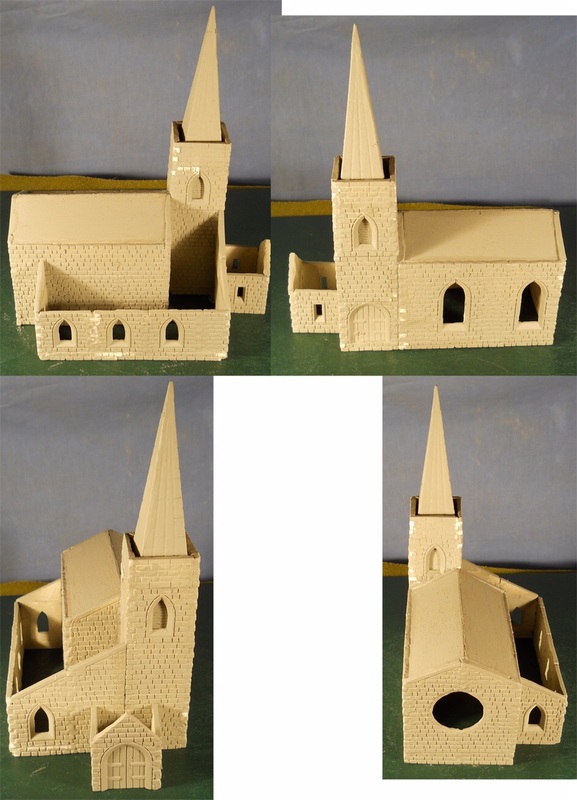
Putting the model Together
|
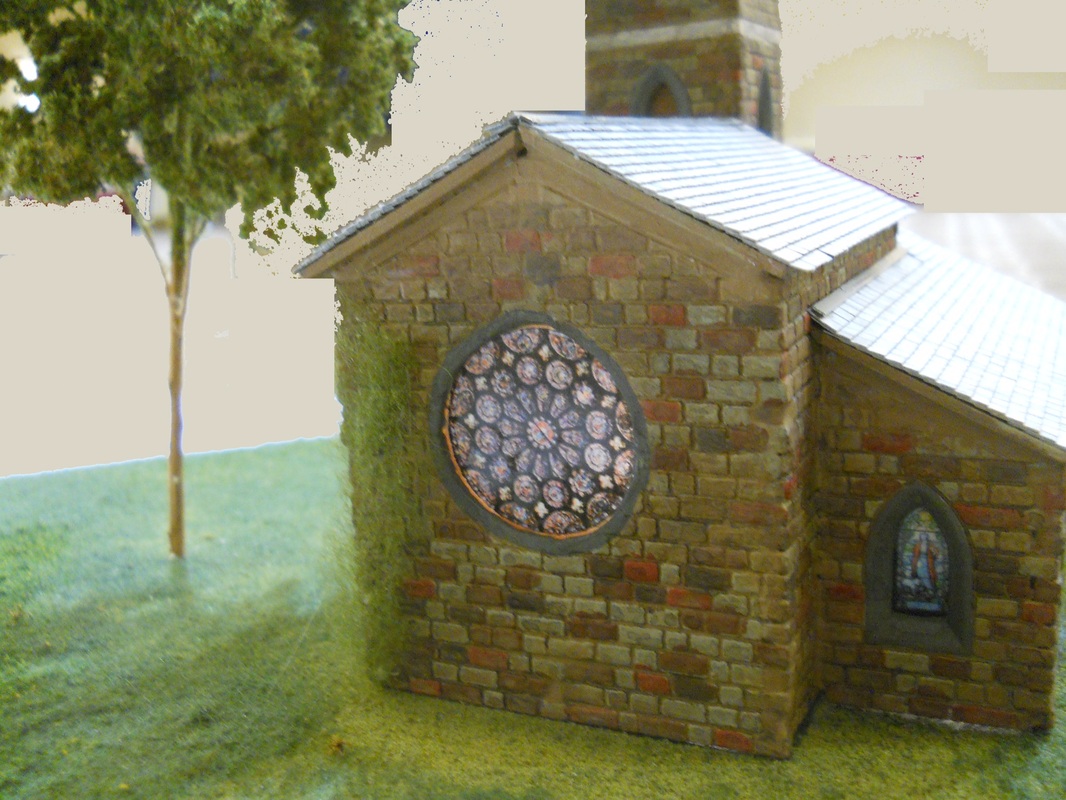
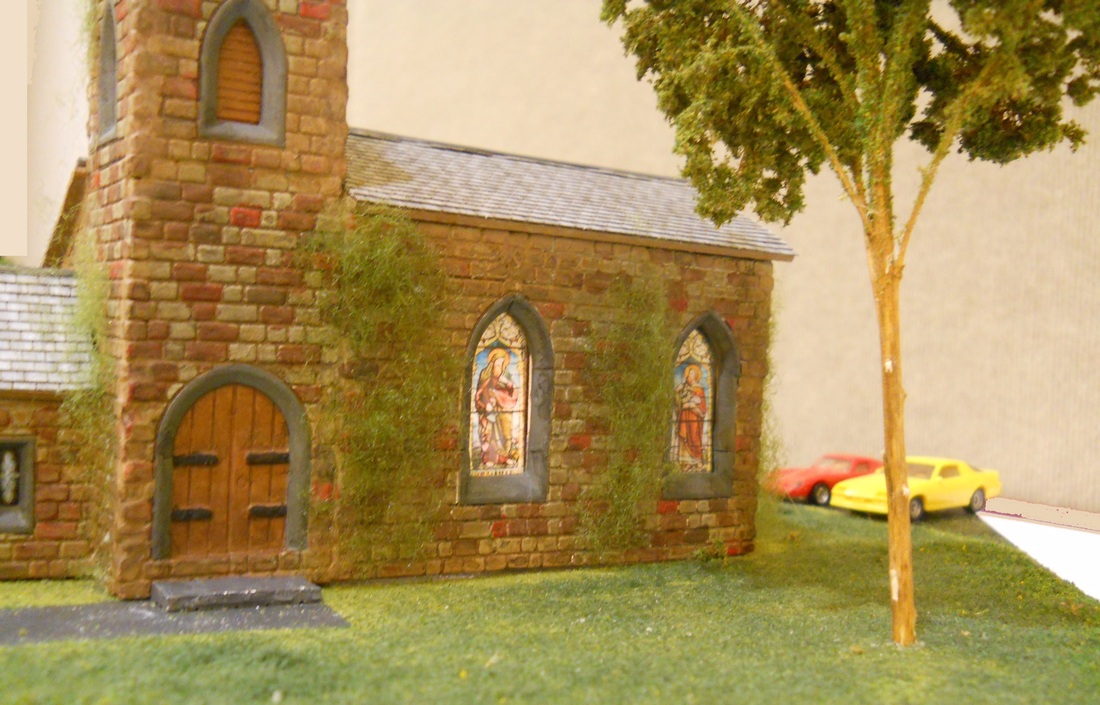
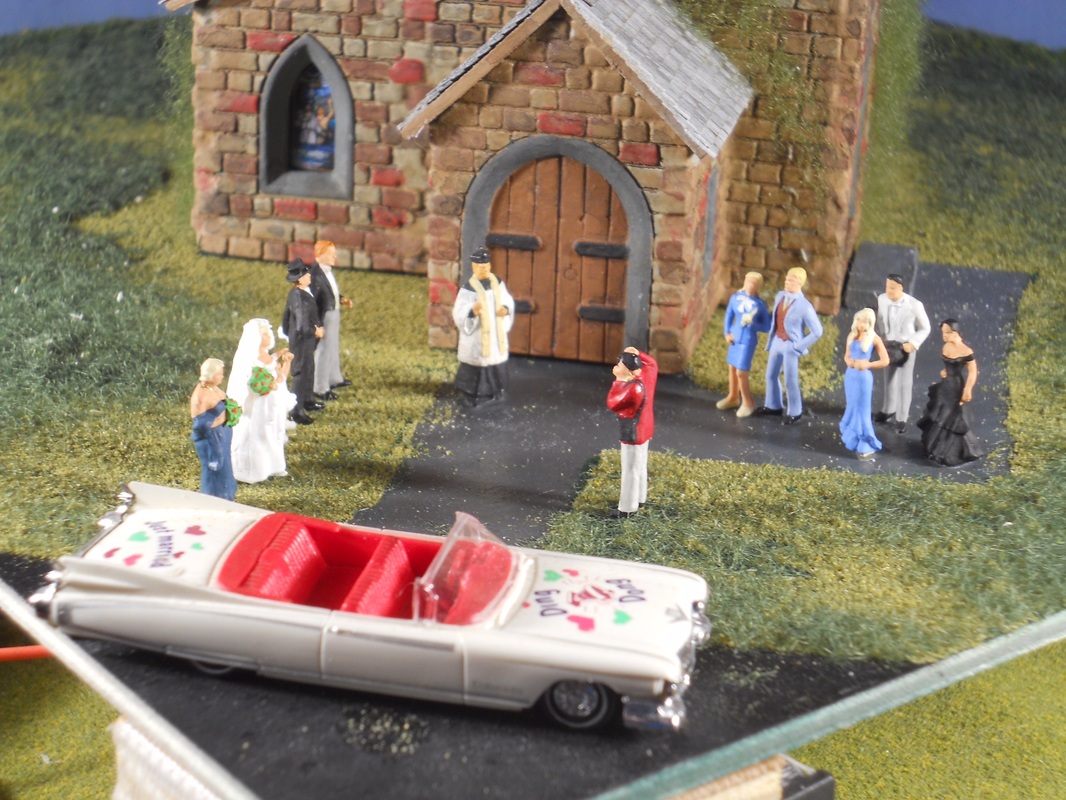
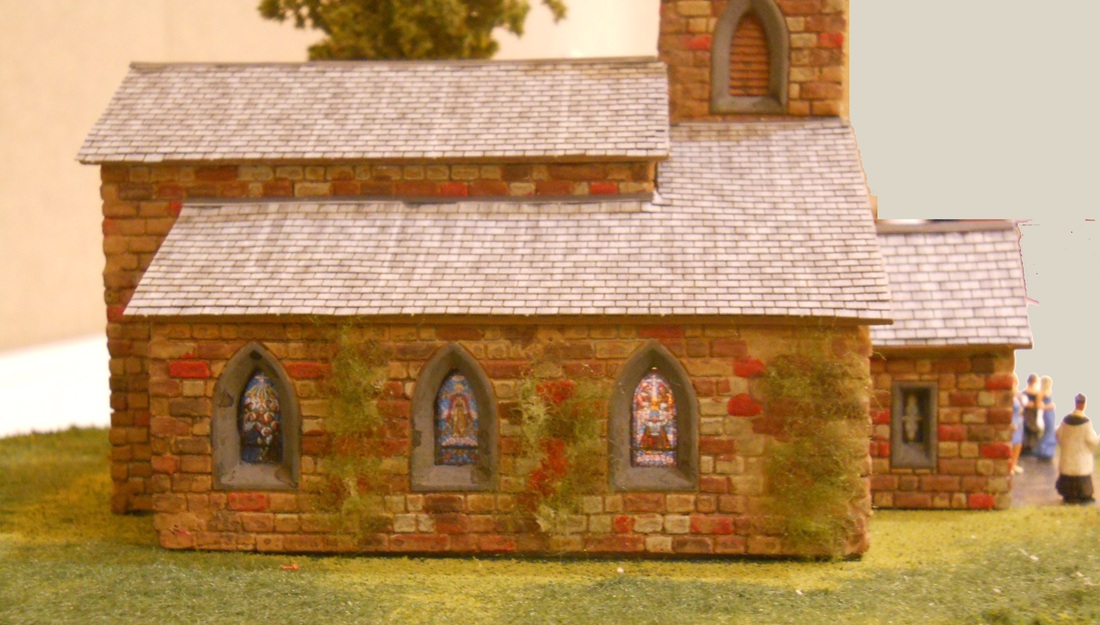
The Wedding church
I started with the Village Church plan, but modified it. I removed the 2 really large arched windows in favor of a large round window in the church end. I left off the extra 2 layers of stone on the entry way, but that was more by accident then by design. The mold of the steeple was great and was rather pointy, until the tip ran into my work light. Whap, now I rounded it off with my Dremel. The plan was to use photos of real stain glass windows. So I searched the internet and found about 2 dozen photos of stain glass windows. I finally separated out the ones that were usable and adjusted the size to fit the windows in the church. The circular window was cut to fit the size of stain glass window I wanted. I started with a solid wall there. Located the center of the window and drilled a small hole as a center point. Then got out my old drafting compass and marked off 2 circles. I used an x-acto knife to go over the inner hole a bunch of times until the material there finally broke clear. Then, I had to glue the wall back together where it broke too... After that, I took the Dremel tool and went over the area between the opening and the outer circle and ground the "stone" down to make the frame. When the windows were ready, I actually tried 3 different methods to put them in. Of course, the first 2 didn't work.. I tried printing the file directly to acetate. Before installation I touched part of an image. It smeared all over my finger. Ok, well try again; this time after printing (and before touching) I used clear lacquer over the image. Hmm, the ink beaded up and was a mess. Ok, try this, I printed on regular white paper, then super glued the paper to the acetate. This worked and it solved a separate problem. The white paper muted the bright bulbs I have inside the building. The first roof was done using the plan called for shingle tile. The seams came out awful, so I substituted a wood base and pre-made shingles from a commercial vendor. Finally, even with the best of care, the Linka system shows seams. The better you are the fewer, but it is just hard to get them all. So, hide them with ivy! The wedding car was one I bought about 10 years ago, and I special ordered some wedding people. Now to find the perfect spot on my eventual train layout. Putting The Model Together
Left - The building sub-assemblies are glued together. The one piece of roof you see, is actually a sub roof. Another roof will be placed over it. The one there provides support to the core walls. The paint is to help detect mismatches in the seams. I use white glue to assemble, and then come back and fill the cracks with more white glue. When finally painted, the holes disappear. I also add another coat of glue to the insides of the seams. They appear string enough now to hold up well. I have added one more bit to my final plan. I got some material for making ivy for attaching to the walls at the end. The ivy will be strategically placed over the worst seams that still show. The absolute worst seams are inside on the core building, which will not show. The white patches are where I dremeled down little parts that stuck up. The green board is a board I bought and put a coat of paint on for the final display base. Once the building is placed, it will get coated with grass beyond the building, plus some other details, including light bulbs under the church. I also have to raise the board to make room for the bulb switch. |