
Members Pages - Alan Wheeler |
Alan brings his work to the website as a fellow member and brings his inspiration to other members who may be just starting this amazing hobby.
|

My Country Inn Front View
06 March 2014 |
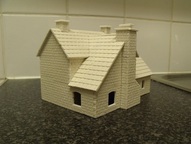
My Country Inn Rear View
06 March 2014 |
|
|
Greetings everybody!
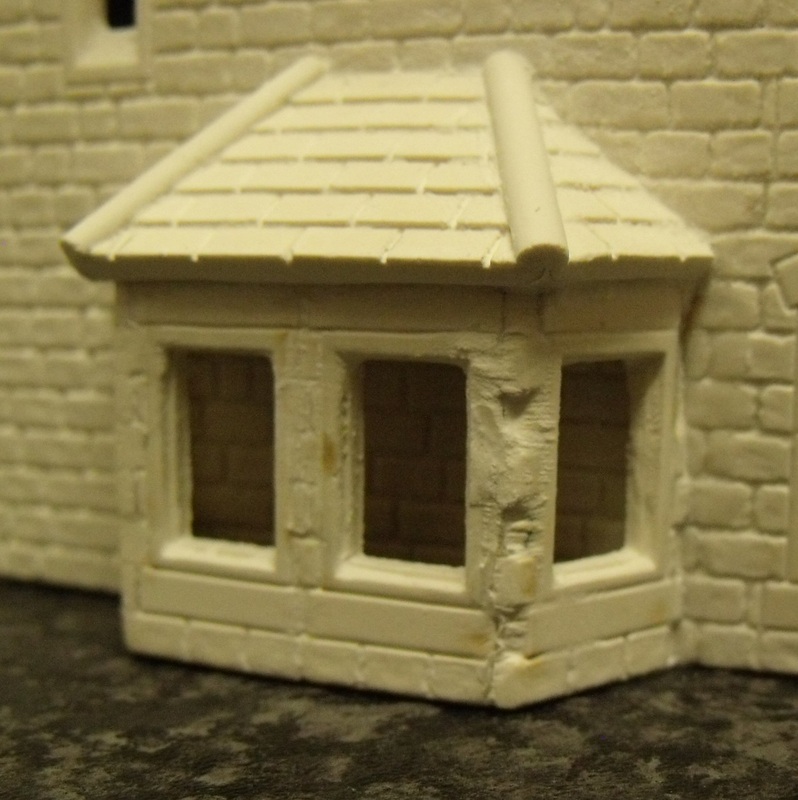
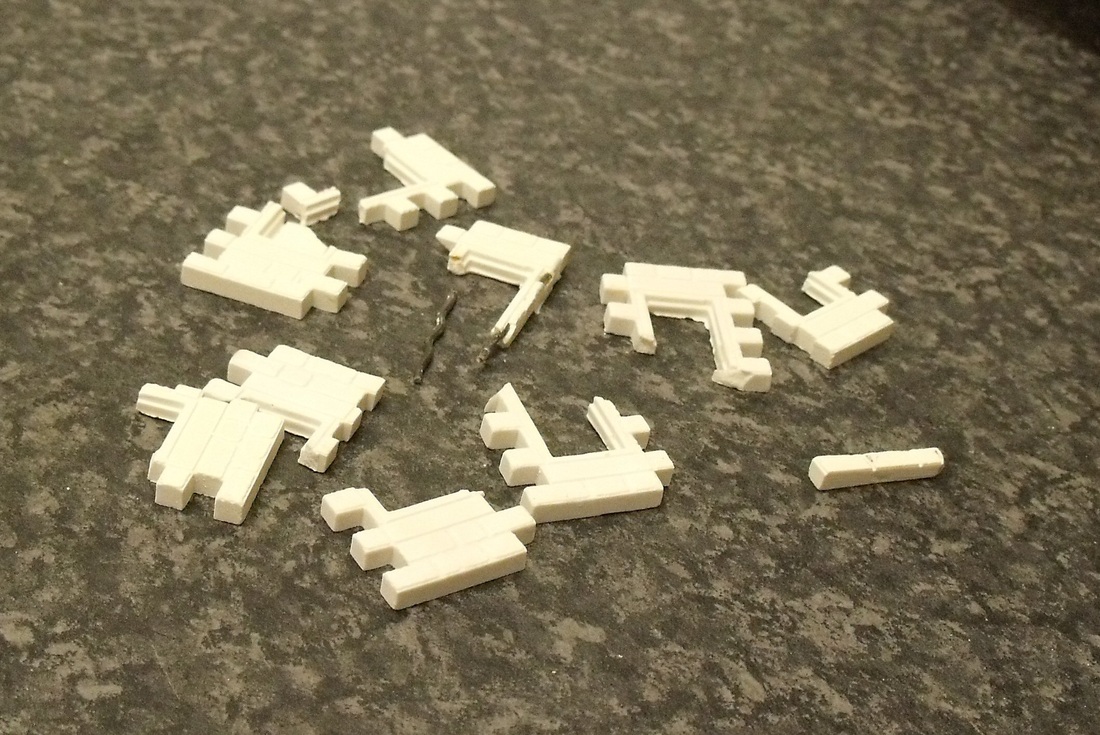
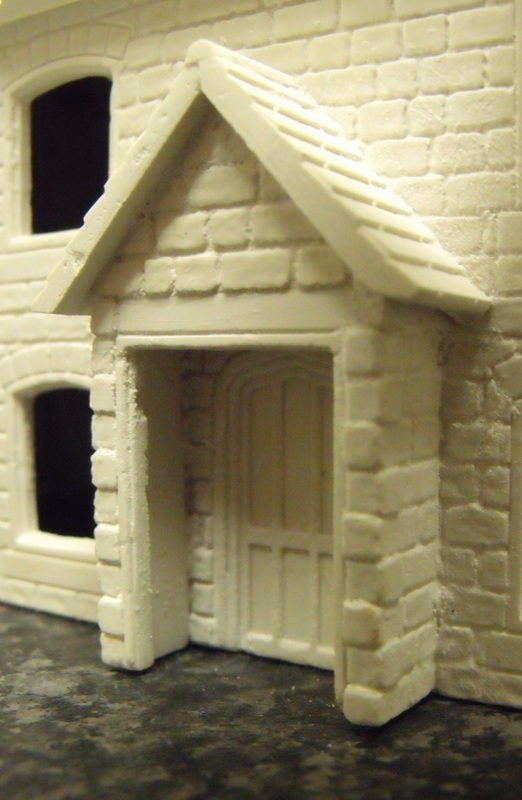
I just thought I would upload a couple more photos of my country inn, this time some detailed shots. The first picture is of my attempt at the bay window. Not having the Linka bay window mould, I constructed the bay from individual pieces cut down. The basic window sections are trimmed down number 149 sections. It was impossible to file these, so I had to sand them very gently on my Minicraft rotary sander. Assembling them was a pain, and there were a few gaps to fill, still to be tidied up in the first picture: The second picture demonstrates that it wasn't all plain sailing, with just a small selection of breakages suffered during this process. In the centre of the shot you can see how I eventually reinforced the 149 side struts with a staple. In the third picture is a close -up of the porch. Again I didn't have the original mould, so the porch front was made of part 147 topped by a trimmed 36, with the sides made of a 43 and 44 with the gaps filled in. After gluing the assembly to the main building the front door of 147 was carefully cut away to create the entrance, then the tiles and capping were added. There is still much tidying up to do - filling the gaps, hiding the breakages, forming the stonework, but after seeing my first attempt, maybe others might come forward and show us theirs |
|
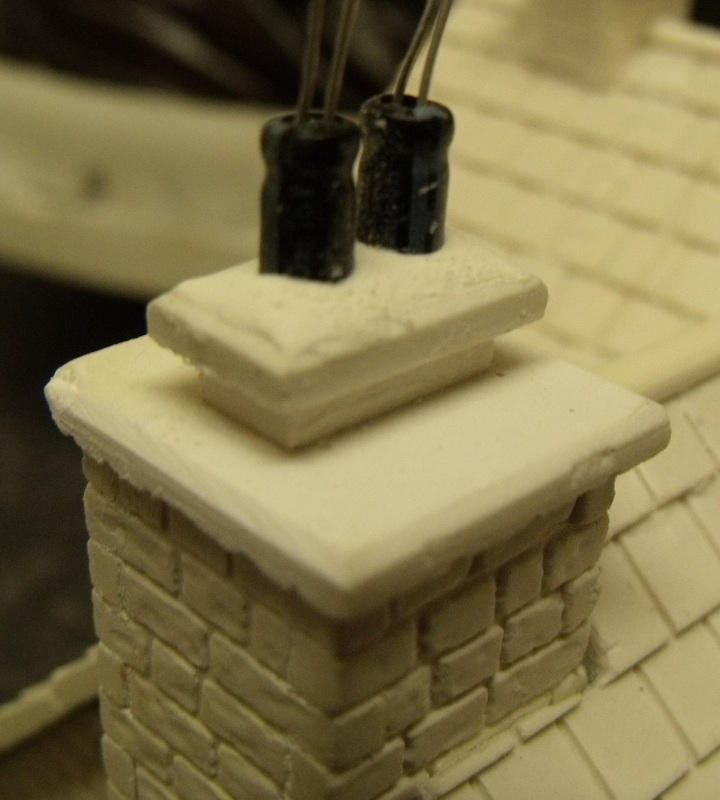
I wasn't too satisfied with the chimneys supplied in the mouldings, so decided to look elsewhere. Somebody suggested that the inside tube from a ball-point pen is suitable, but for this style of building I felt that was too thin. Then I had some inspiration... Those amongst us who like electronics might recognise a couple of sub-miniature electrolitic capacitorspressed into use - they are just the right size and the perfect shape! And yes, I shall cut the leads off before very long. :
|